
As I use quite a few 3D printed parts in my builds now and have started to sell 3D printed parts kits, I reckoned it was time to share with you how I prepare my 3D printed parts for use.
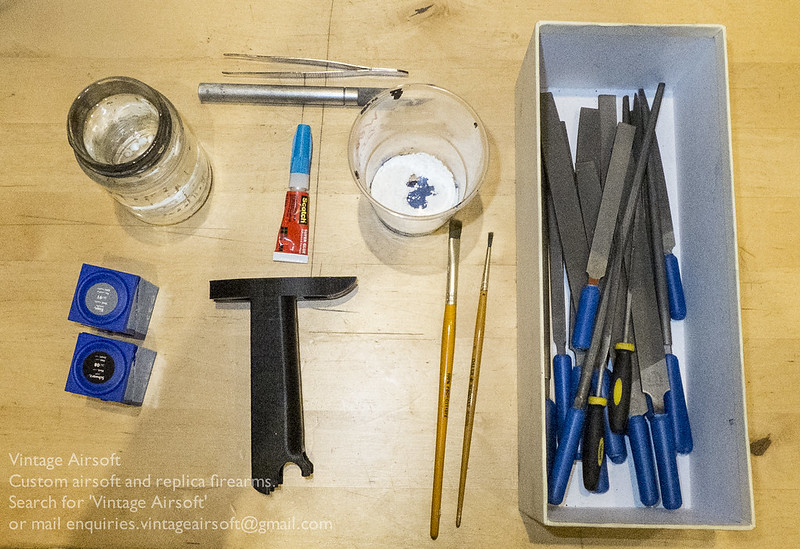
You need:
- A set of small files, ideally of the 3″ kind, second and fine cut
- as a minimum, one half round, one round, but it helps to have a flat and a square
- Wet and dry paper: 800 grit and 1200 grit. You can go finer if you want to see your face in it but I personally find that overkill for my purposes
- Acryllic model paints: I use Revell Aquacolor
- Baking powder, the fine type rather than the coarse type
- Paintbrushes, a mixing surface, paper towels and water
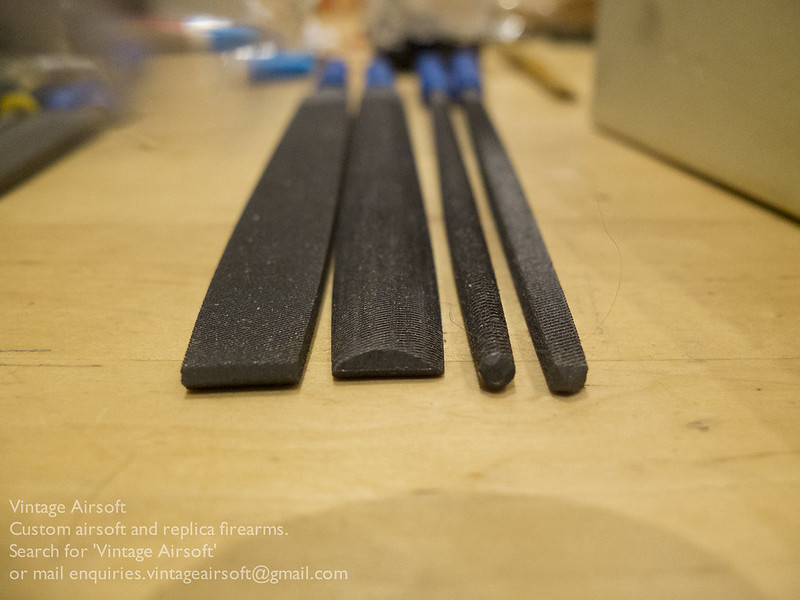
For those not familiar with files, from left to right: Flat, half round, round and square.
Some people use coarse grit wet and dry to get started. I personally don’t bother, it’s messy and slow, so use files to take off the highest points and work out which areas need filling.
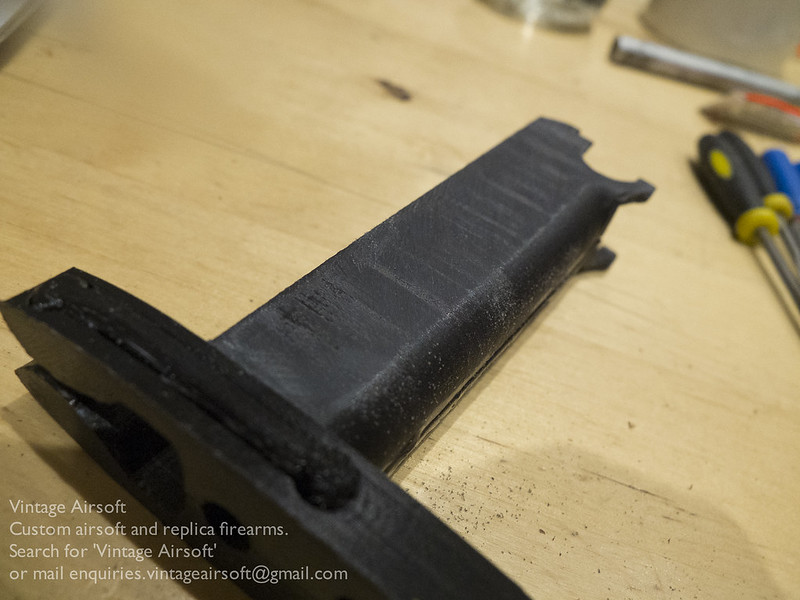
Once I’ve established a smooth top surface, I work up to wet and dry until the overall impression of the surface is smooth except for the inevitable low points that come with 3D printing.

Low points can’t be eradicated entirely without risking cutting through the outer skin of the part or wrecking the tolerances. I fill these by mixing my acrylic paint with baking powder or fine plastic dust saved from the previous steps. I dip my brush in the paint, dip it in a container of the powder so that the paint is covered and mix it together either on a mixing surface or on the part itself if suitable. A flat brush is better for this purpose as you can apply a fairly smooth finish straight off the bat.
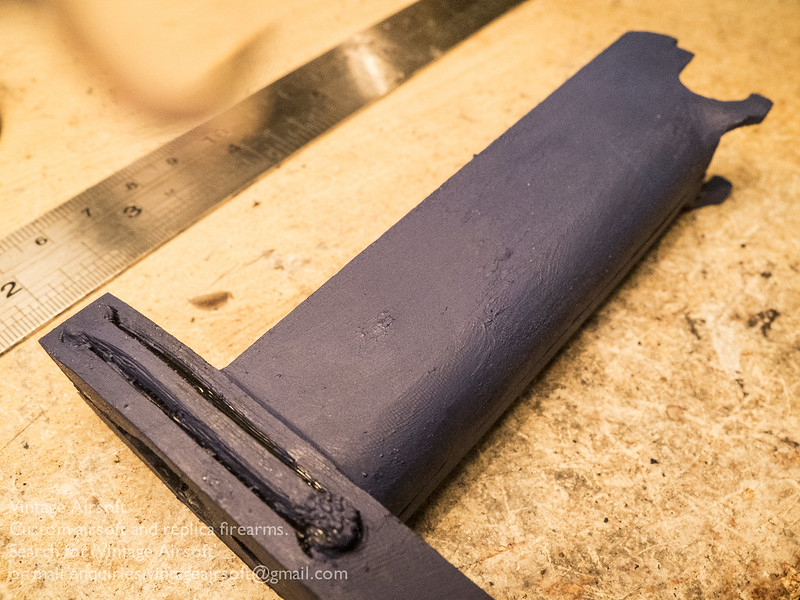
If using this technique, you may wish to cover the majority of the model part in a thin layer of the paint/powder mix. This is so that when you’ve finished filling, you can take your finer grades of wet and dry and give the part a last wet run over to get a smooth and consistent finish.
You can now paint up the model in your finishing colour if the filler coat was not of that type. You may also want to consider a varnish to give it a suitable finish in gloss, matte or satin and add a bit more durability to the finish.
If you have an idea for a project of your own, drop us a line on: enquiries.vintageairsoft@gmail.com to discuss. If you found this article helpful, why not ‘Like’ our Facebook page or follow the blog to get regular updates on projects and interesting videos and articles?
Don’t forget you can buy our smaller items via Etsy. Our larger items can be found here.

