Nothing too in-depth today, just a short video showing off some of the prototypes we’ve been working on for over a year…
All of these are now available to order by email, we will be putting up pictures of the finished articles in the next few weeks.
If these products are of interest to you, please do get in touch at: enquiries.vintageairsoft@gmail.com or join us on our Facebook page. Don’t forget you can buy many of our complete products via Etsy.
For those of you who have been following the blog for some time, you may remember the first rendition of the LAW M72 light anti-tank weapon built out of plastic tubing and fibreglass. Since then Vintage Airsoft has been working slowly in the background on several anti-tank weapons including an improved version of the LAW.
When we say a while, we mean it. This is a photo of the new trigger mechanism housing being bent into shape in the old workshop.
The housing in shape.
When products are in development, they undergo a LOT of tweaking and changes in design, this photograph is a case in point. A dramatic change to the design of the shell meant that the original spacer would no longer fit, making it time for a gaffer-tape based solution.
One of the modified trigger units straight after being brazed.
This is the sear bar straight after being brazed. The protrusion nearest the camera is the sear, which is pushed down inside the tube above and allows the bar to slide forward under spring tension.
The sear unit in position under the trigger mechanism housing. At the back is the wire that actuates the firing pin.
Here you can see the firing pin (screw) and the actuator rod that the wire pulls to depress the pin. It certainly isn’t pretty but it did work. However this mechanism would be unsuitable for field use as it is unsafe to drop. However the principal can be applied to a more elegant system…
The new trigger mechanism. The transfer bar is pulled forward by a tension spring and is controlled by a sear activated by the trigger.
In place on the launcher, the tabs attached to the trigger unit can be welded down. The trigger unit can still be removed by undoing the screws and lifting straight out for servicing. There is also a tab that lines up with the hole in the cocking handle through which an R-clip or pin will be inserted as a safety catch.
And finally, painted up for testing! This will be painted green for production, but as it is a prototype the finish just needs to protect it from the elements.
If this product is of interest to you, please do get in touch at: enquiries.vintageairsoft@gmail.com or join us on our Facebook page. Don’t forget you can buy our complete products via Etsy.
Oh, for those of you who want to see/hear the dry-firing….
For those of you with excellent memories, you will remember the LAW M72 project I had going on. It was at a stage where it looked a bit like this:
Since then, progress has been made, the trigger mechanism housing (above) is now mounted on the pipes that make up the main launcher. A healthy dose of poly-cement tacked it in place so it would stay still for the permanent fixture.
A close-up of the trigger and rear sight. The sight units are laser cut and the trigger made from Polymorph.
The whole unit after poly-cement. Looks a bit rough, but I have a solution to that!
Fibreglass. Vile stuff but very useful for lightweight constructions like this. For the uninitiated, fibreglass is extremely fine strands of glass formed into sheets. These sheets are bound together with epoxy resin (the really nasty part) to form a stiff, strong structure. Carbon Fibre is the same idea.
To get the sheets into all the detail areas I had to cut the coarse mat into strips before applying the first covering of epoxy. Epoxy underneath, apply the mat, apply more epoxy. Don’t use your nice paint brushes for this folks, they ain’t coming out of it alive!
After the first couple of layers, I left it to dry for a bit so I could flip it over and do the bottom.
No pics for that, much the same process as the top! Once dry, I applied more resin and a finer sheet of fibreglass mat. The coarse grade is seriously uncomfortable to hold so this will provide a smoother finish.
The last coat is now drying, results next time!
If this has interested you at all, do drop us a line! We will be developing further anti-tank airsoft guns, if you have one you would like email us at: enquiries.vintageairsoft@gmail.com!
Yesterday and today I have been working on the trigger mechanism housing for the M72 rocket launcher.
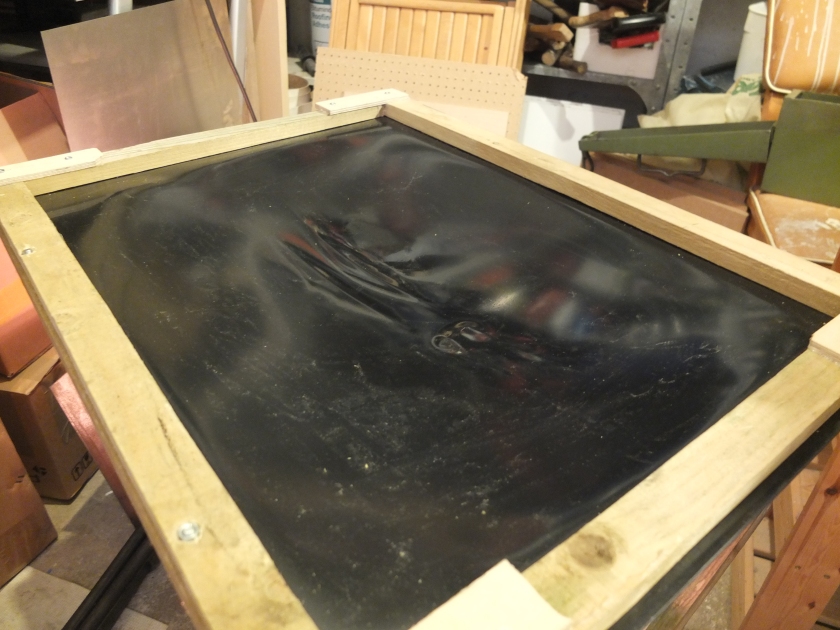
I started off by heating the plastic on my home-built vacuum former heater, which was very effective except for the outside 10cm of the plastic which was frustrating as this was exactly where the edge of my mould sat at both sides! If I had been switched on instead of enjoying the exotic fumes produced in my under-ventilated workshop I would have moved the mould so that it sat diagonally rather than straight but what’s done is done!
After a few false starts I got the plastic soft enough to work and formed the rough shape. However either the seal wasn’t good enough, the suction too weak or the mould not being well ventilated enough to pull in the plastic onto the details.
As a result I spent this afternoon with a heat gun and a short plank pushing the plastic onto the form.
Looking a bit tidier now though I say so myself!
In future I’m seriously considering just building this part from fibreglass like the original, I doubt it would take as long and it can’t be more unpleasant fumes-wise!
*DISCLAIMER* Don’t try this at home, parts of this build are not good for your health and come with a fire risk built in.
I’ve been working quite hard on the LAW rocket launcher this month so far, with lots of plastic work!
I had the fortune to find two pieces of pipe which had corresponding inside and outside diameters, allowing one piece to slide snugly inside the other. My client had a model of an earlier type of LAW and had sent me the trigger mechanism housing from it (in green below) to work from.
I created a wooden mould from photographs of the A7 in order to be able to form this complex shape. My initial idea was to build a vacuum former but before going to the expense of doing that I thought I’d have a go at forming with a heat gun…
Pushing the plastic into the former.
My second attempt, getting the sharp edge in front of the trigger is pretty well impossible with this technique without splitting the plastic or creating a crease so it looks like I’ll have to build a vacuum former after all!
I also ran some tests on nerf balls to see how they performed ballistically. When put in the end of the 50mm bore tube I was planning on using for the barrel it barely fell out the end when the grenade was actuated. I then tried a smaller bore pipe which sat just around the end of the nerf ball. This produced a much better effect, shooting it maybe 10 yards.
I decided that a slightly different approach was needed. I have been playing with the idea of expanding foam rockets as an inexpensive, disposable missile system. I made a mould up from some plastic tubing…
The three components: the body tube (top), nosecone former (bottom right) and the backcap (left). I have inserted the tail fins into slots at the top. I am yet to make a rocket from it yet however! I think that this will produce a more ballistically viable rocket that will also be cheap to reproduce if lost.
Video giving a behind-the-scenes view of a bit of R&D at Vintage Airsoft. Although it doesn’t look much yet, a far more polished version of this unit will feature in a custom-built LAW M72A7. Apologies in advance for referring to it as ‘L72’ in the video repeatedly!
I received an email at the end of last year asking if I would be interested in building an M72A7. This is one of the latest incarnations of a real classic in the world of rocket propelled weapons with its origins prior to the Vietnam War where it first saw service.
M72A2
The concept of the M72 series (also known as the LAW66 in some parts of the world) of rocket launches was to produce a lightweight, single-use anti armour weapon. Anti-armour technology had come a long way since the beginning of the Second World War: At the beginning of this war tanks could only be dispatched using small direct-fire artillery pieces, though developments were made in the direction of anti-tank rifles (the Boys anti-tank rifle is a classic of the genre) these proved to be ineffective against the armour of newer tanks and were incredibly heavy and cumbersome to carry.
The US introduced the Bazooka to Europe, the first really practical man-portable anti-tank weapon. It was actually so effective that the Germans pretty well copied it when developing their Panzerschrecks. The Germans also developed the Panzerfaust, a single-use recoilless rifle that also proved effective against tanks and popular with users.
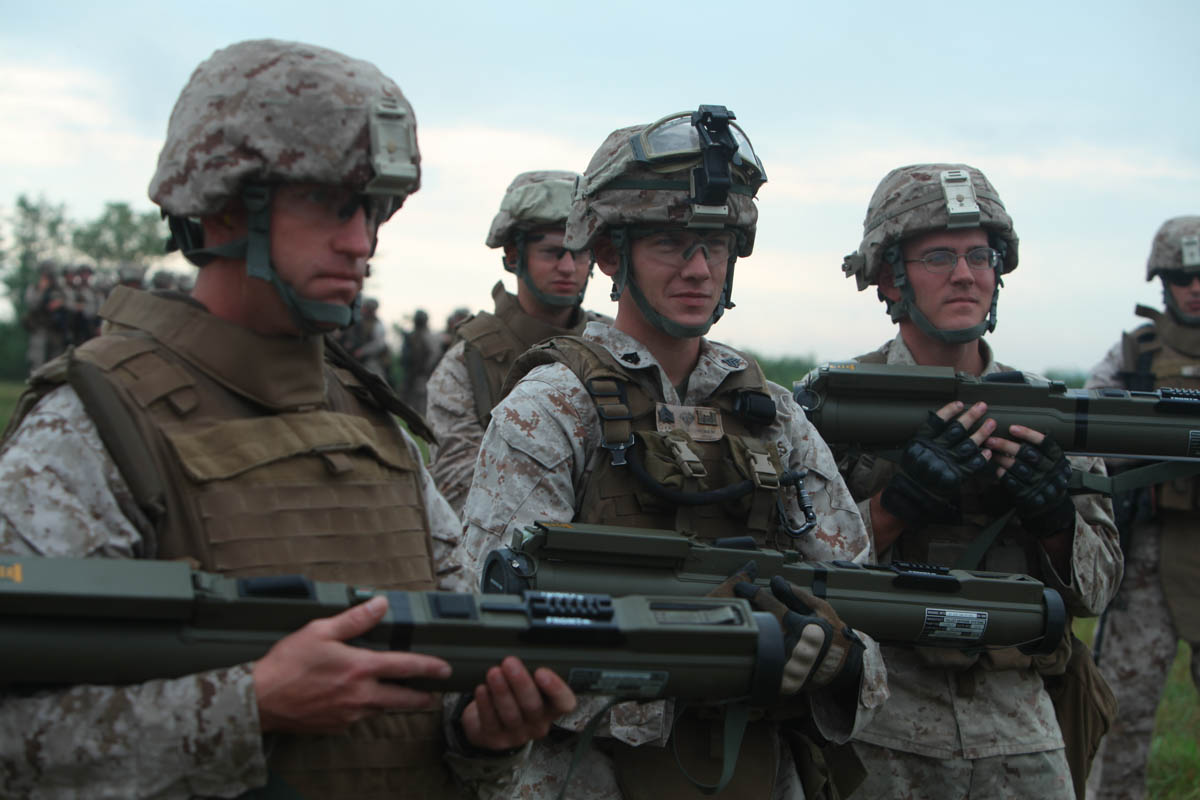
Sub-calibre training version in the deployed position. Smaller rockets that are designed to replicate the flight path of the real deal are used for training purposes.
Being a single use weapon, the LAW’s rocket is an integral part of the system a soldier has to carry. Many of the improvements and upgrades to the LAW66 are of the warhead or the motor component of the rocket itself, though there are a number of visual differences from the outside including different sights, end caps and sight housings.
The LAW M72A7 features an improved rocket motor to engage targets past 200m and a picatinny rail for night-sights and laser pointers (though who would stick an expensive night sight on a disposable launcher I don’t now, nor what use a laser would be in all honesty, answers on a post-card please!)*.
Another view of a modern M72, in this shot the picatinny rail is clearly visible.
The Airsoft version of this will not, of course have a range of over 200m and this is a very experimental build for me: I have never done anything like this before! Designs sketched out, my first step was to test the trigger mechanism. Once my theory has been tested, I can build it into the end product. More to follow on that later this week!
*ANSWER: My client for this build gave me a bit of insight into the use of a picatinny rail and what it was for:
“Bit of trivia RE the night sight rail, if I’m not mistaken it is for a PEQ (Infrared light and laser) box so that soldiers using night vision goggles can aim it because the goggles would prevent getting a proper cheek weld to the weapon, and also the dark would render Iron sights unusable. They’re not so much the throwaway weapons they were in the Nam era as the Americans started to learn the enemy would use them as parts of IED’s by filling them with hand grenades. As a result it is standing operating procedure to retain the spent case and take it back to base with you for disposal or to crush/render useless the tube in which case they would take the PEQ off and probably put it onto the rails of their rifle.”


 The whole unit after poly-cement. Looks a bit rough, but I have a solution to that!