I know some people are quite excited about this project so let’s get straight stuck straight in with some pictures!
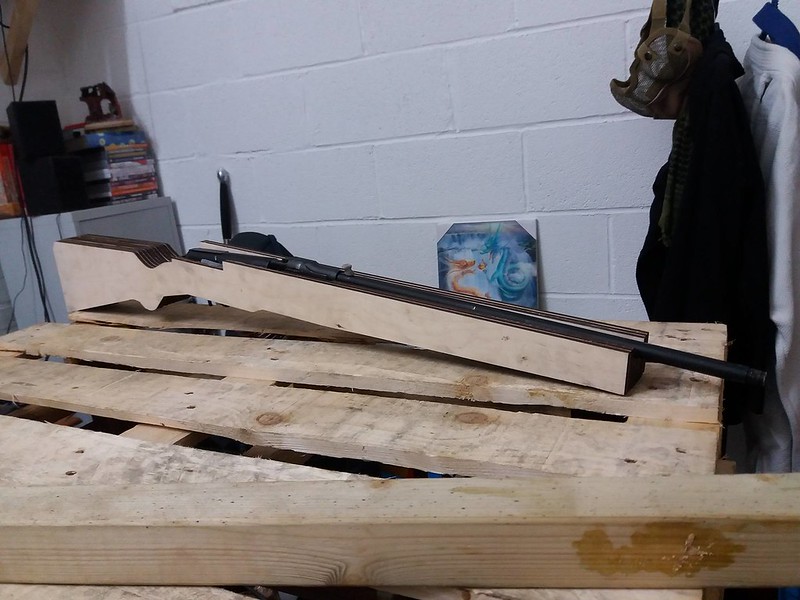
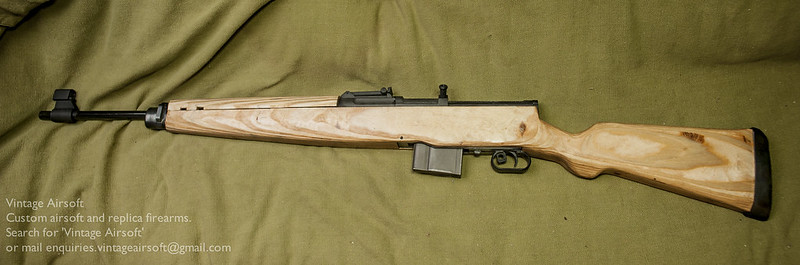
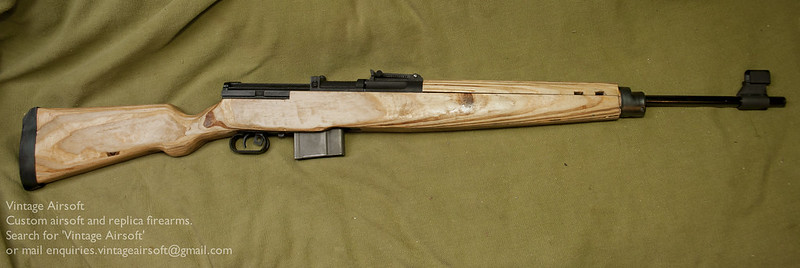
Left side:
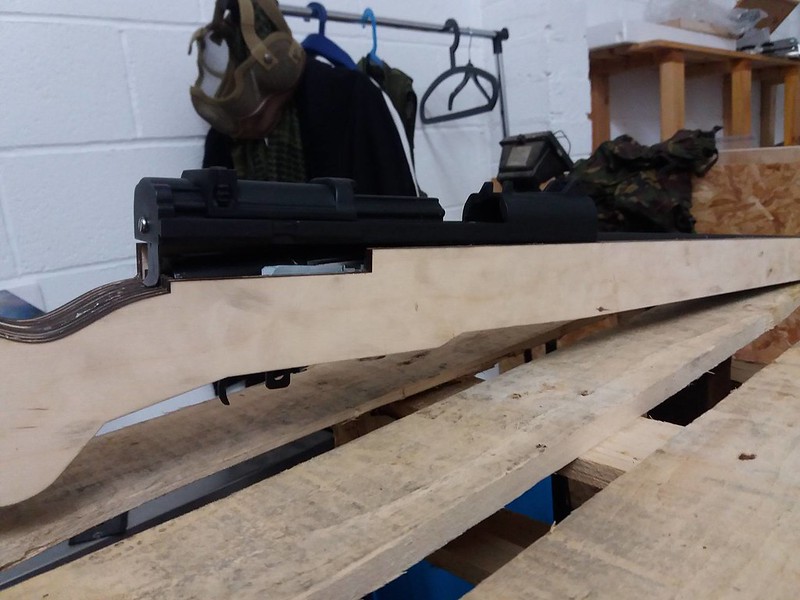
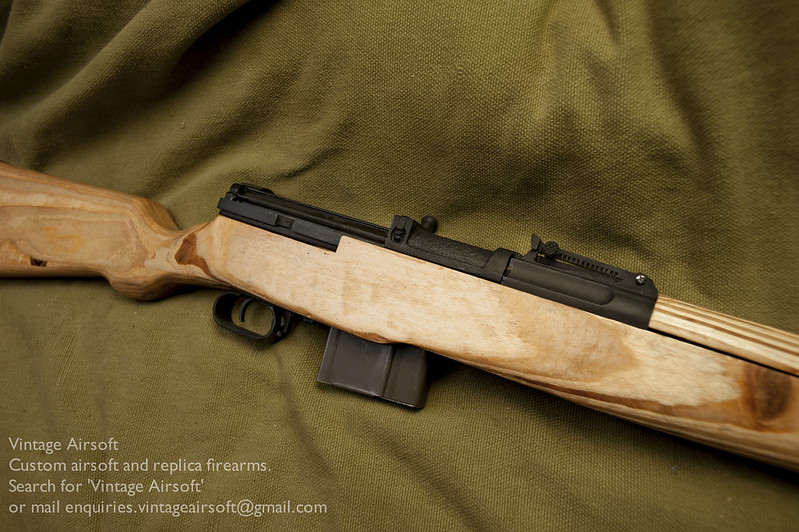
Right side:
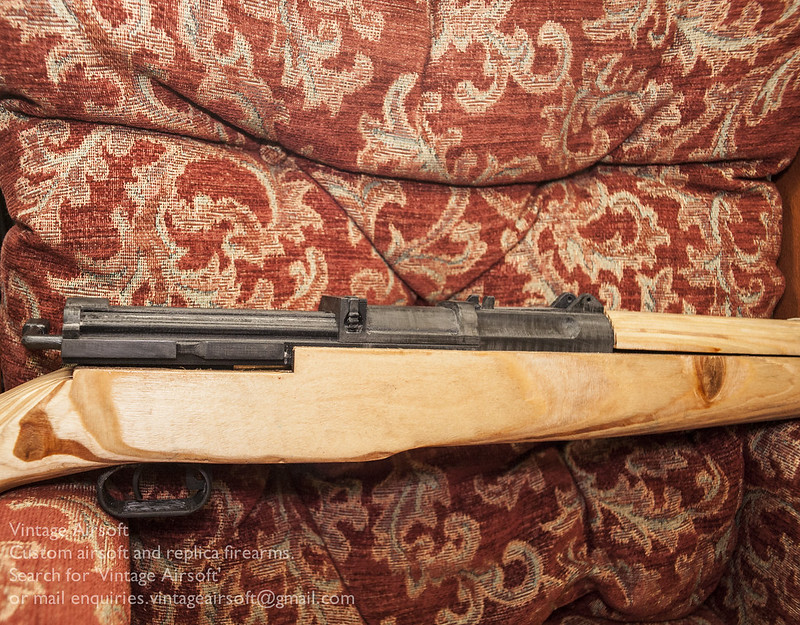
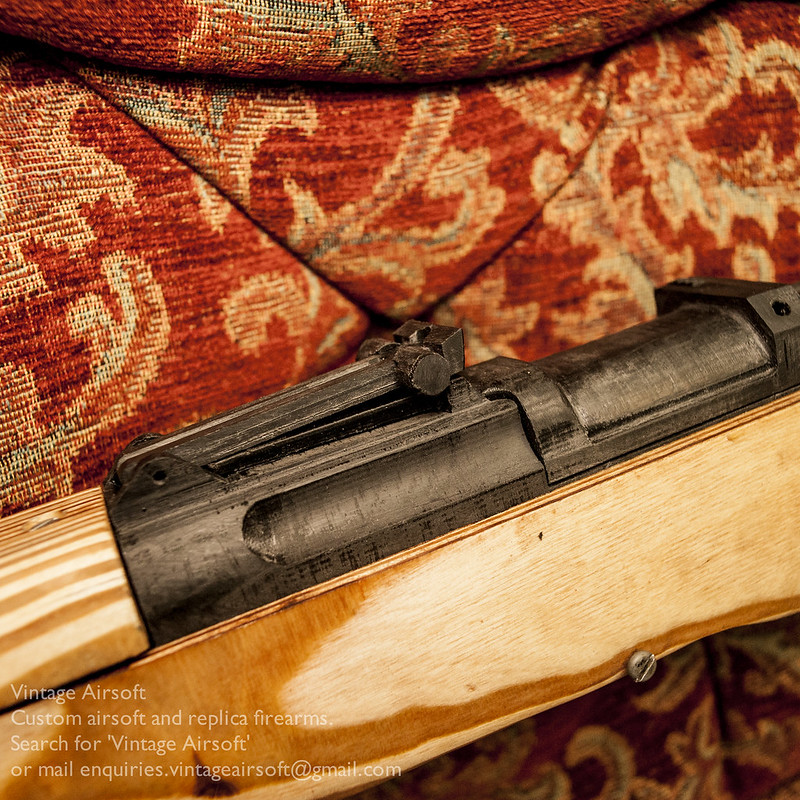
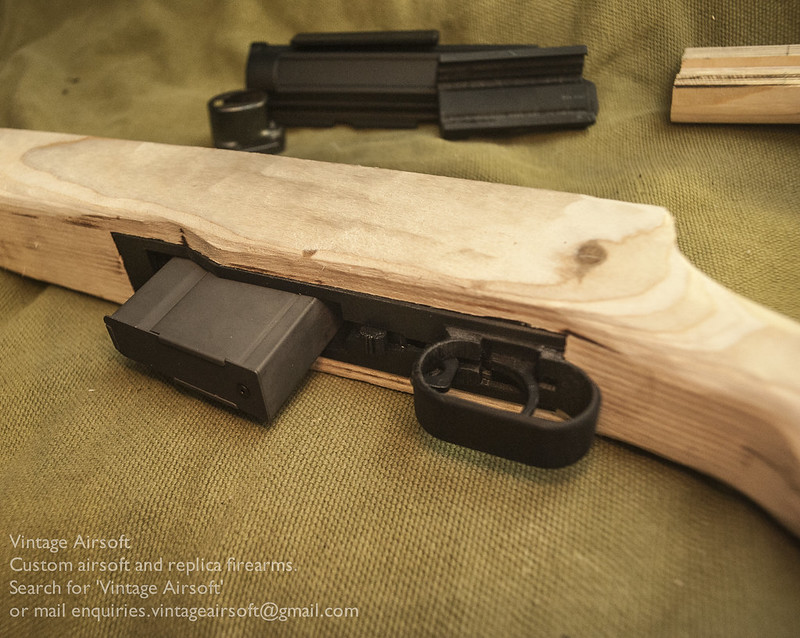
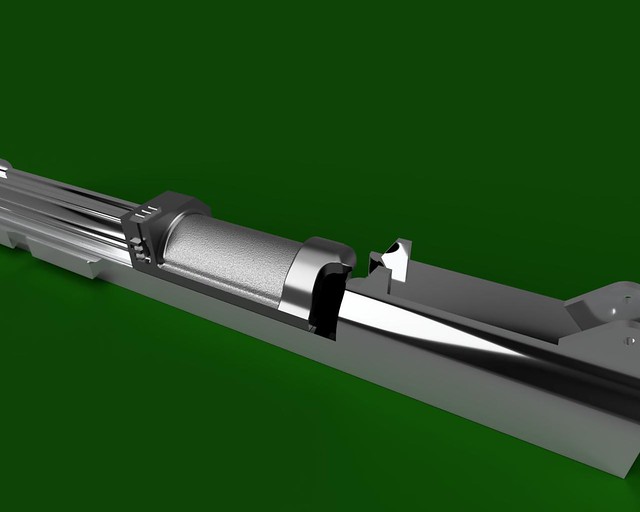
The 3D printed receiver.
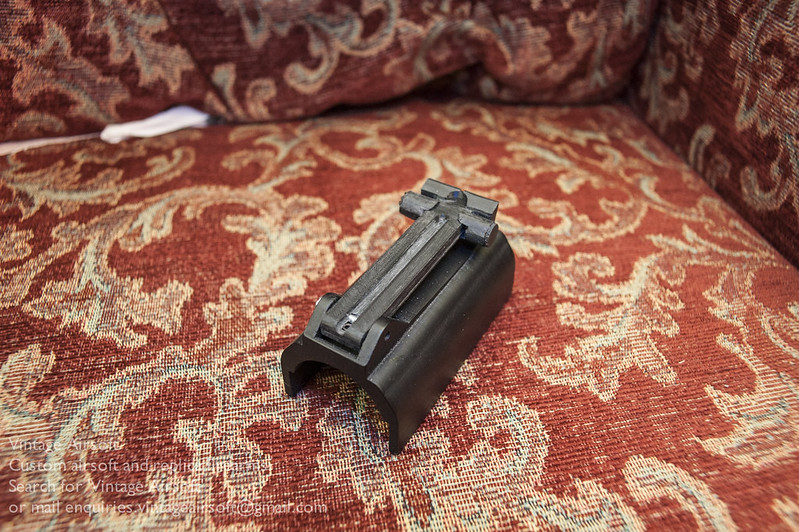
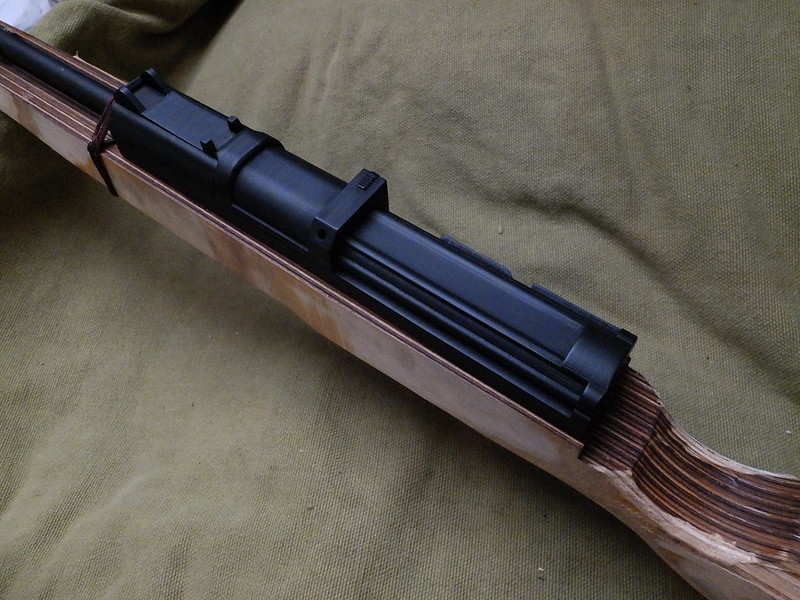
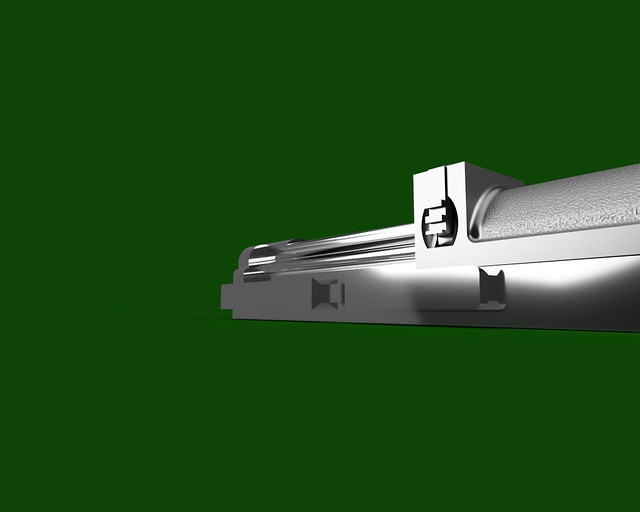
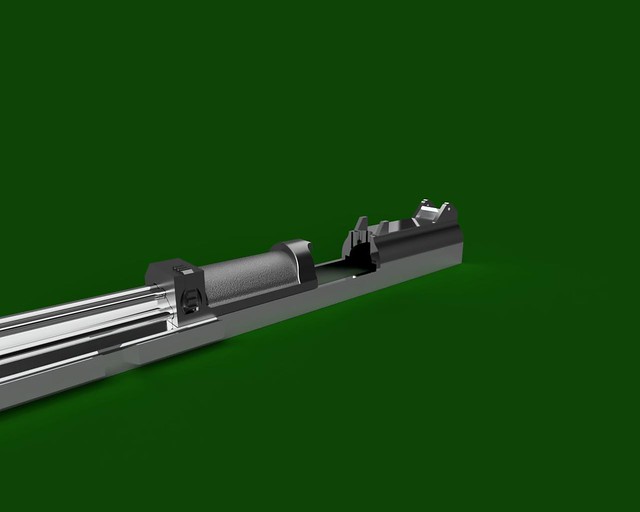
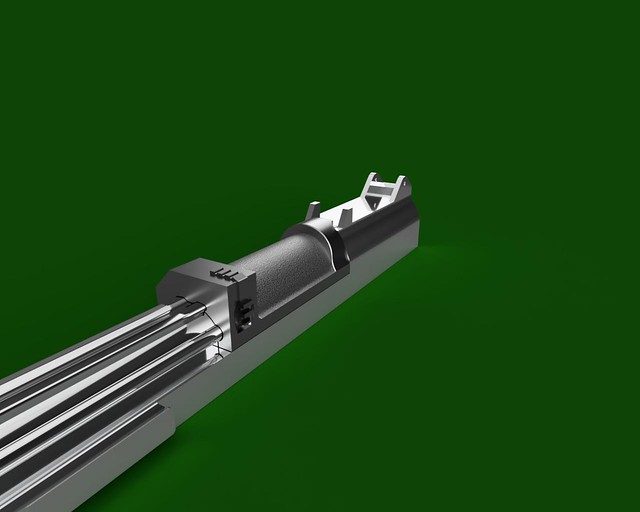
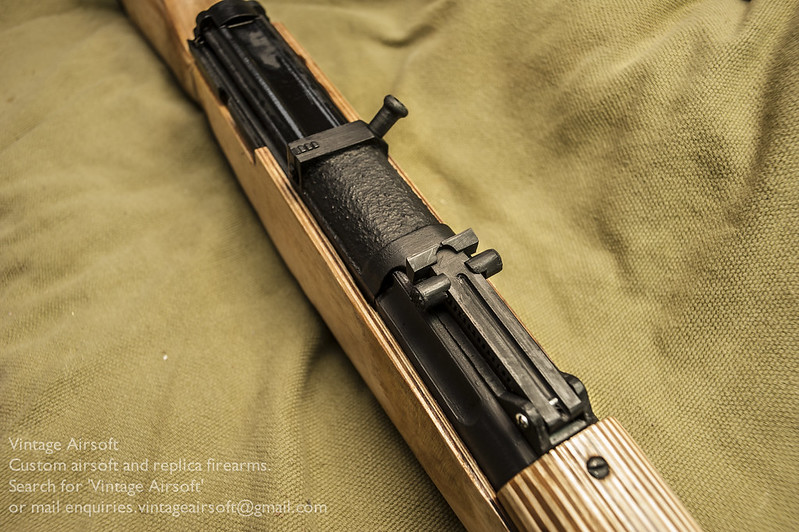
The rear sight, adjustable for elevation via the leaf. The rear sight adjustment is controlled by the bar across the leaf which is held in place by teeth and spring tension.
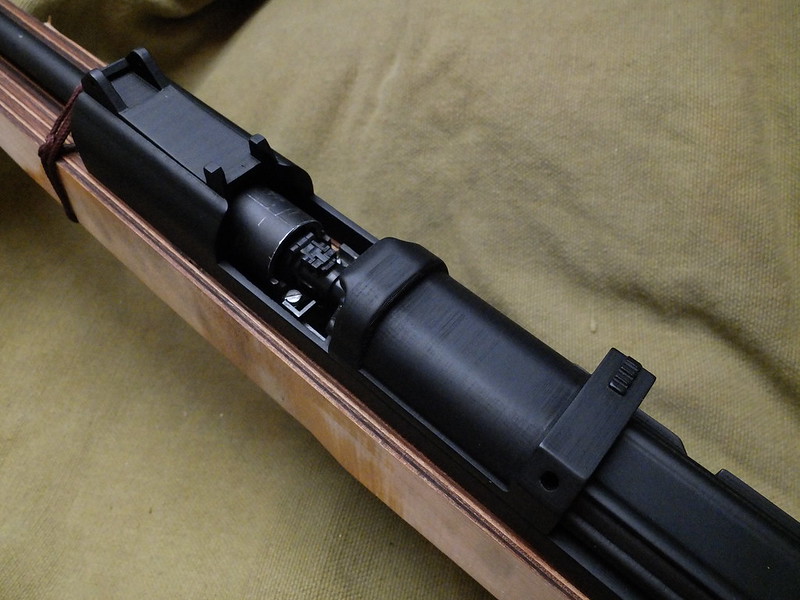
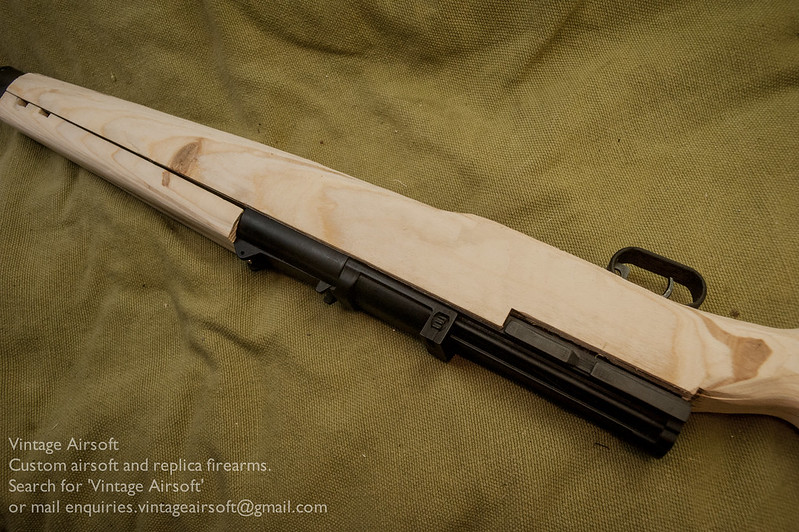
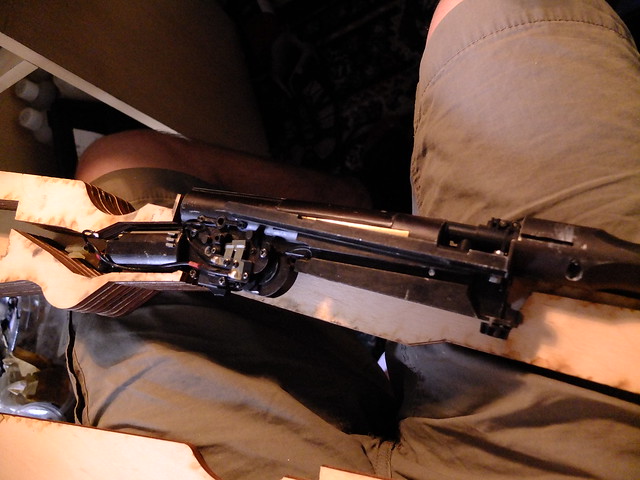
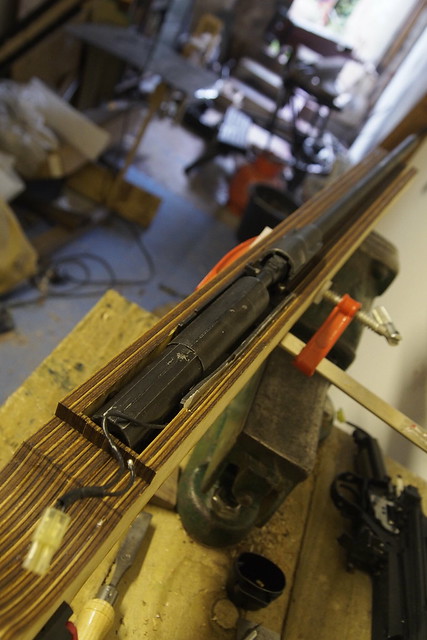
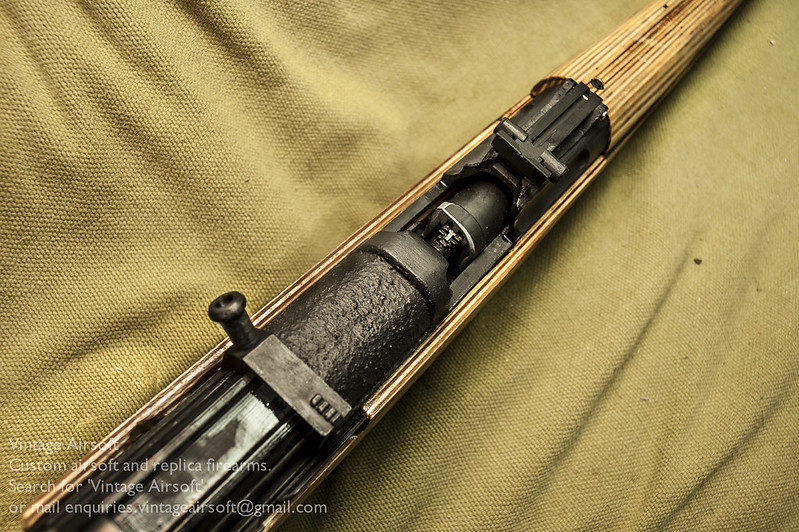
The receiver open. You can now see the finishing touches to the slide, which has been painted up using a mix of acrylics and coarse sand. This simulates the rough cast surfaces left over that were not milled flat as a manufacturing expediency.
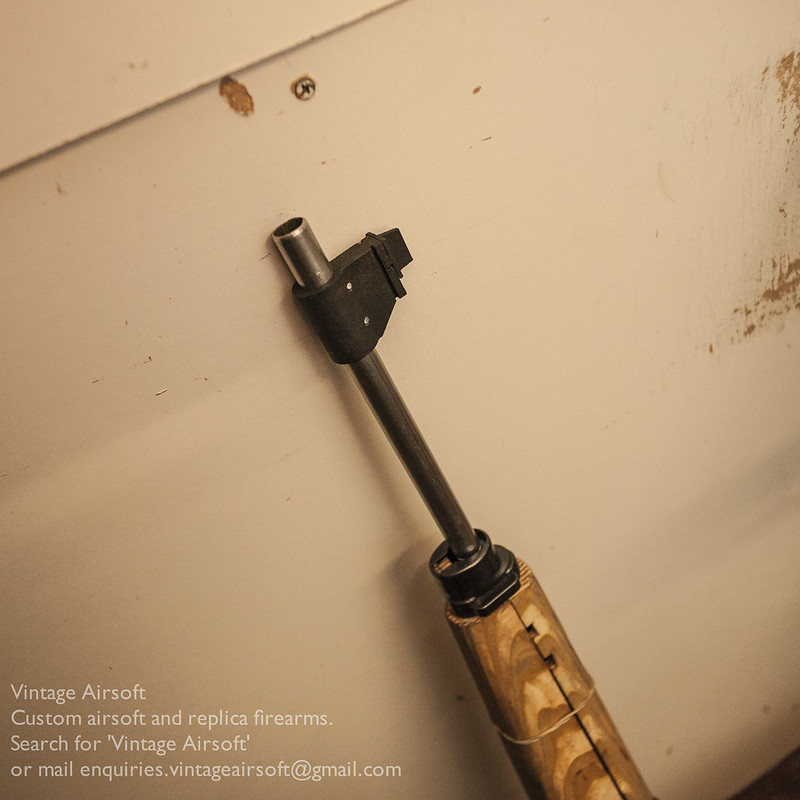
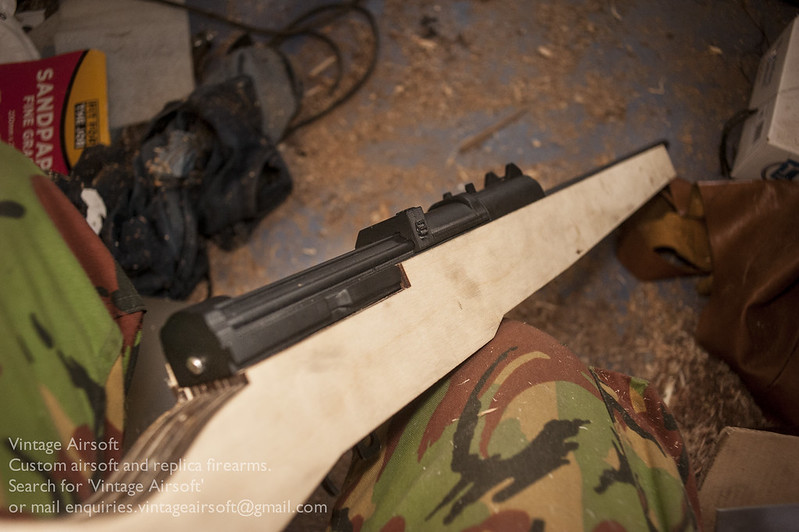
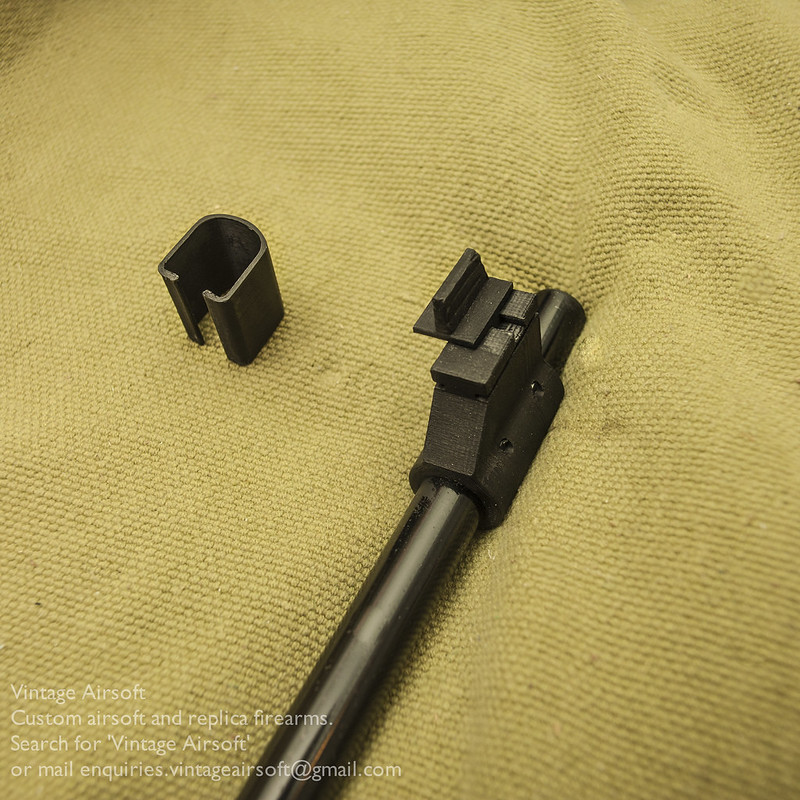
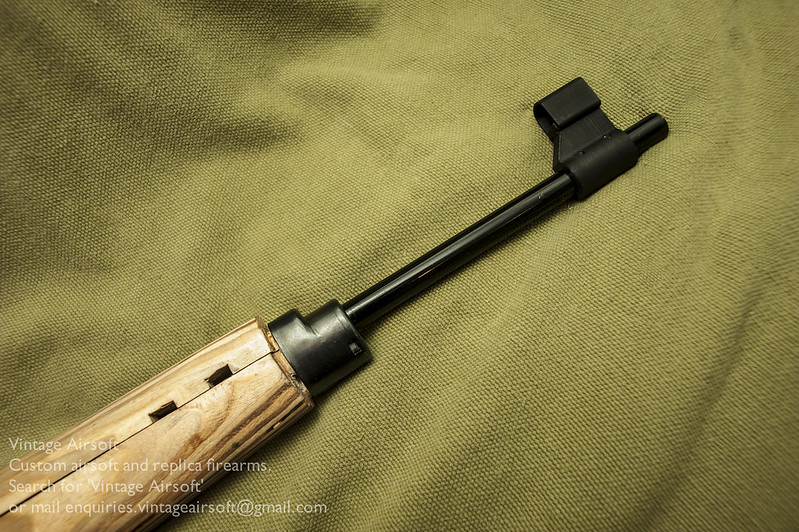
The foresight unit, 3D printed and pinned in place. The blade is adjustable for windage once the hood is removed.
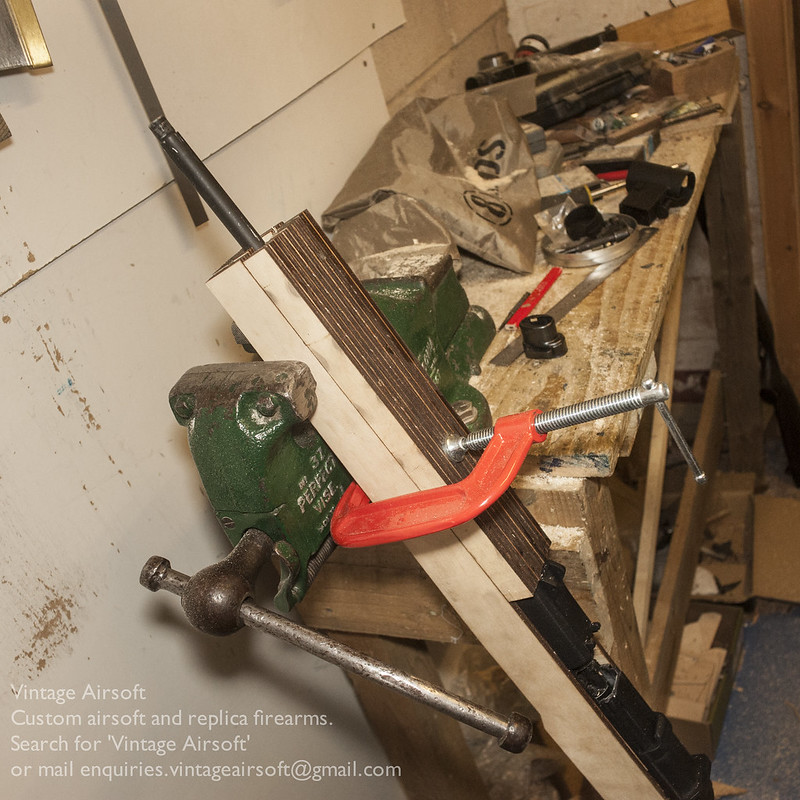
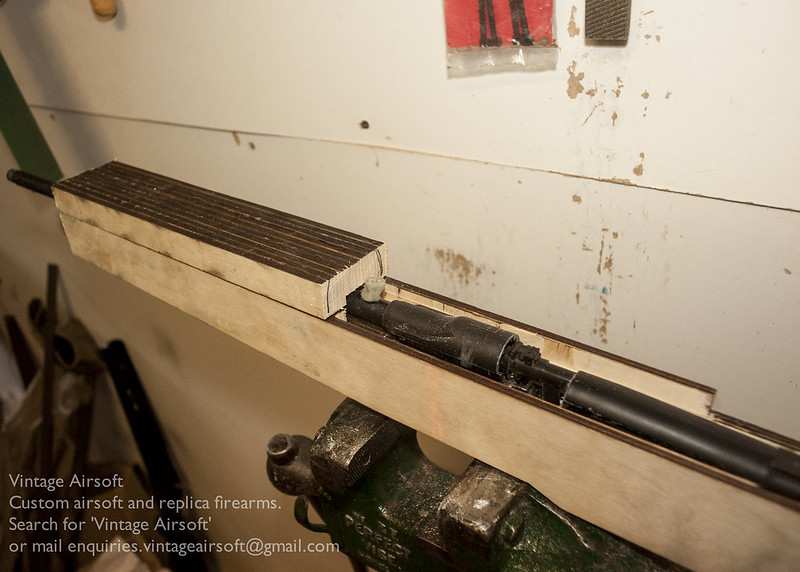
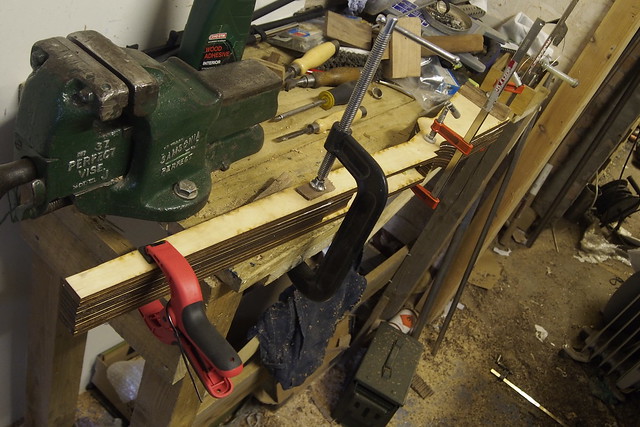
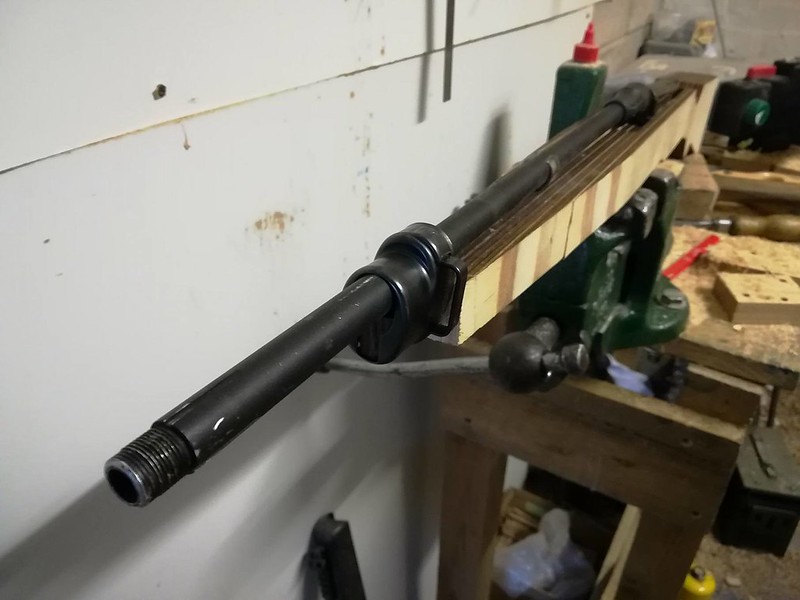
The barrel is black painted. Production versions of this may be oil blacked, though the fore-end cap will likely be printed rather than metal.
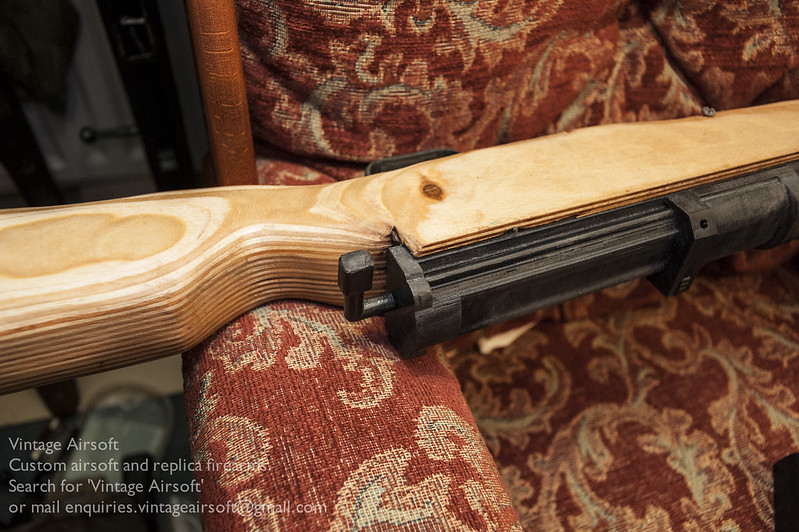
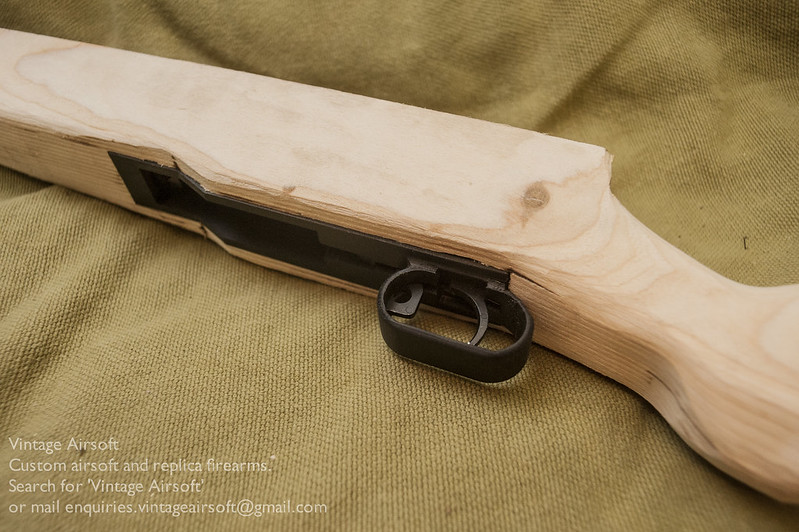
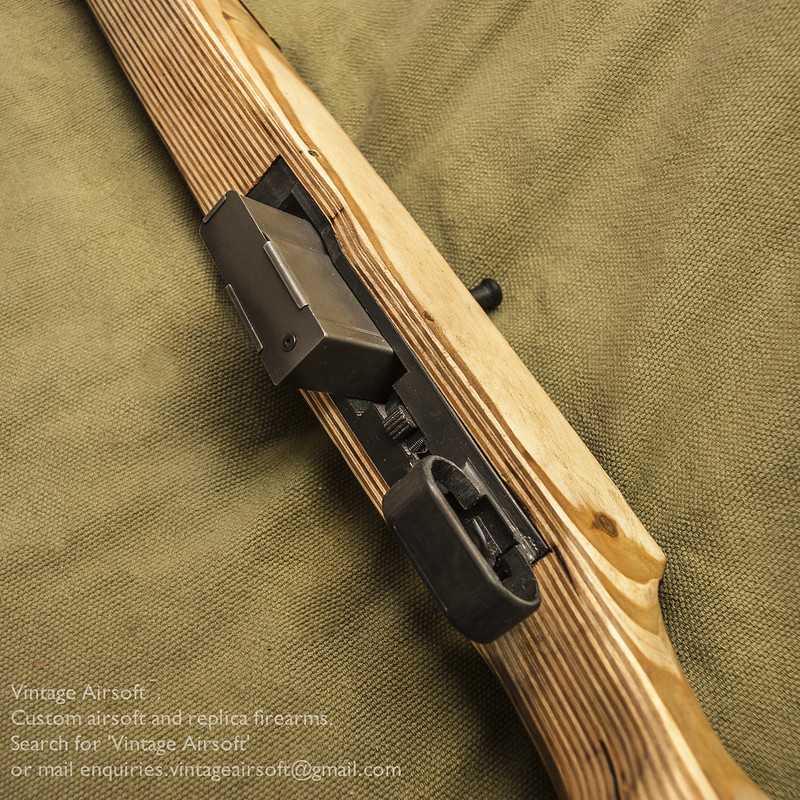
The magazine well and trigger guard. I may have to beef up the trigger guard in future versions. The magazine release is the small catch between the magazine and the guard. Although not greatly ergonomic, the original was designed to be fed with stripper clips to be fair.
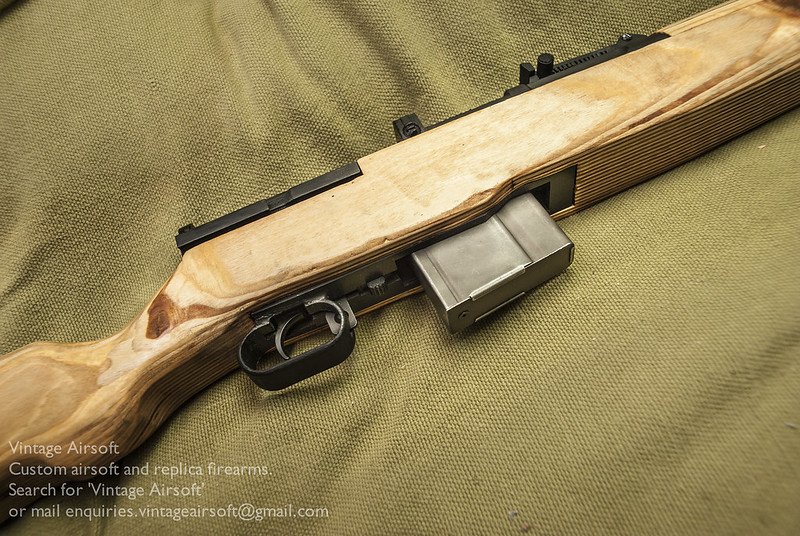
A second view.
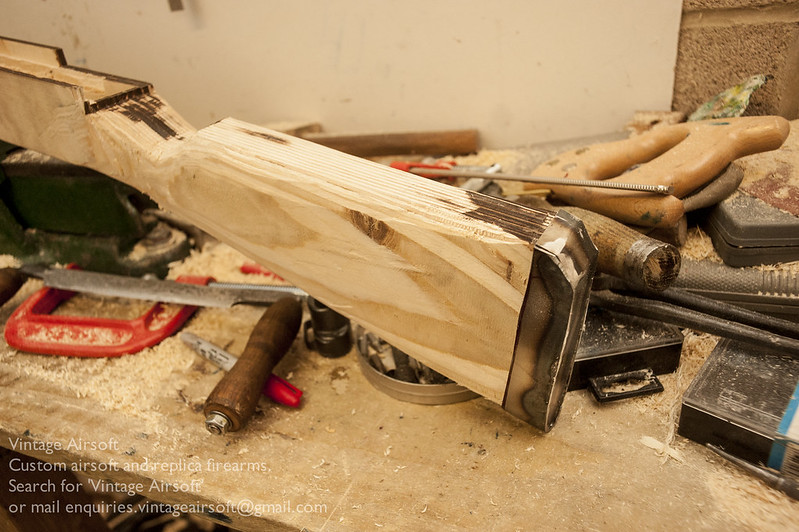
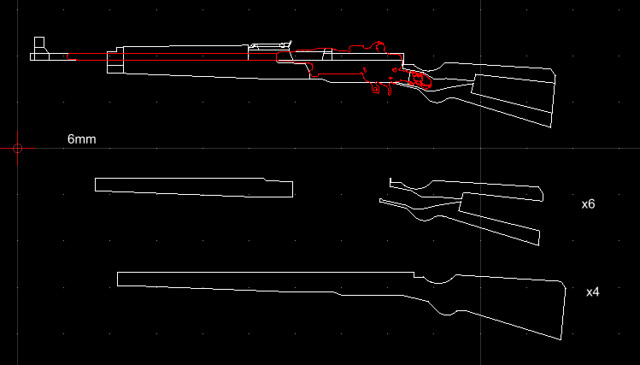
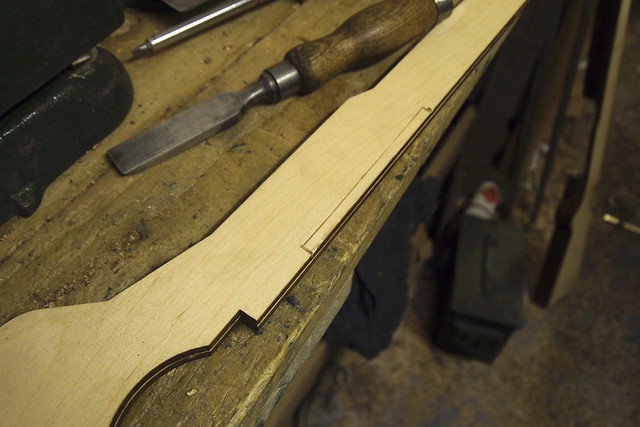
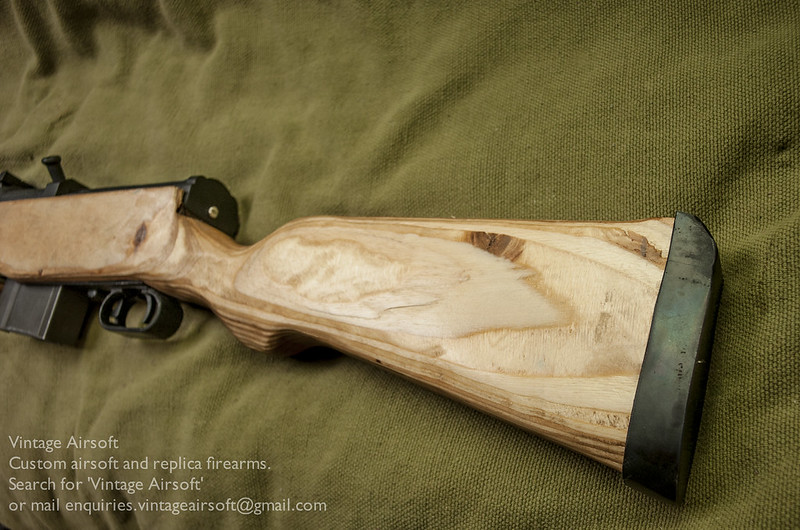
The buttstock needs a bit more work for production, but it’s a satisfying result. For production I am going to try and put a sling mounting through it as per the original.
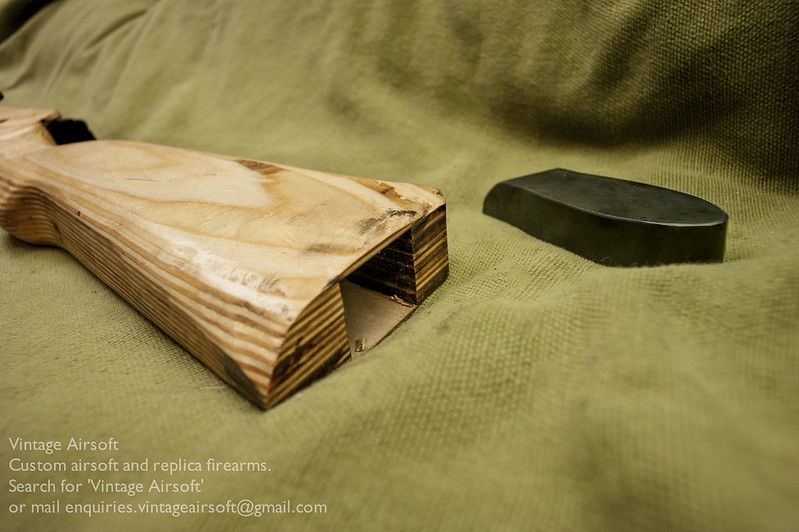
The buttplate comes off to access the battery compartment.
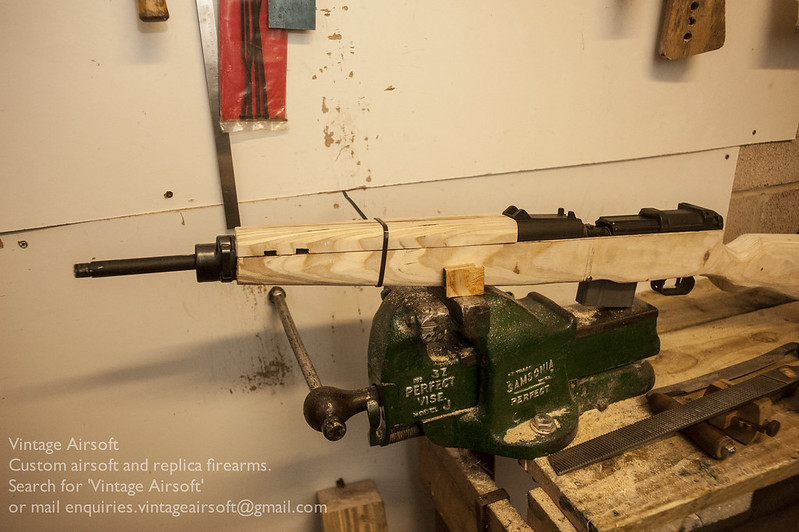
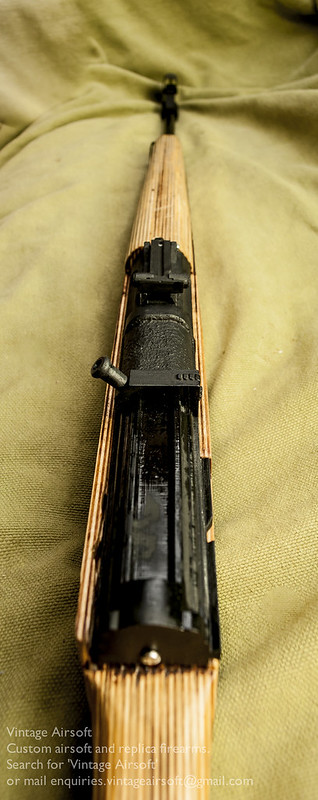
A quick view down the gun from the back.
I’m very pleased with this build I must admit. It looks the part and has a nice heft to it. Of course there have had to be some dimensional changes to fit the airsoft internals, but they aren’t any worse than AEG M1 Garands and without a direct comparison it ought not stand out too much.
Finally WWII airsofters have an option for a rifle that isn’t a K98k or an STG44.
If you have enjoyed this project or have an idea of your own, drop us a line on enquiries.vintageairsoft@gmail.com to discuss. ‘Like’ our Facebook page or follow the blog to get regular updates on projects and interesting videos and articles.
Don’t forget you can buy our smaller items via Etsy. Our larger items can be found here.