Enfield No.5 Mk 1 Build: Part 2

Cold War, Custom builds, No. 5 Enfield, Weapons, WWII

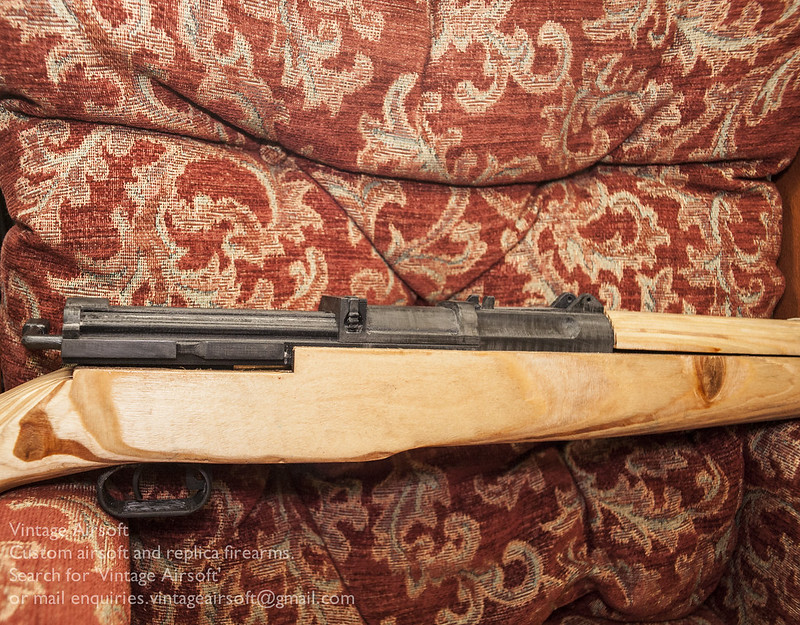
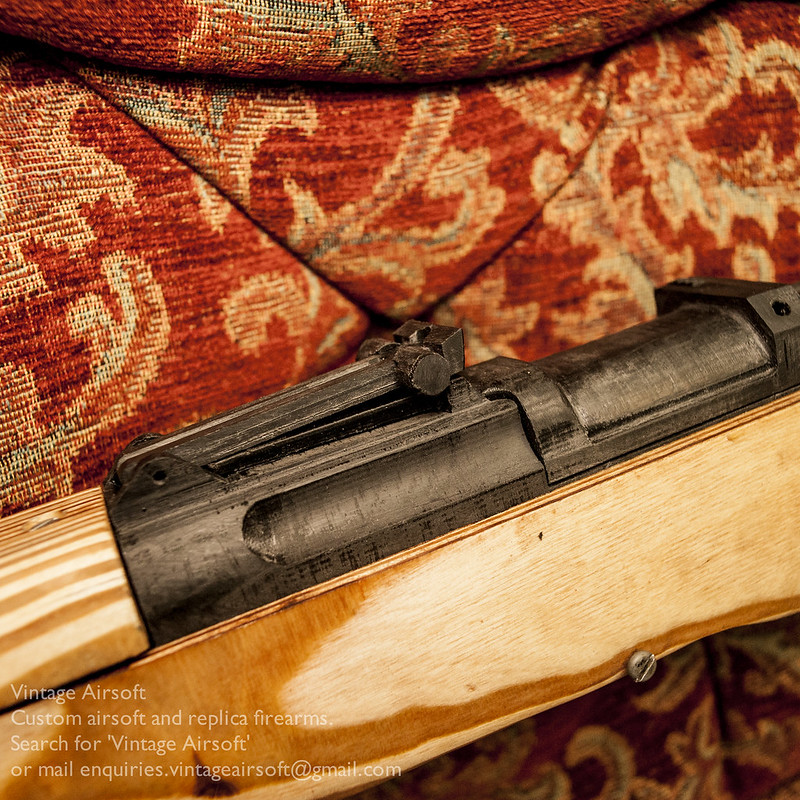
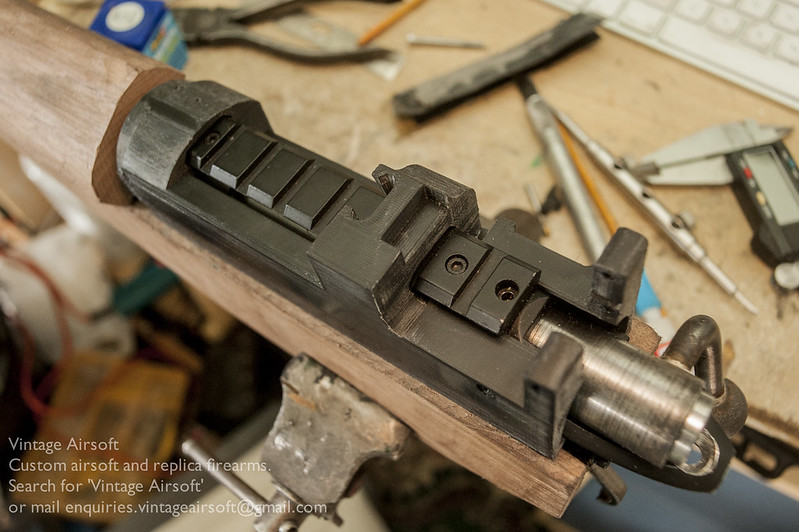
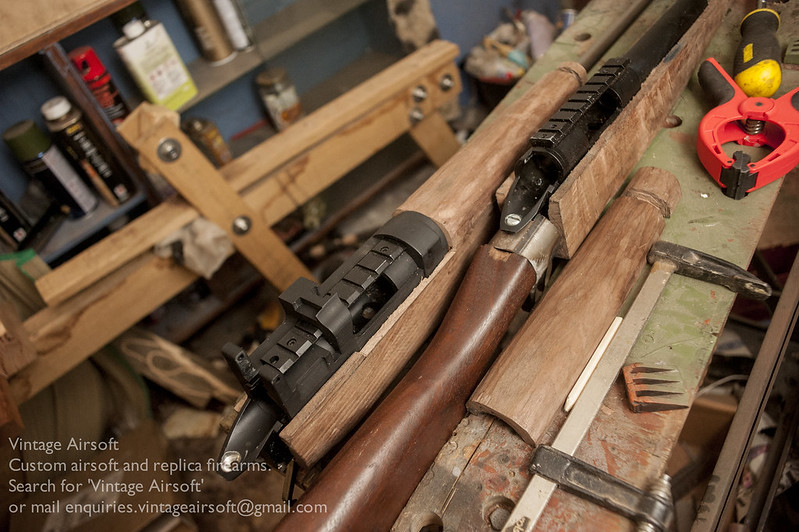
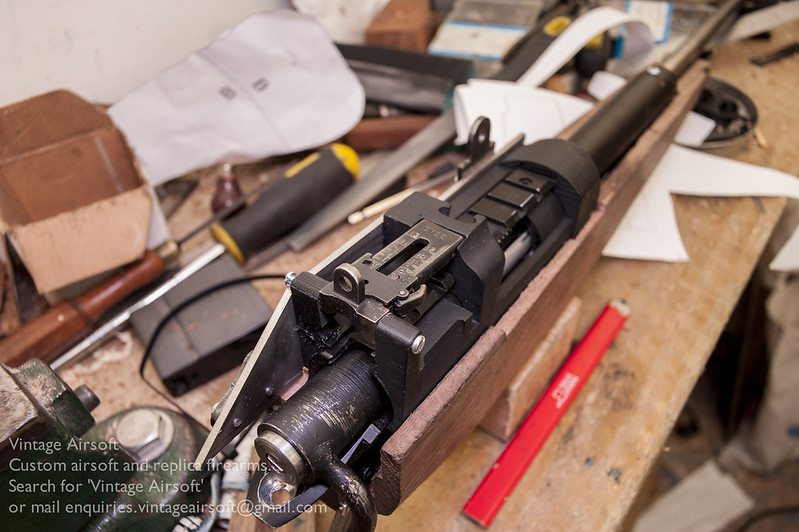
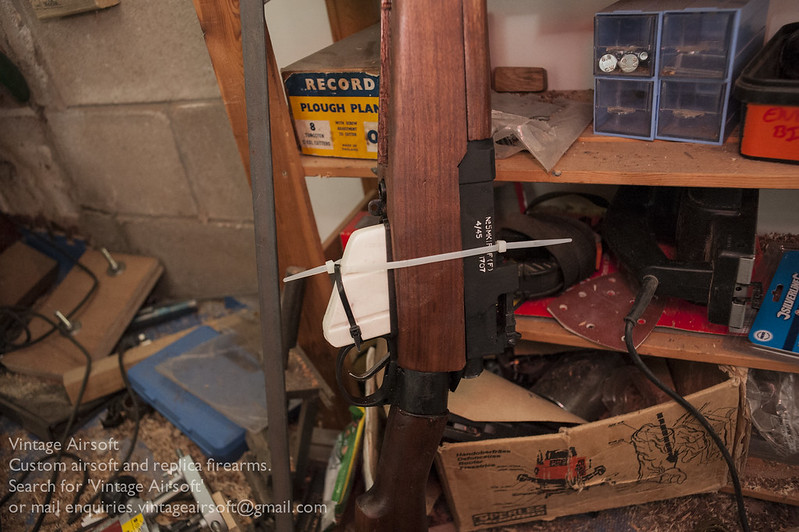
Part two starts with the receiver which has been 3D printed. I’m very pleased with the way the markings have come out on this, especially after painting up.

_DSC7433 
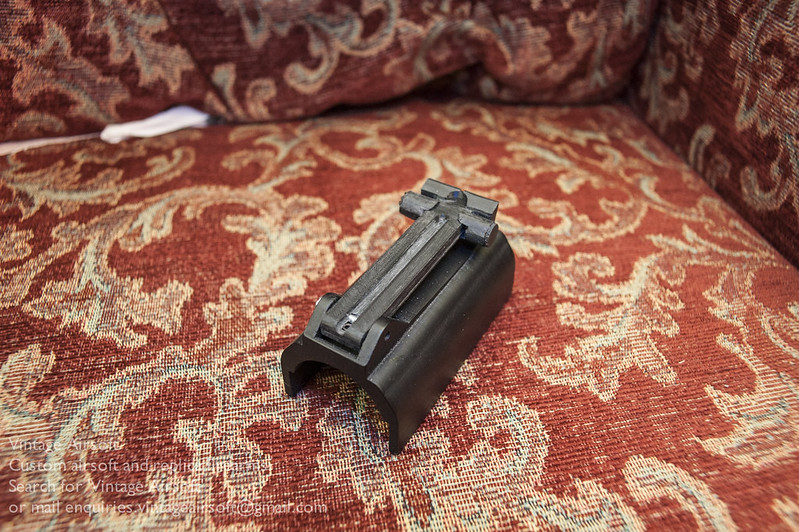
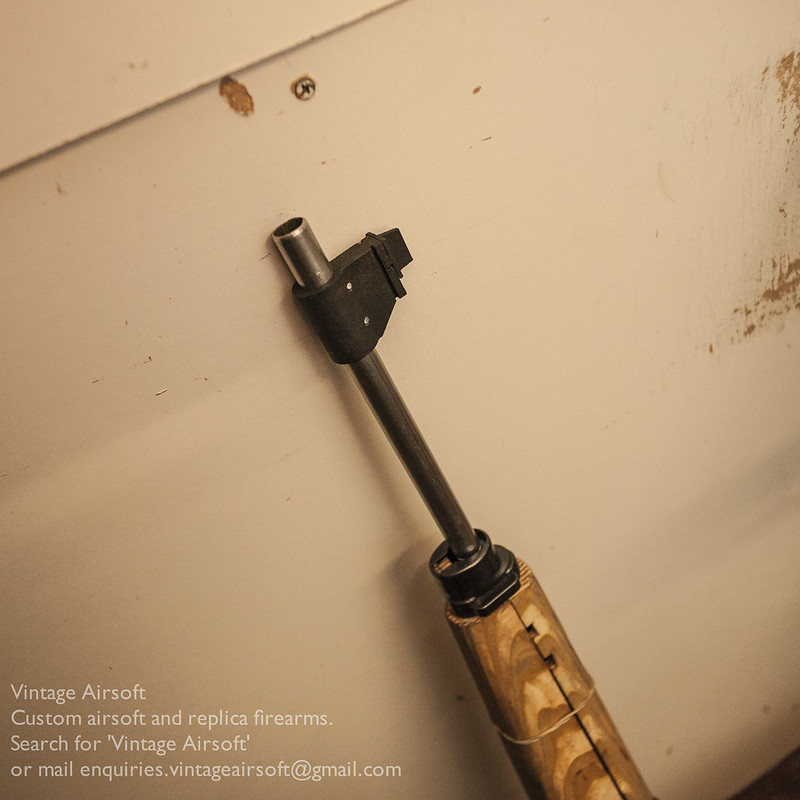
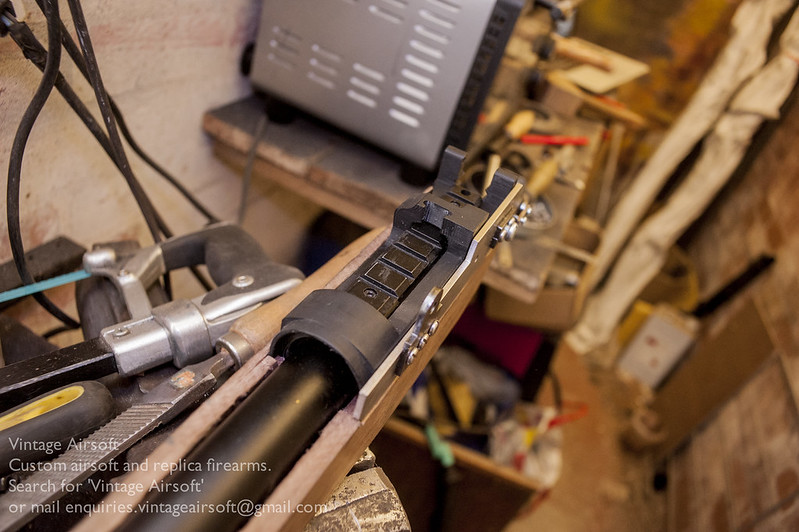
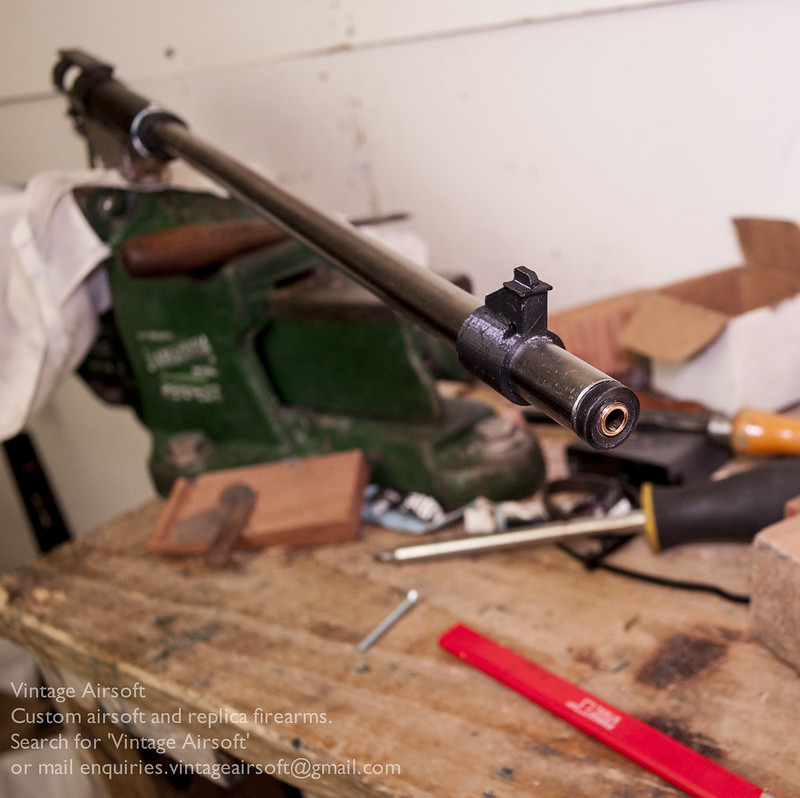
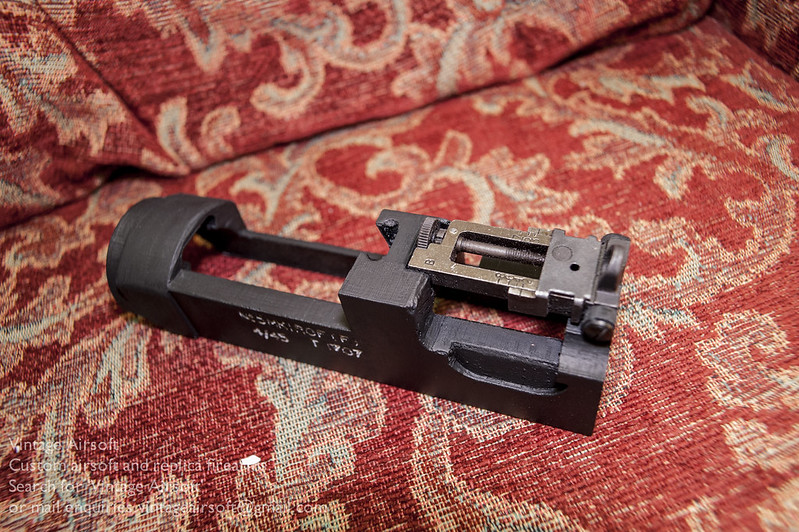
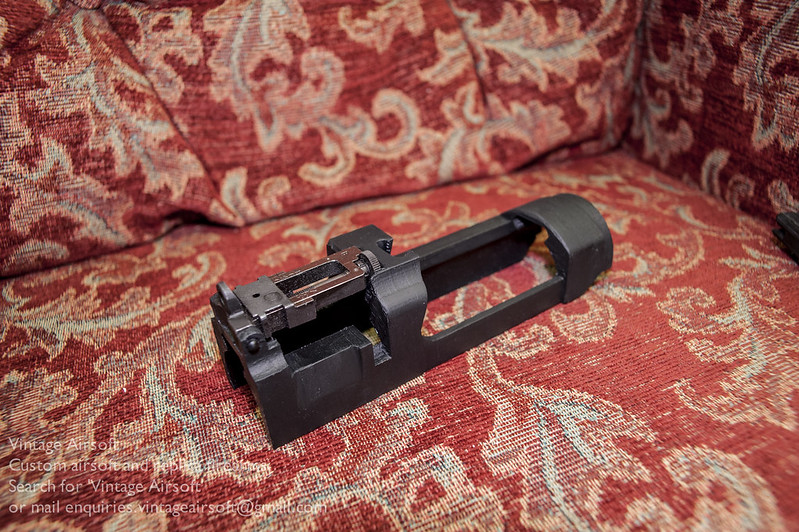
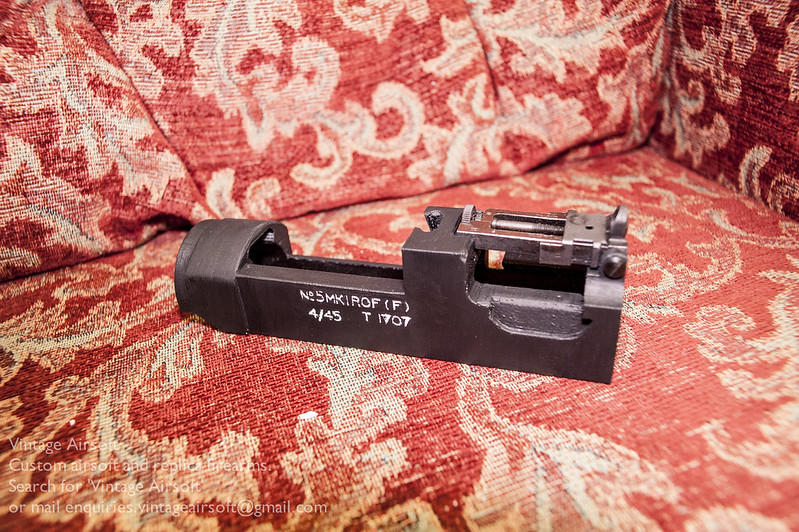
The rear sight fits in quite well, just needing a little filing down in the mountings for a snug fit.

_DSC7434   _DSC7435  

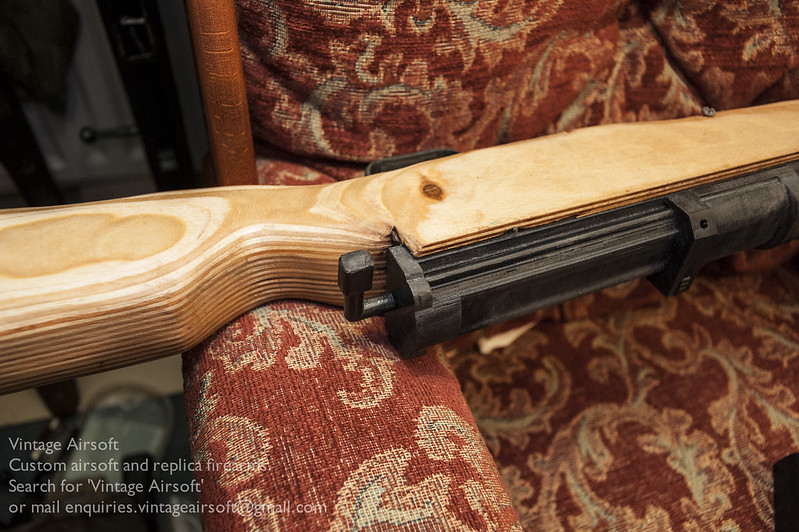
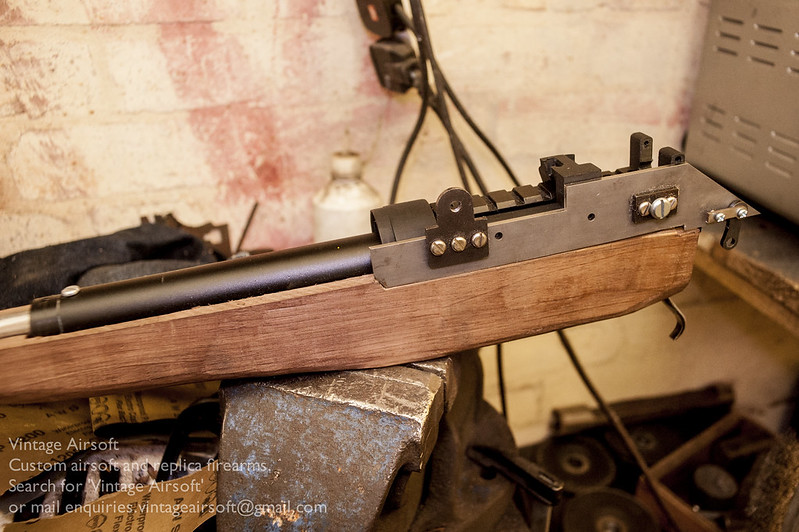
Fitted in the stock, the receiver sits in a cutout on the left, the right is concealed in the stock itself.

_DSC7451

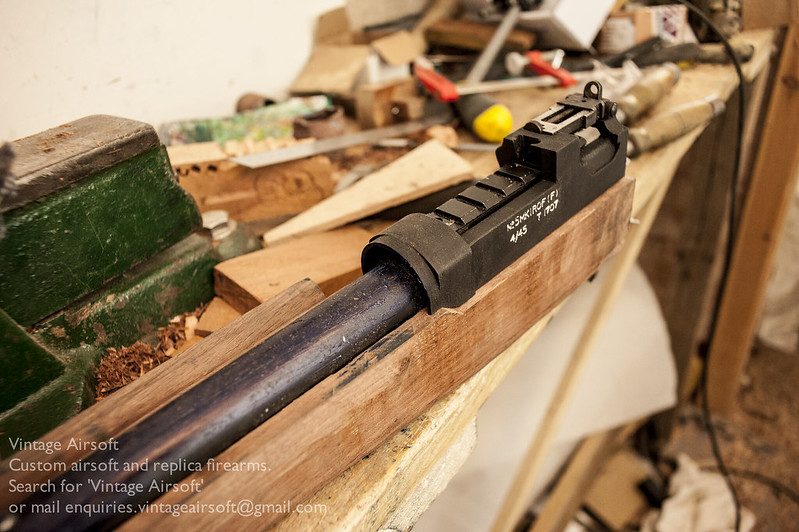
It took a little tinkering to get the top guard to fit, but it is now secured under the front of the receiver and at the front by the front band.

_DSC7453

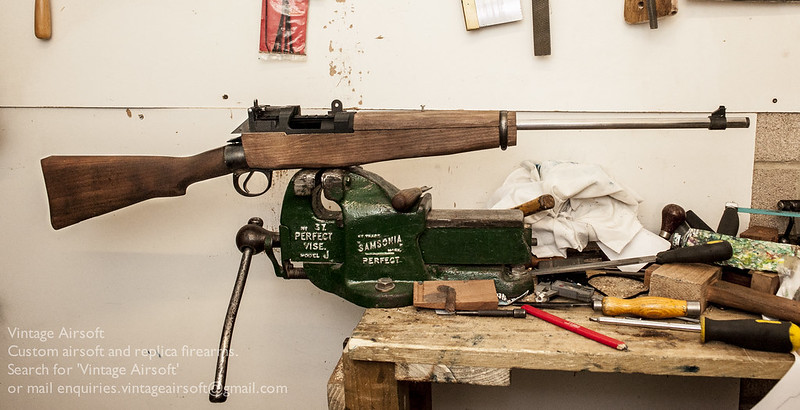
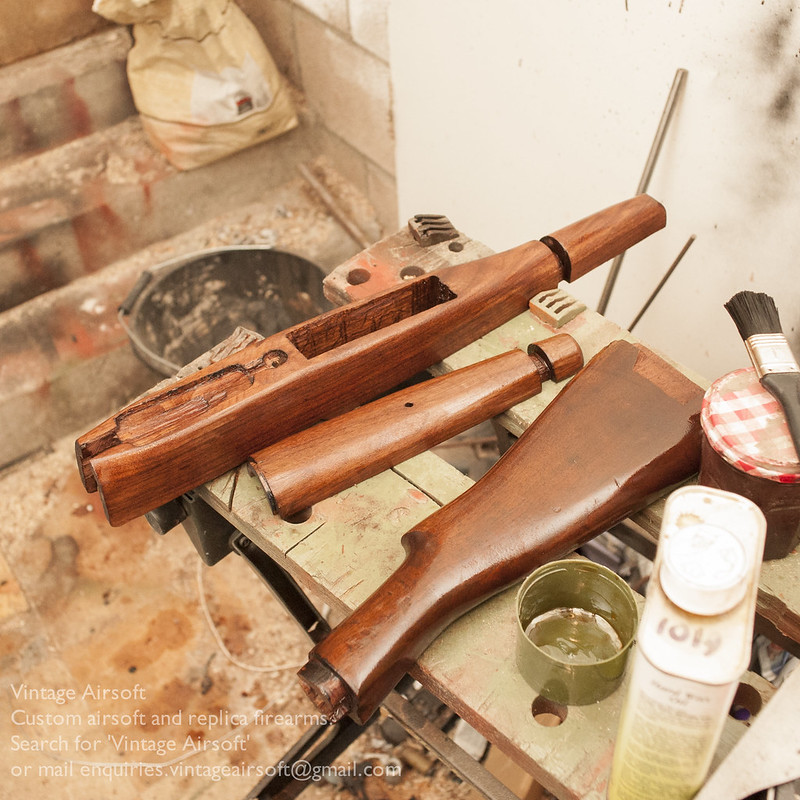
Once I checked all the parts fitted well, I stripped the wood away. I applied my red-brown stain blend that I use for my Sten Mk5 kits. 

_DSC7455

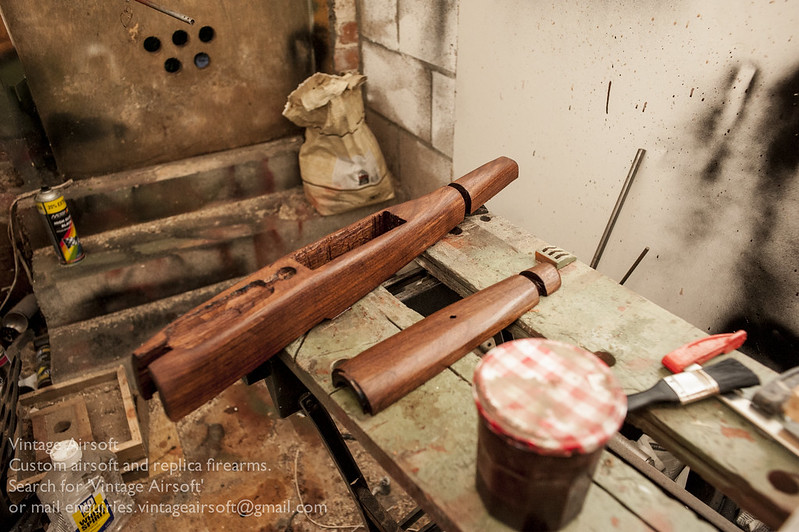
Once this had settled in, I applied a coat of slightly thinned hardwax oil, for a fairly hardwearing semi-gloss finish. 

_DSC7458

Finally, the resin faux magazine is expoxied into place. Once set, I’ll paint it up and she’ll basically be done!

_DSC7467


Pics of the completed rifle to follow soon.


If you are interested in this project or have an idea of your own, drop us a line on enquiries.vintageairsoft@gmail.com to discuss. ‘Like’ our Facebook page or follow the blog to get regular updates on projects and interesting videos and articles. 

Don’t forget you can buy our smaller items via Etsy. Our larger items can be found here.


G43 AEG Build 2: Part 3

Battle Rifles, G43 MkII, Weapons, WWII

The last leg of the G43 build are the details that will make it really look the part. First up: the rear sight leaf. This is adjustable for elevation, using a spring and teeth that engage on the right side of the leaf.

Screen Shot 2017-11-04 at 18.21.47

At the front, I’ve had a spring 3D printed. This slots into the nose cap provided by the client.

_DSC7418

At the back of the receiver, the new one has the disassembly lever.

_DSC7416

The rear sight in the flesh. It is kept down by the spring in the front of it.

_DSC7411

Eagle eyed viewers will notice that the receiver has changed a bit, there are now two scoops in the side up by the chamber. There are also stronger rails which had proven a little bit weak to stand up to repeated disassembly.

_DSC7402

The rear sight in place on the new receiver. 

_DSC7446

The foresight is pinned in place with two 3mm pins. The foresight blade is adjustable for windage, so with the rear sight elevation adjustable you have a good range of adjustment.

_DSC7448
 

Although this is now nominally all in place, I need to do some last bits of finishing. Although it is all there there is something missing to give it that ‘X-factor’. I expect it’ll all come together once the painting has been done.


If you are interested in this project or have an idea of your own, drop us a line on enquiries.vintageairsoft@gmail.com to discuss. ‘Like’ our Facebook page or follow the blog to get regular updates on projects and interesting videos and articles. 

Don’t forget you can buy our complete products via Etsy.


L42A1: Build 4

Cold War, Custom builds, L42A1/Enfield Enforcer, Rifles, Weapons

It has been quite a while since my last L42 post, which I finished with the famous last words: “There’s really not much more to do on this now.”

Well, there wasn’t on that one, it was alright when finished and I used it a few times in games but there were a few ways it could be improved, so I’ll share the improvements here taking over from the last build with my second model.


Most of the build so far has been very similar to the last L42 model. Where it differs mainly is around the receiver area. Previous models have been quite skinny and lightweight, but I’ve found them a little unsatisfactory so have beefed up the latest design and built it around the rail that is mounted on the standard VSR I use. This should help to pin it down and keep it solidly mounted, which will improve accuracy with iron sights and provide a more solid mounting for scopes.

_DSC7326

The side plate in place, this will need permanently affixing.

_DSC7333

The side plate protrudes slightly further forward than the rest of the faux receiver, a minor mistake I will correct in a future version of this.

_DSC7334

The top guard now slots in under a securing bracket that is part of the receiver. I’m hoping to do away with the securing screws used in the previous rendition so that the only hole will be for the hop unit adjustment.

_DSC7335

The new rear sight in place. This is a slightly nicer one than my previous sight with some milled parts rather than being entirely pressed steel.

_DSC7389

The inner barrel cut to length and re-crowned on the lathe. I made a barrel support and spacer plug in plastic.

_DSC7390

A dry assembly of nearly everything. I need to get the scope mount finished and fit the foresight guard.

_DSC7392

The receiver isn’t lined up perfectly, this is the sort of thing the dry assembly is to pick up. I can make these tweaks before applying the metal and wood finishes.

_DSC7394


If you are interested in this project or have an idea of your own, drop us a line on enquiries.vintageairsoft@gmail.com to discuss. ‘Like’ our Facebook page or follow the blog to get regular updates on projects and interesting videos and articles.