PZB-39: Build 2

Anti-Tank, Custom builds, PZB-39 Rifle, WWII

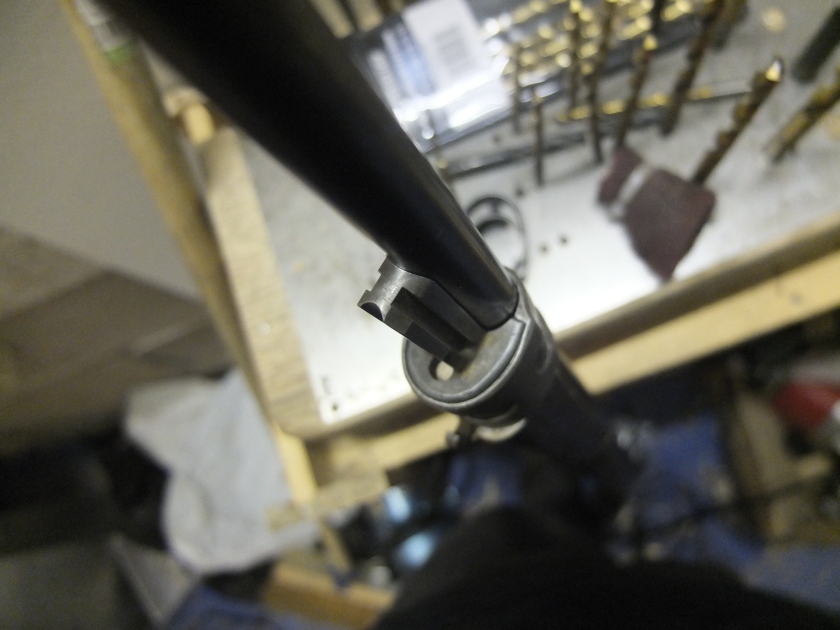
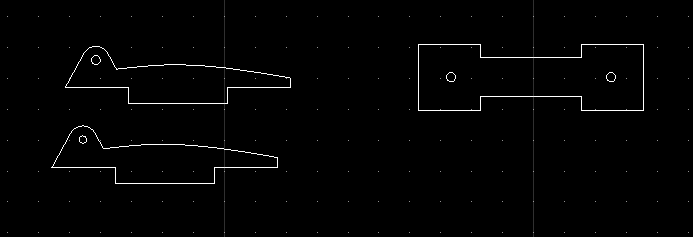
The next step is to make the new bolt action. This allows the bolt to be used without cutting out a section at the side of the receiver.

_dsf8124

The front section locks the breech and operates the out of battery safety. The knob at the back keeps this in place and allows the user to grip the bolt to operate it.

_dsf8139

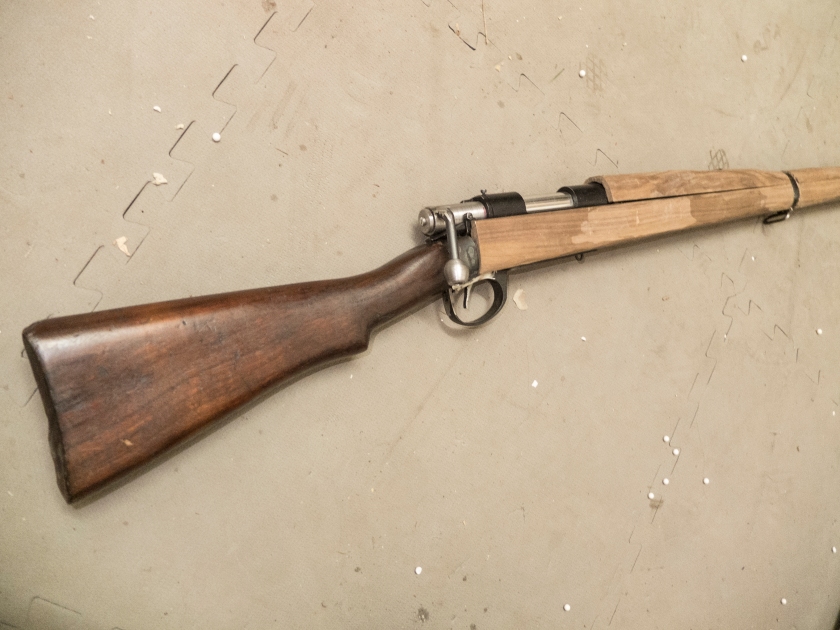
The receiver of the donor rifle (a VSR clone)  screws into the receiver of the rifle.

_dsf8151

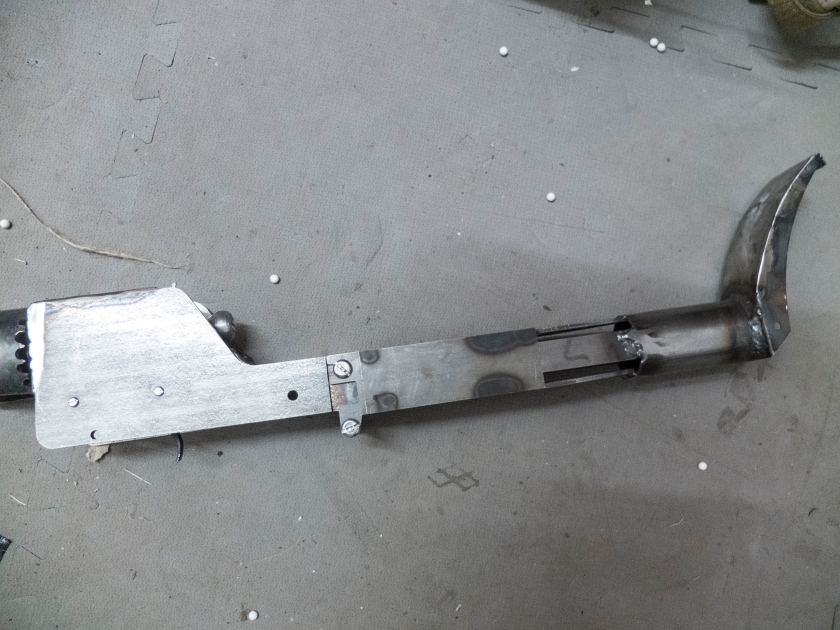
The top of the receiver is welded in place, as are the thick back parts of the barrel. These also support the weight and hold the position of the internal parts.

_dsf8183

Slowly, I add on the rest of the barrel. To simulate the tapered barrel of the original I am stepping it down slightly along the length at opportune positions.

_dsf8192

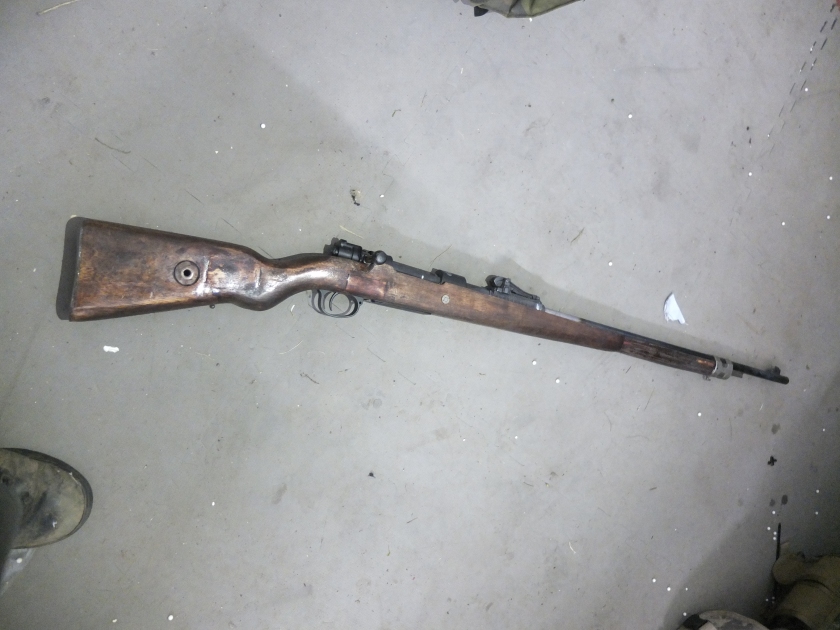
This thing is now huge. It is already longer than the G98, even without the buttstock attached!

_dsf8205

The next job was to rough fit the woodwork. This is always very challenging, especially for the VSR rifles.

20161121_160152

Apologies for the quality of the pictures here, my camera was out of action so resorted to the ‘phone!

20161121_160216

This is important, the carry handle makes something like this just about portable.

20161121_163205

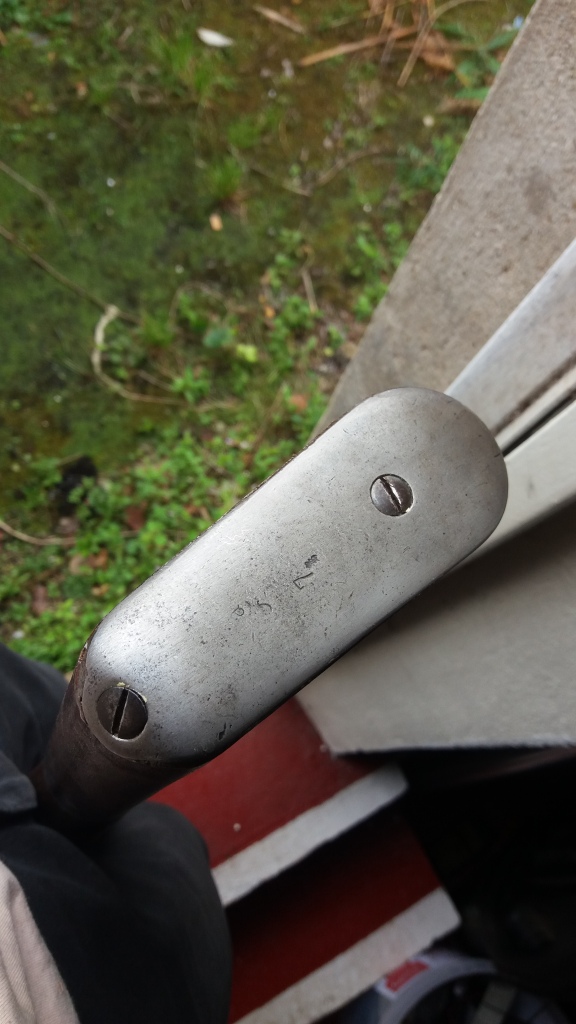
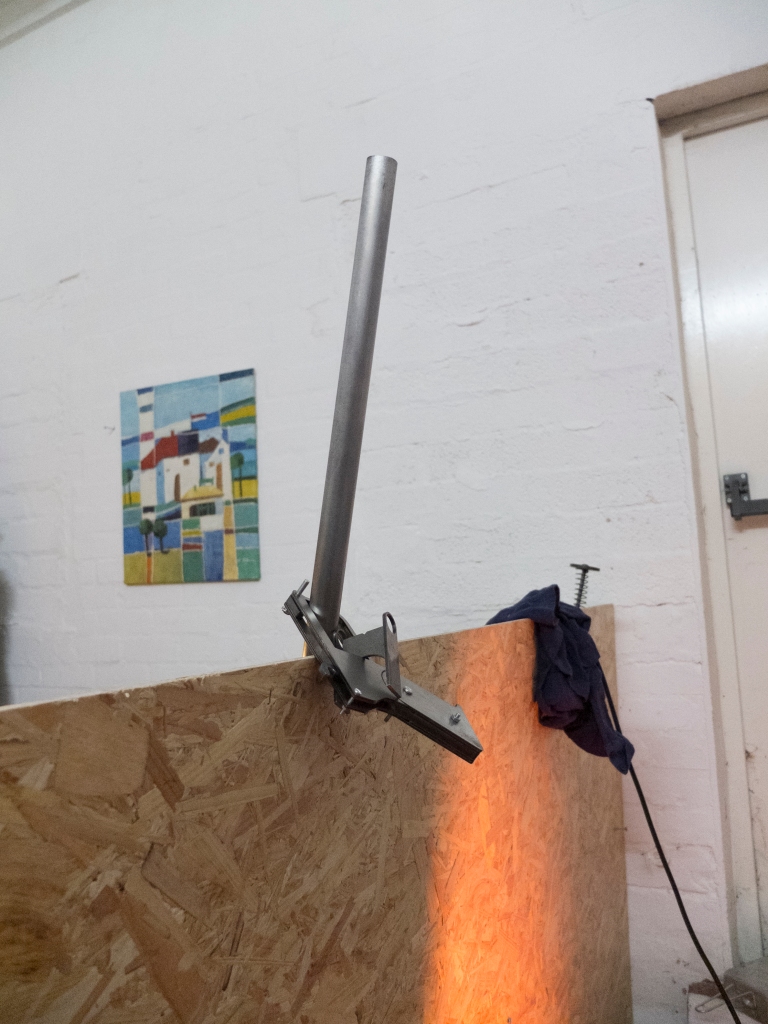
I bent two pieces of steel to shape by hand, two screws hold them together at the top. I will temper the steel so that it is stiff enough to hold the weight of the gun.

20161121_164521

And the buttstock is screwed into place. I will be modifying the top screw so that the stock can be folded and unfolded easily.

_dsf8350

The next few steps are to shape and finish the woodwork, screw said woodwork into place and mount the bipod, foresight unit and buttstock lock.

In the meantime, I am looking forward to getting this finished, it’s making my gun rack look comically small!

_dsf8354


If you are interested in this project or have an idea of your own, drop us a line on enquiries.vintageairsoft@gmail.com to discuss. ‘Like’ our Facebook page or follow the blog to get regular updates on projects and interesting videos and articles. 

Don’t forget you can buy our complete products via Etsy.

Gewehr ’98 Part 4

Custom builds, G98, Imperial Era, Rifles, Weapons, WWI

I used an epoxy putty to fit the buttplate due to the awkward shapes involved.

20160824_120737


20160824_120720

I also replaced the bolt handle, which had been secured with a small M3 screw which wasn’t solid enough to endure repeated use. Now it is secured with an 8mm plug and pinned in place. It is now also steel, so it shall wear better and keep its colour.

_dsf8141_dsf8317

I also replaced the front band/bayonet lug with an original, stainless steel one.

_dsf7903 _dsf7984

Pretty well finished now! Just got to put the band and top hand guard back together. Completed pictures to follow.


If you are interested in this project or have an idea of your own, drop us a line on enquiries.vintageairsoft@gmail.com to discuss. ‘Like’ our Facebook page or follow the blog to get regular updates on projects and interesting videos and articles.

You can also buy many of our finished products in our Etsy store.

Spring SMLE: Part 2

Cold War, Custom builds, Imperial Era, Lee-Enfield, Rifles, SMLE, VSR SMLE, Weapons, WWI, WWII

At the end of the last post, the SMLE looked like this:

_dsf8258

The next steps were to permanently attach the buttstock and fit the top handguard.

I cut the recess in the top guard to fit around the action and the barrel.

20161122_142003

I then cut space for the middle band. Once fitted this gave a rough idea of the sizes the furniture would need to be trimmed down to.

20161122_162350

In place, it all looks a bit square. Time to put it on the shave horse and put it to the drawknife.

20161122_162411

A bit of working later, the stock parts are rounded off and level.

_dsf8359

There is a slight bulge above the action as it is thicker much further down the rifle than on the real thing, but is isn’t too obvious. Once the rear sight is in place it should break up this bulge and make it almost imperceptible.

_dsf8360

For future models I may do a Top Dead Centre (TDC) modification, which will allow me to make the action a little shorter and reduce the bulge as with this mod there is no longer a large sliding part needing space at the front.

I shall be making the rear sight from steel, laser cut. This will be easier than modifying an original as it has to fit around the spring receiver. It will however take an original sight leaf. 

screen-shot-2016-12-12-at-18-32-17

At long last, the parts arrived! Welded together and smoothed out, next step is to attach the sight leaf. 

_dsf8405

This will take an original Enfield sight or a copy I’m making. It will be oil finished for maximum wear resistance.

_dsf8400


You can see the whole build so far here and a potted history of Lee-Enfield development here.

Don’t forget to join Vintage Airsoft on Facebook to keep up to date with the latest build photos, history and classic firearms.

British SMBL 2″ Mortar prototype: complete

Area effect, Complete builds, Custom builds, Products, SMBL 2" mortar, Weapons, WWII

At last, the mortar prototype is finished. The shells are steel tube and based on (though not replicas of) the SMBL 2″ mortar shells. The six fins and band at the top hold it straight as it is dropped into the barrel.

Inside you can fit a TAG shell or other 40mm grenade. To recharge them, simply remove the tube, reset the firing pin if needed and re-gas. The tube is held in place by the spring tension of the bottom half, these are taped up for dispatch.

Time for some pictures:

_dsc5973

Although the early models were supplied with an adjustable sight for targeting at different ranges, these were quickly ditched in favour of the single white line up the back for quick lining up. Adjustments could be made by eye.

_dsc5974

This picture shows how the shells come apart to fit a 40mm grenade or TAG shell. The top half just pulls out of the bottom, held in place by spring tension. The shell on the right is taped up ready for dispatch, this isn’t needed for use.

_dsc5978

When loaded, these are very safe to carry. MOSCARTs are notorious for going off when dropped. These shells have a firing pin which is recessed well into the tube which reduces the chance of this happening-prarticularly important when using TAG or solid state launchers.


If you want a mortar of your own, please do get in touch at: enquiries.vintageairsoft@gmail.com or join us on our Facebook page. Don’t forget you can buy our complete products via Etsy.