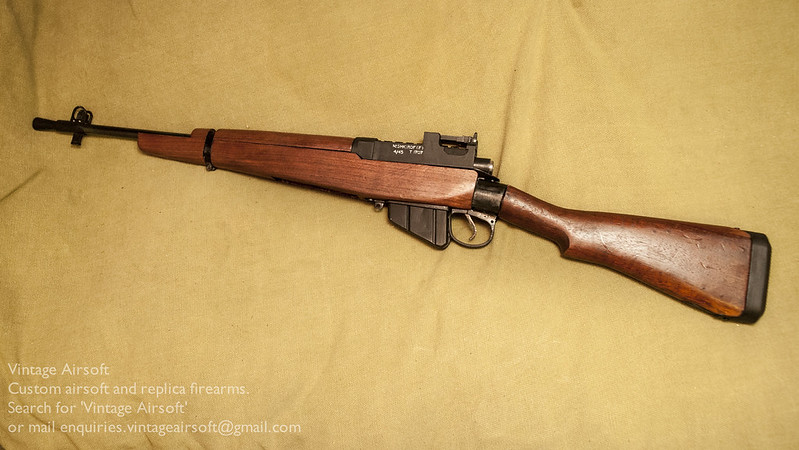
Mention the No.5 Lee-Enfield rifle and you will always get a reaction. It is one of the most controversial British small arms, beaten only by the SA80 system and the EM-2.

The idea of the No.5 was to create a shorter, handier and lighter version of the British service rifle, the Enfield No.4. This had already seen some upgrades from its predecessor the No.1 MkIII. Contrary to popular belief, this effort to lighten and shorten the Enfield design was not specifically to aid in jungle fighting (though this was clearly on the Empire’s radar) it was, in fact to provide Airborne troops with a rifle less awkward to carry in the confines of an aircraft.

Climbing into a Hotspur glider during training. Although glider design improved on this compact format you can see where the desire for a handier weapon came from.
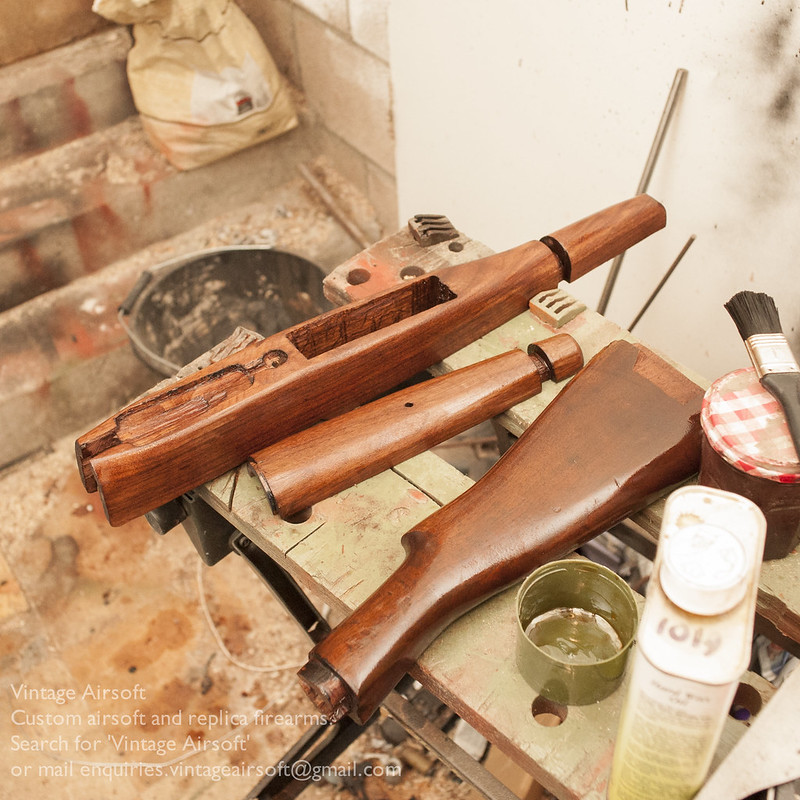
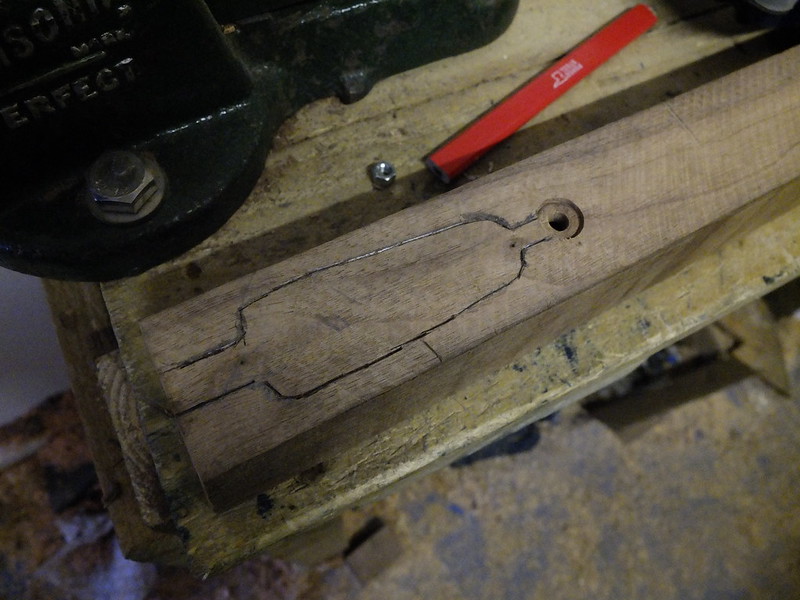
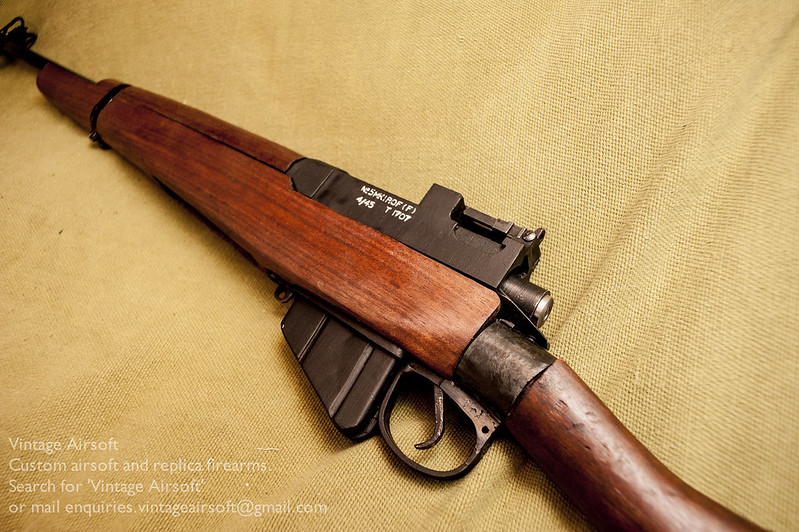
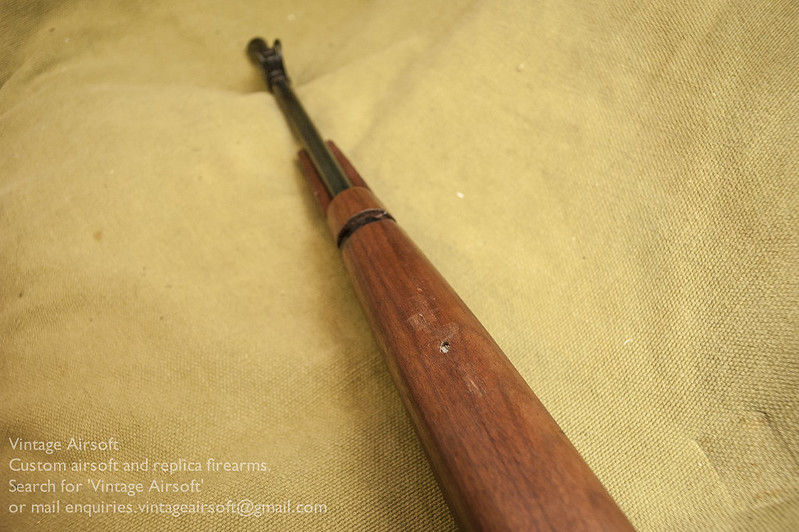
This it certainly achieved, it is around 2lbs (0.9kg) lighter and nearly 5″ (125mm) shorter. Most of this saving was achieved by shortening the barrel, though also through lightening cuts around the receiver to remove excess material and lightened versions of certain components (such as the bolt handle and trigger guard/magwell).
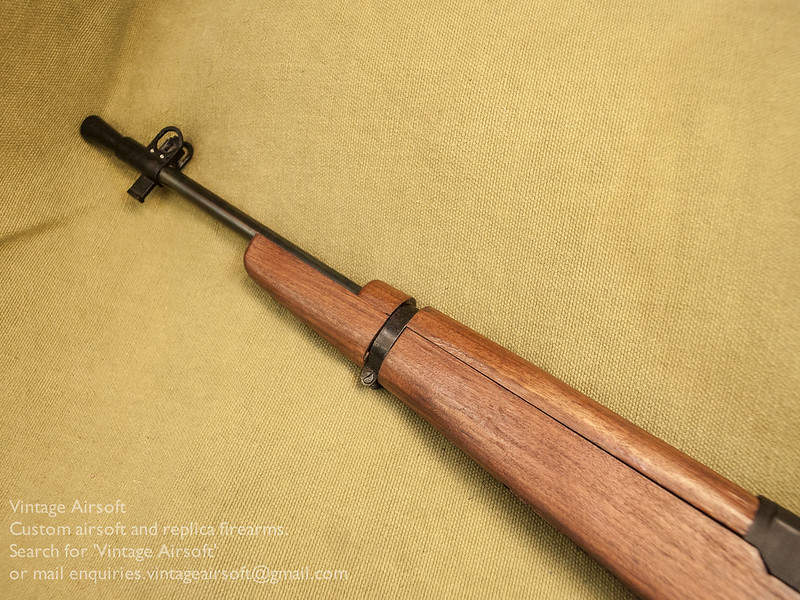
As a result of this shortened barrel, a flash hider was added. The length of the standard rifles meant that most of the .303 cartridge load was effectively used and produced only a (relatively) usable muzzle flash. The No.5 however has a significant muzzle flash, which could be blinding to the shooter in low-light conditions. The flash hider is not actually there to hide the flash from the enemy, it’s to hide it from the user.

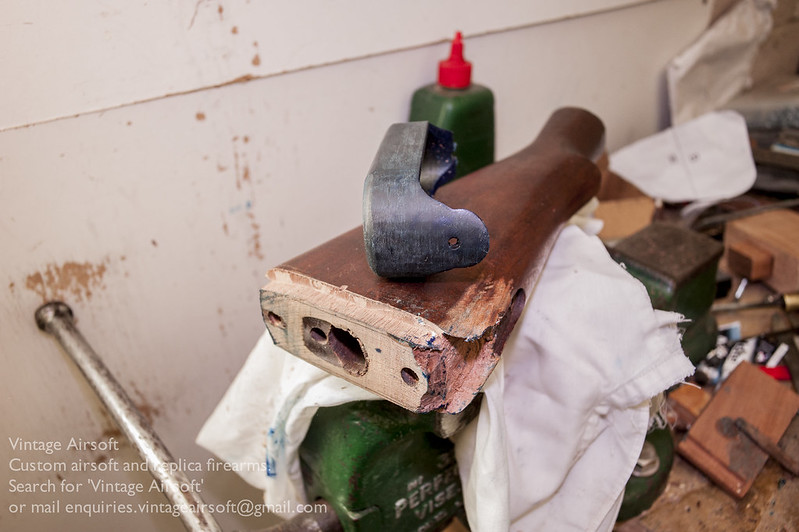
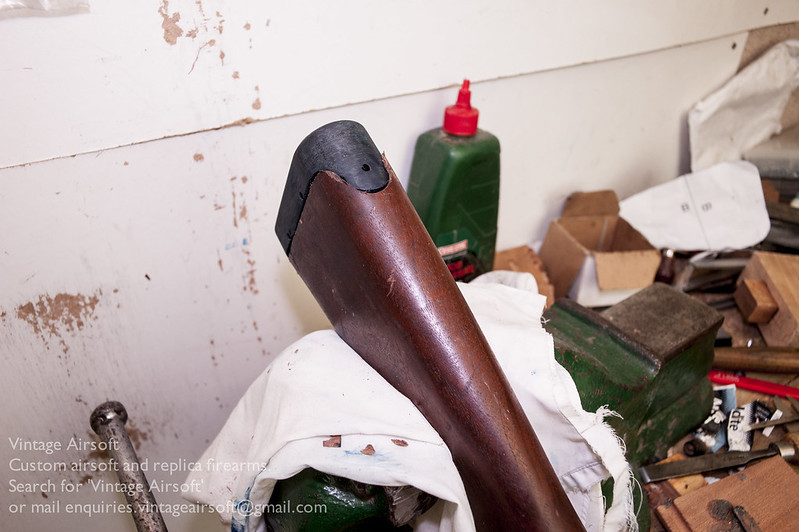
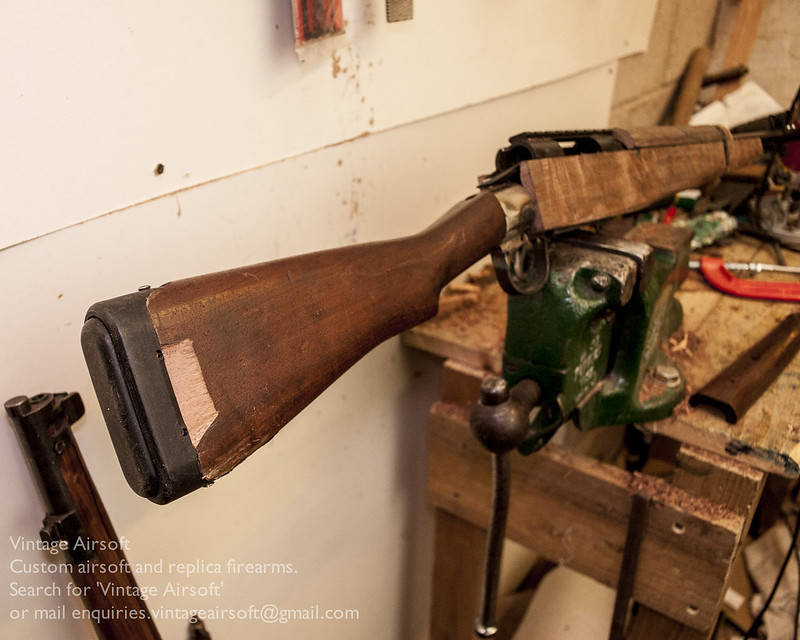
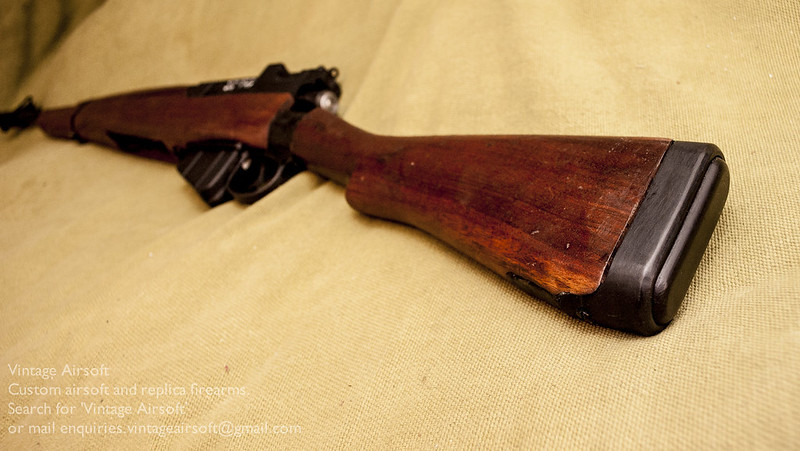
As a result of the lightening, perceived recoil is also greater. To counteract this, the designers added a rubber butt-pad in place of the traditional brass or steel plate. A good idea, except that they made it very small, a bulging pad missing out a lot of the butt’s surface area. So that increased perceived recoil was forced into an even smaller part of the shoulder. Thank goodness it was comfy, soft rubber right? Err, well concerns around durability meant that a pretty hard rubber compound was used. Not great at the time and 70 years on they have only grown harder.
The controversy was that these rifles allegedly suffered from a ‘wondering zero’. This means that once sighted in, the rifle would not hit the same aimed point consistently. This was the reason the War Office gave for discontinuation of No.5 production in 1947, only three years after is was introduced. This makes it one of the only military service rifles to be outlived by its predecessor.
Several aspects of the rifle design have been suggested as causes including:
-The lightening cuts causing the receiver to flex when fired. This could cause headspace issues or inconsistency between shots over time
-The flash hider if fitted incorrectly or damaged may cause gas imbalances around the projectile, allowing shots to wonder of their typical course
Modern No.5 MkI owners have been unable to reproduce this wondering zero effect, which makes it look likely that this was only given as an excuse to shift bolt-actions to the rear echelons and give them in aid to allies to speed up introduction of the self-loading rifle that every other major power was adopting or had already.
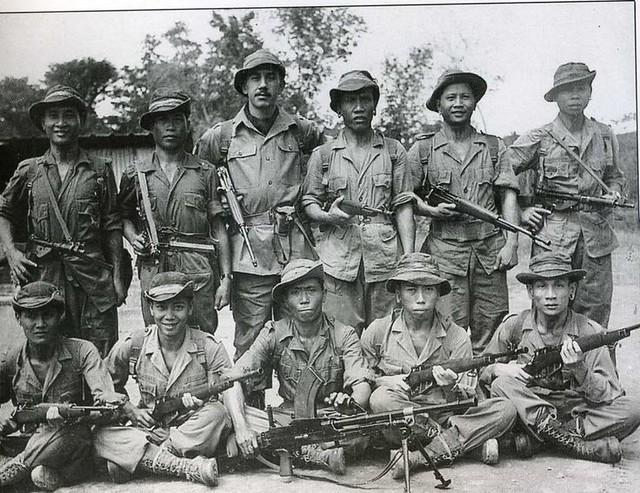
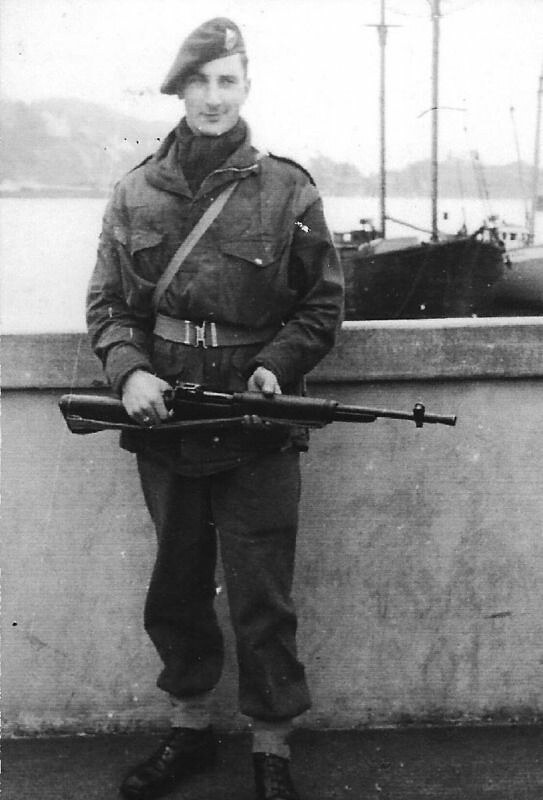
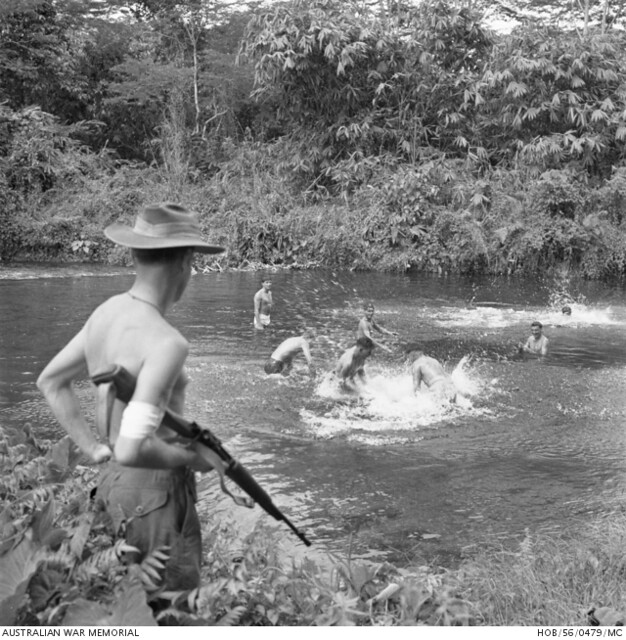
Nevertheless, the No.5 saw limited service in Northern Europe, notably during the liberation of Norway, but most of its service life was post WWII, in Korea and Malaya, where they were not only used by British troops but also local forces.

For an outline on the No.5 MkI, see Ian’s video at Forgotten Weapons.
For some in-depth information, see C&Rsenal’s article on the rifle, including how to spot the many fakes available.
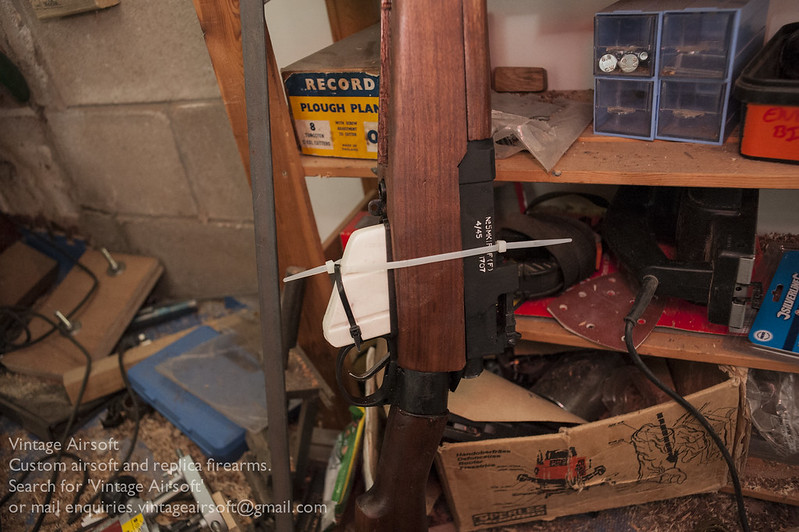
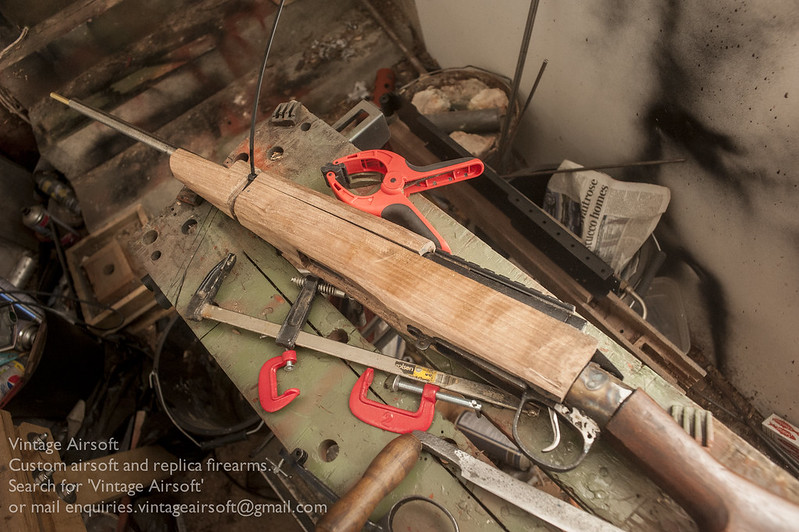
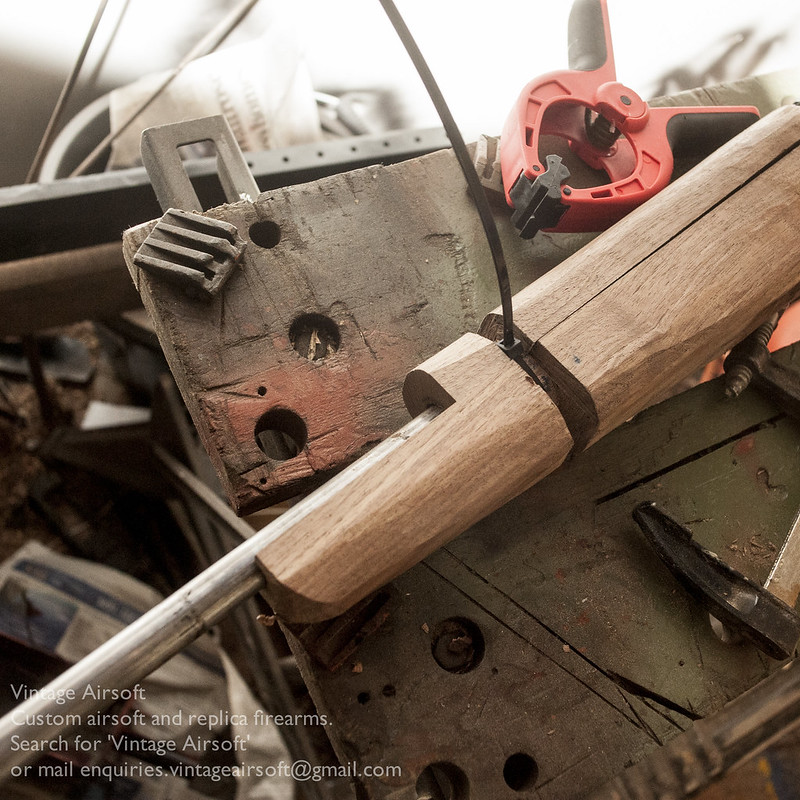
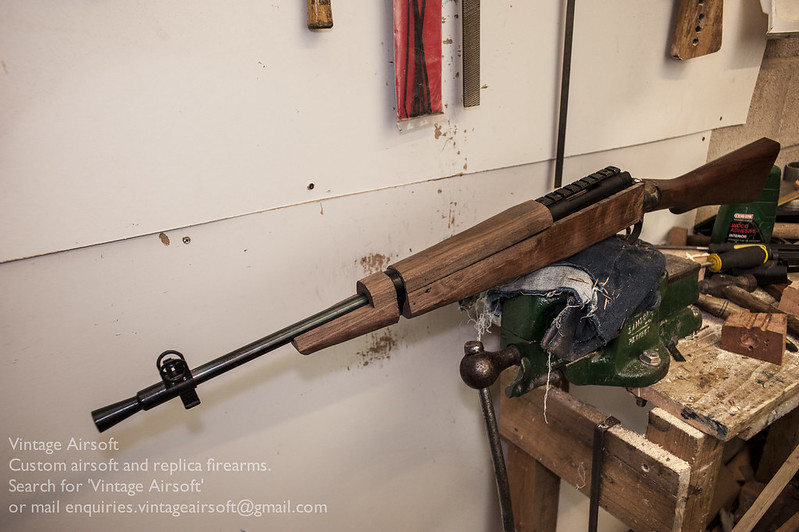
When the build posts go up, you can see the progress here.

If enjoyed this piece or have an idea of your own, drop us a line on enquiries.vintageairsoft@gmail.com to discuss. ‘Like’ our Facebook page or follow the blog to get regular updates on projects and interesting videos and articles.
Don’t forget you can buy some of our complete products via Etsy.

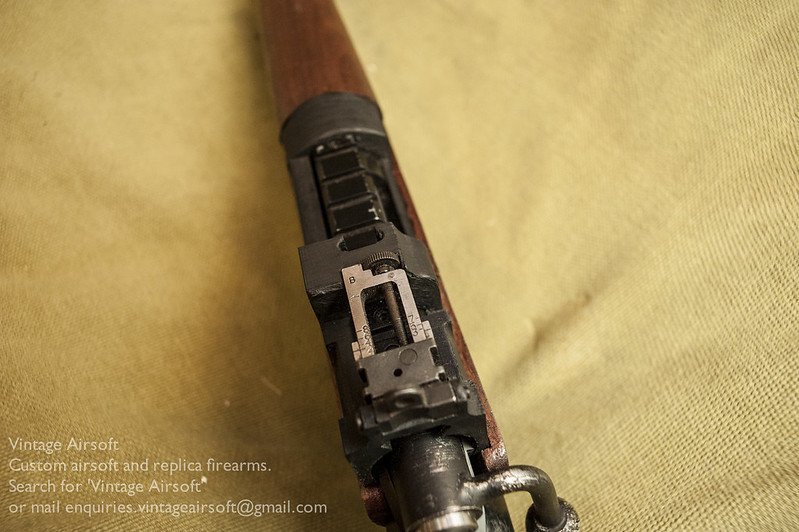


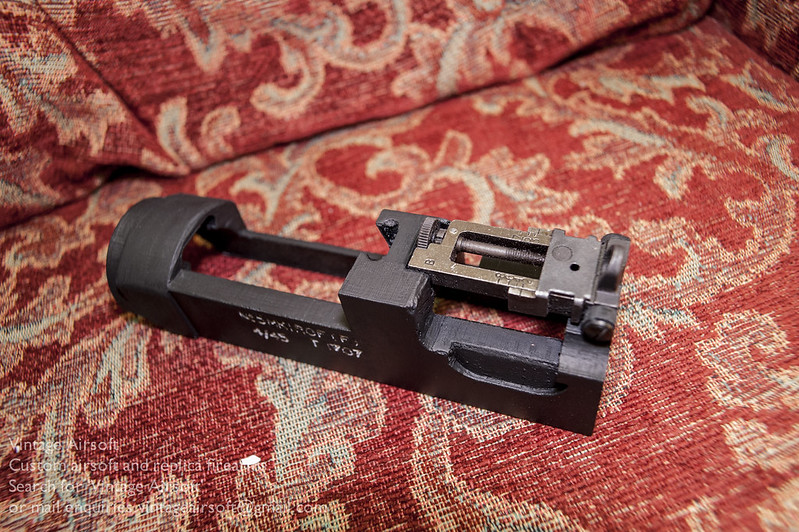
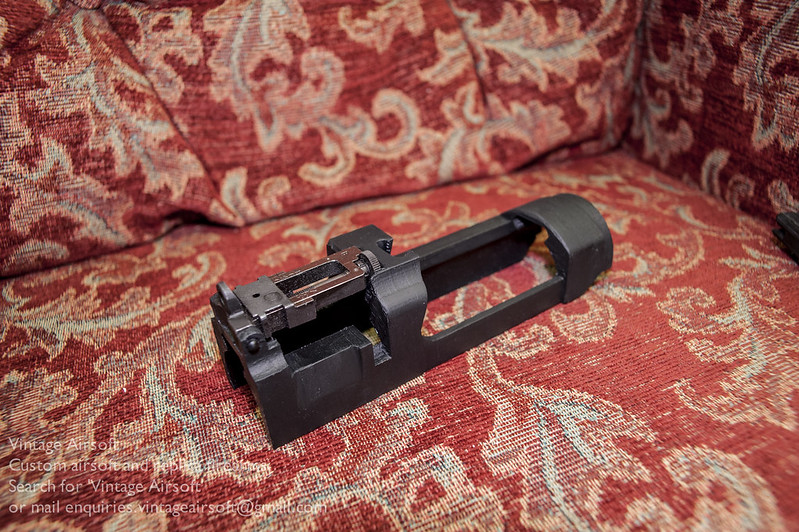
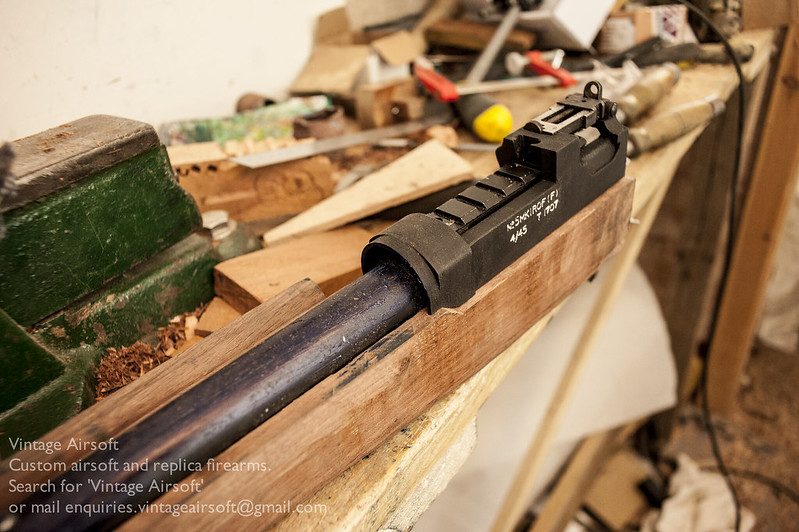
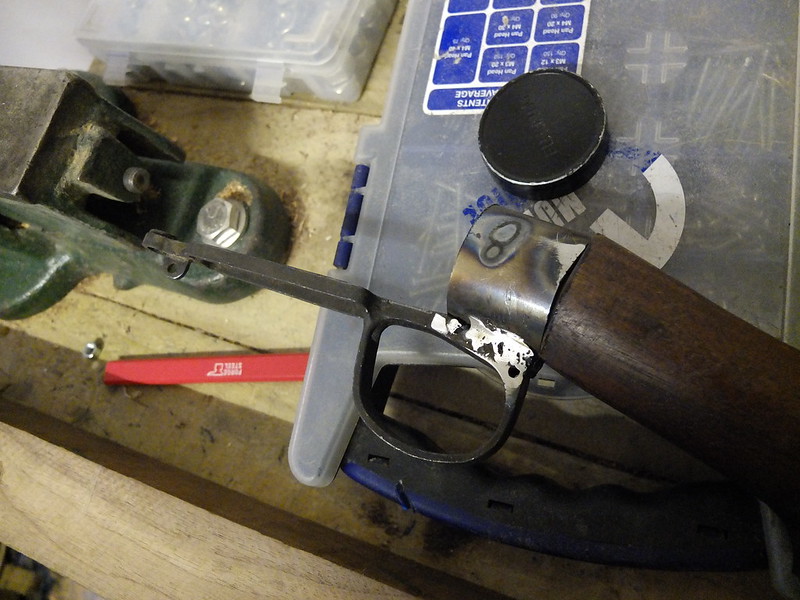
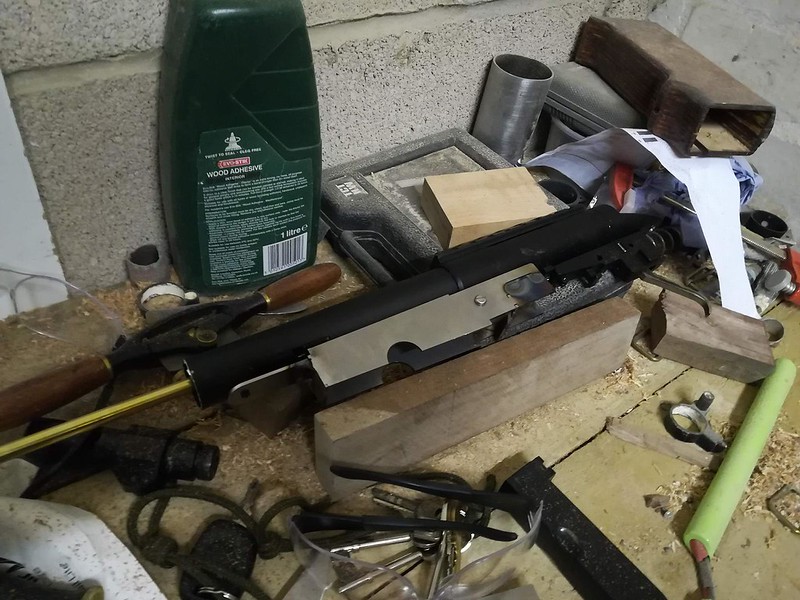
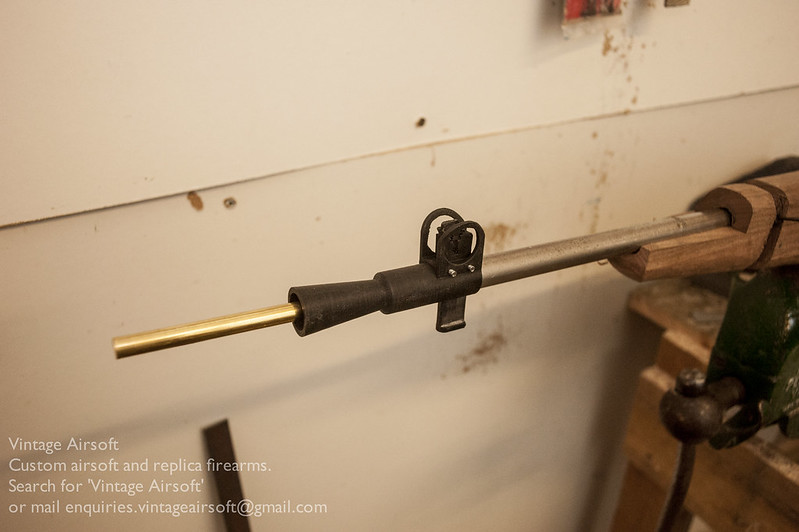
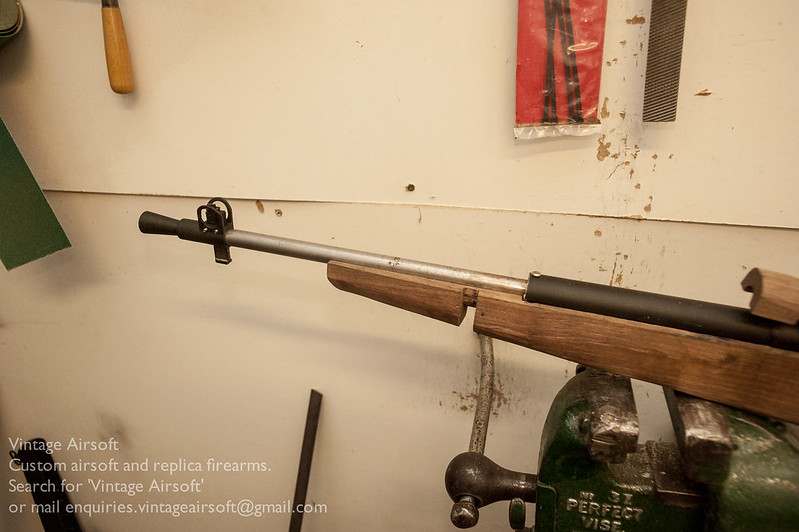
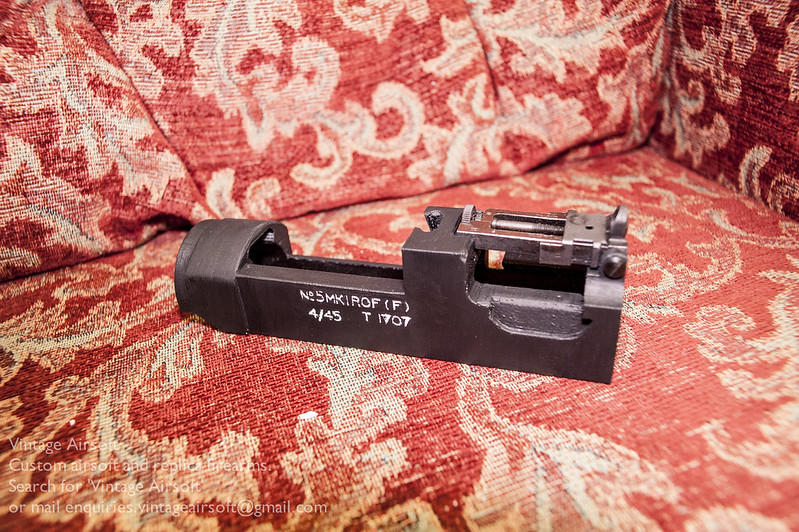 The rear sight fits in quite well, just needing a little filing down in the mountings for a snug fit.