Some heads up on this No.4 in the aim of full disclosure!
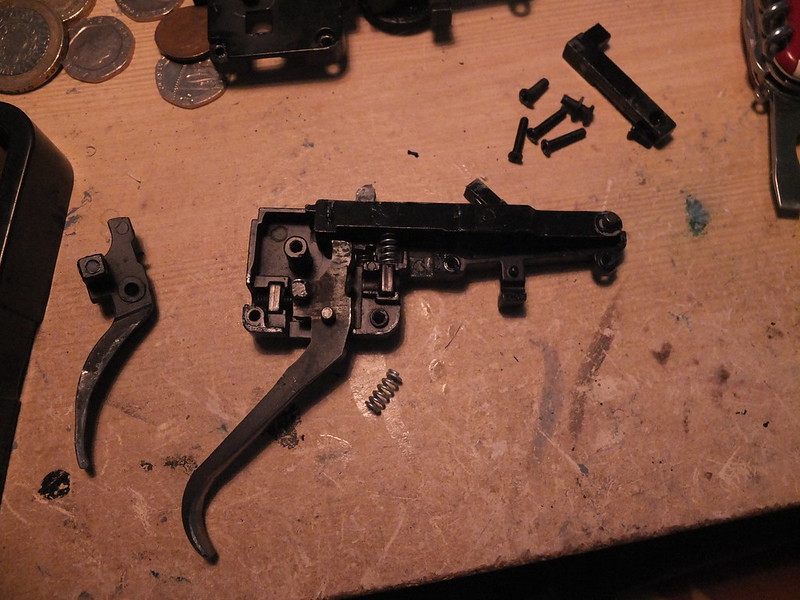
Firstly, this is a custom build for Sniper Mechanic, using one of his base rifles. As a result the trigger group and internals are different to the standard. As he is a sniper chiefly, the way I have mounted the scope is different to the way I would do for a British WWII/Cold War Airsofter with the focus on stability rather than authenticity. I have also performed a minor heresy in producing shall we say… a non-standard accessory for it (more of that later).
Although in due course I hope to produce a No.32 scope mount that is both authentic and very stable it will require more work (though for the record the one I have made previously is fine, just not as stable as I would like for a high-powered sniper rifle). Watch this space for more news on that.
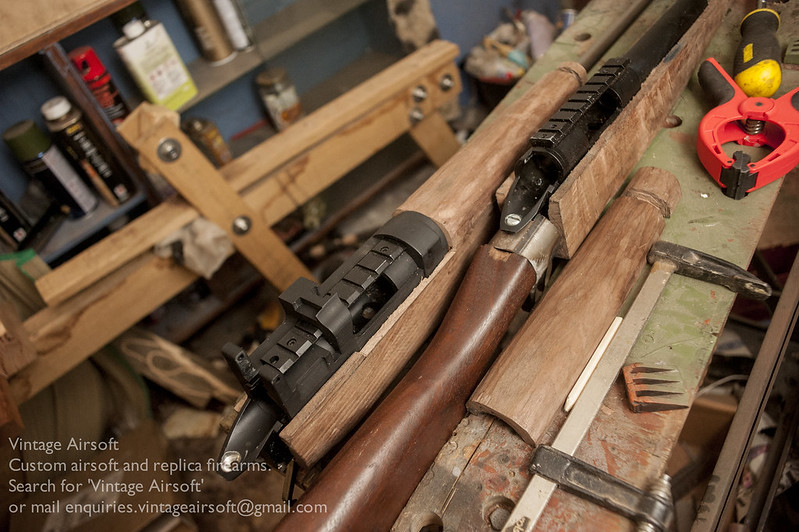
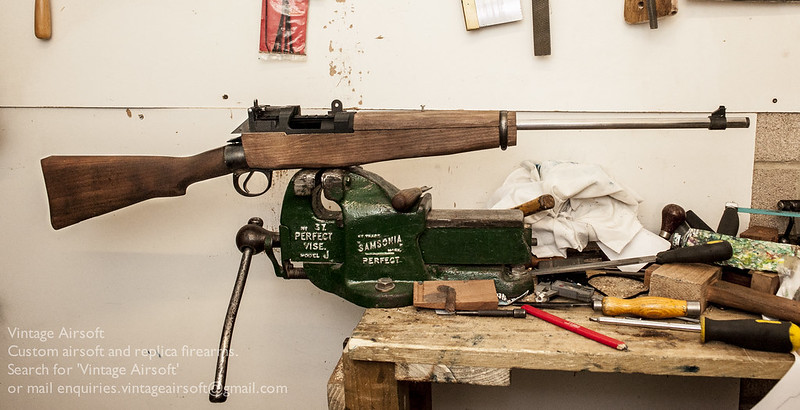
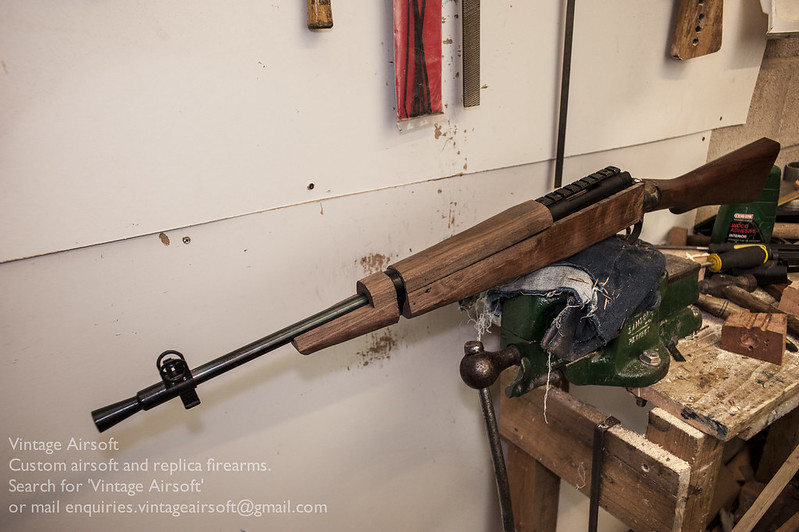
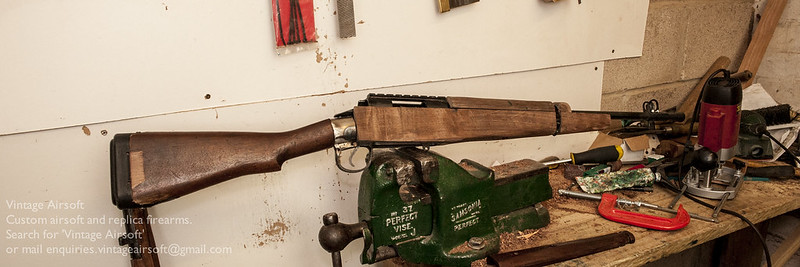
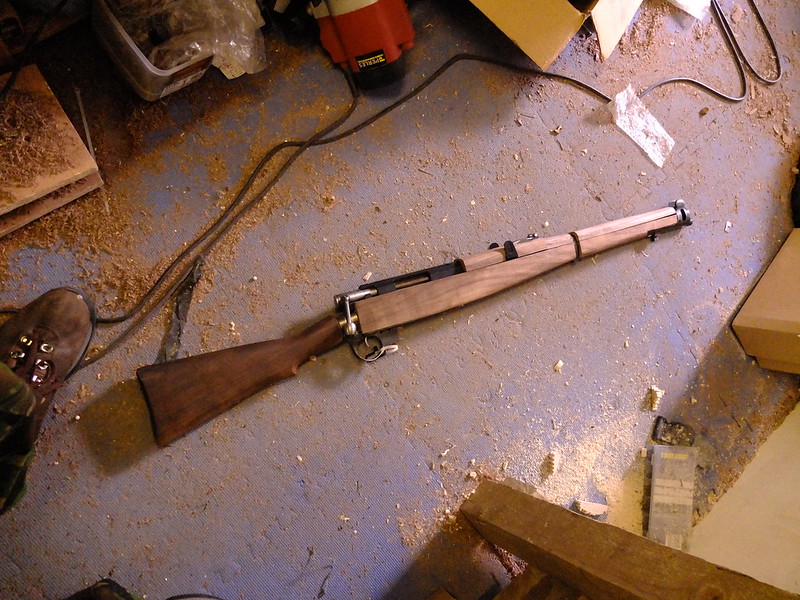
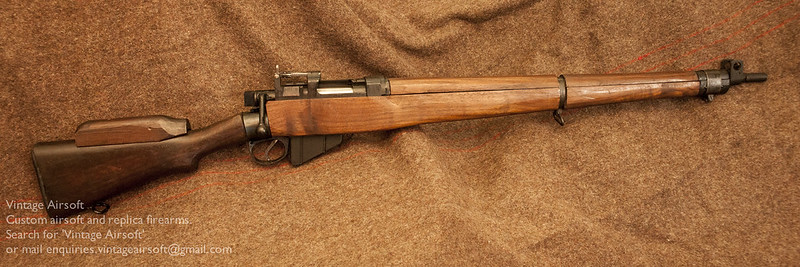
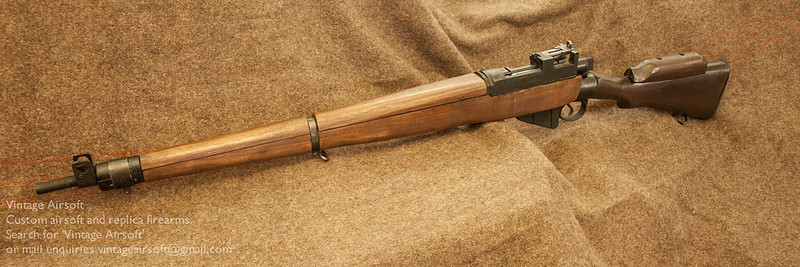
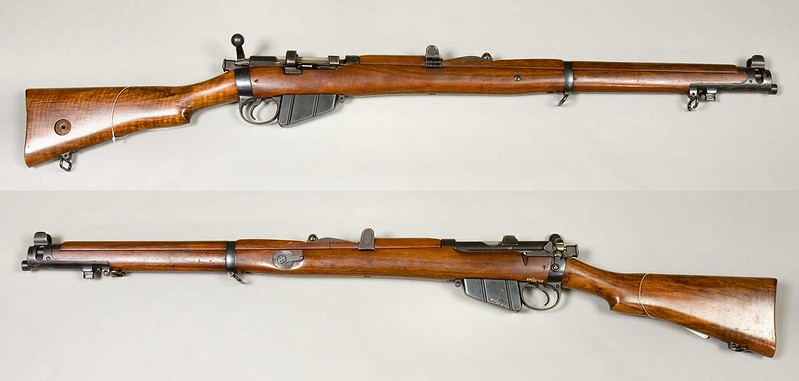
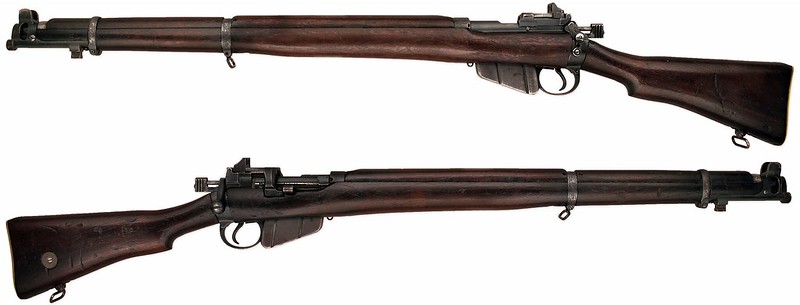
The Rifle
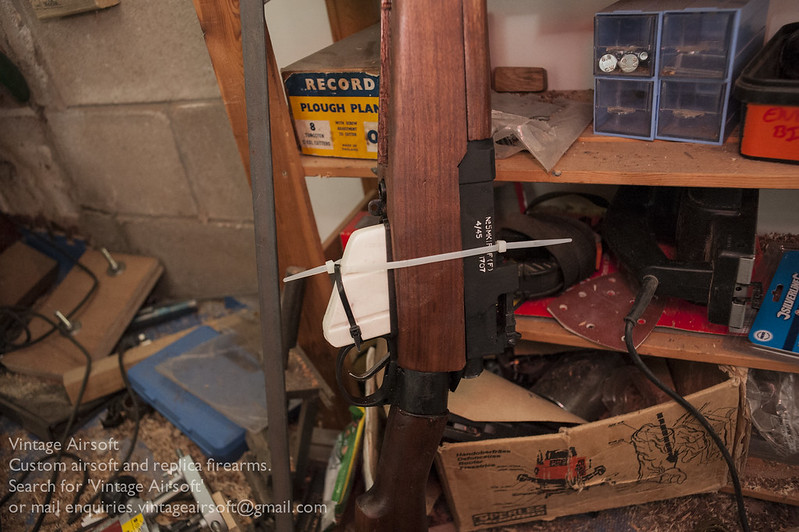
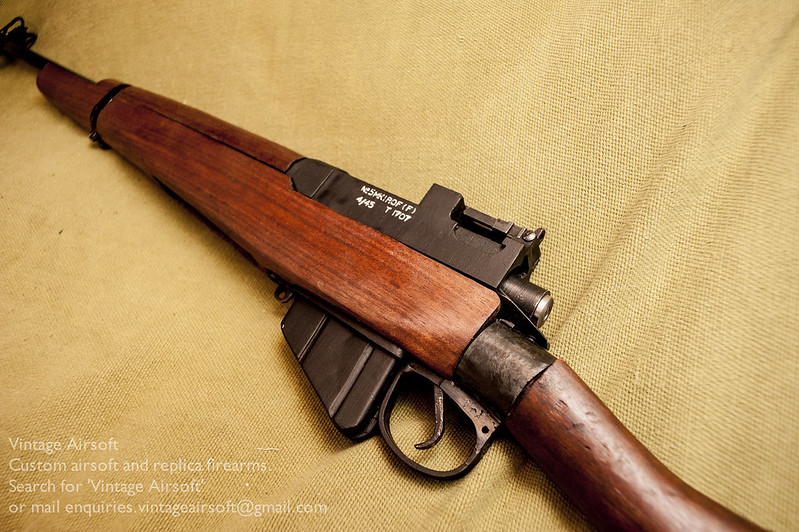
Right side.
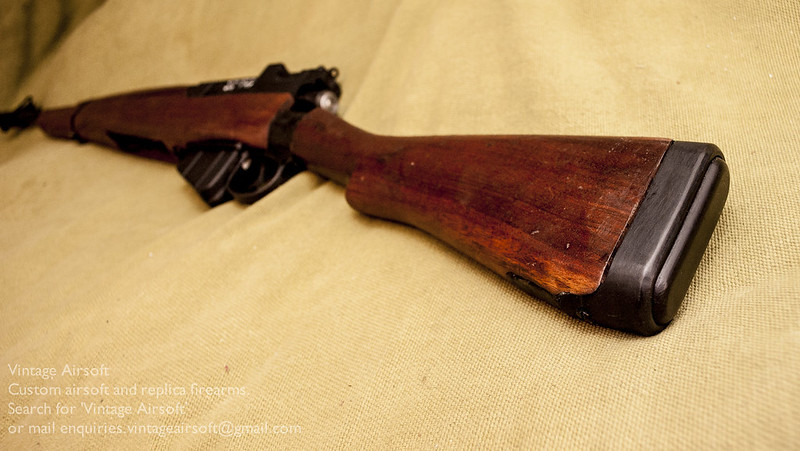
Left side
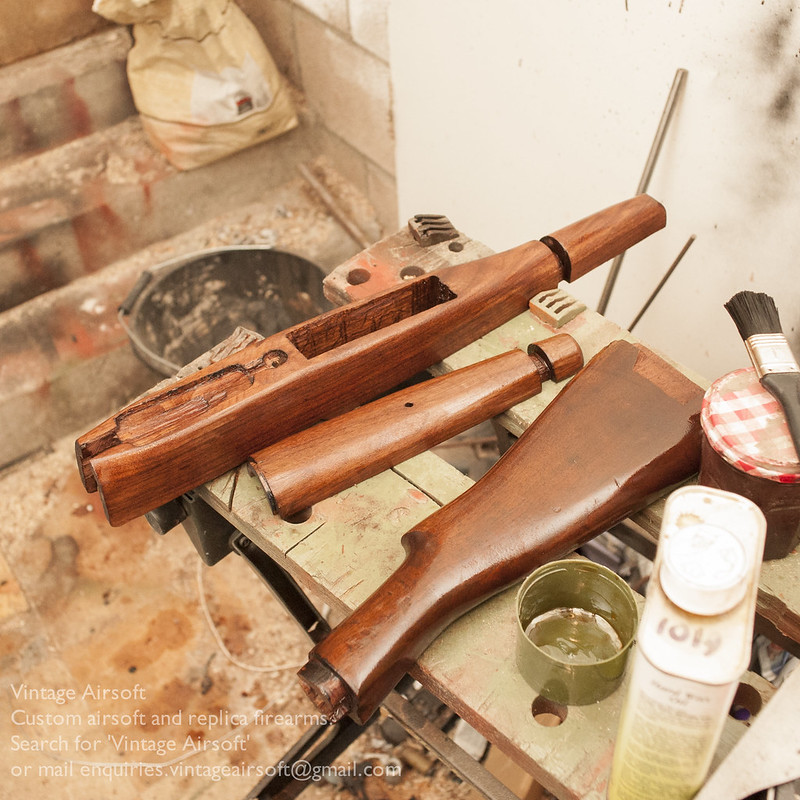
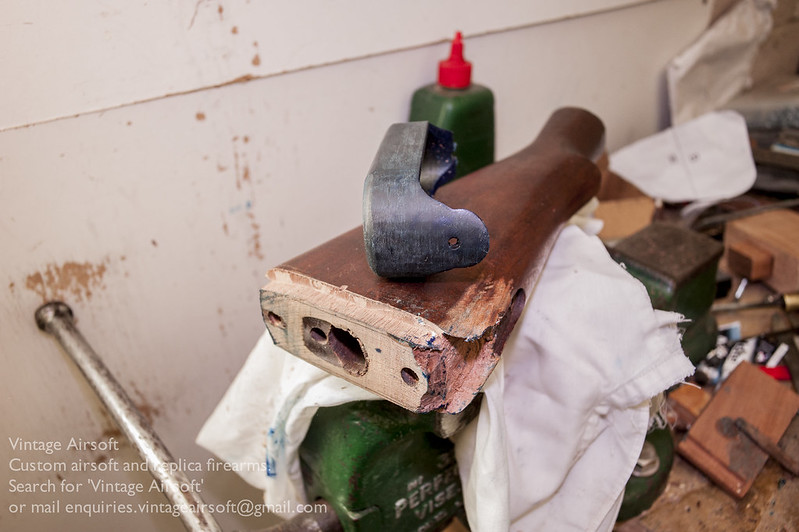
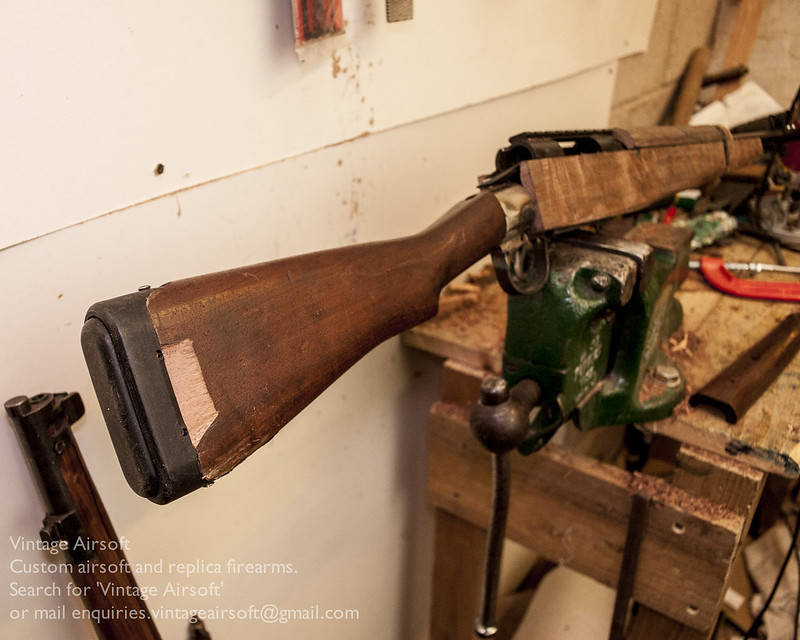
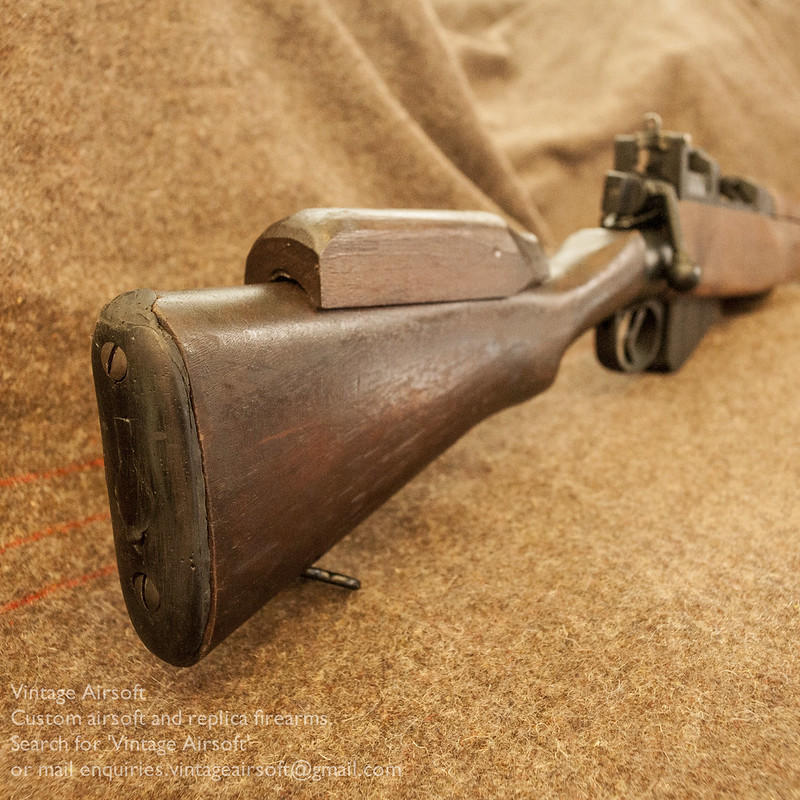
The buttplate, a rubber cast copy as originals are becoming very difficult to source.
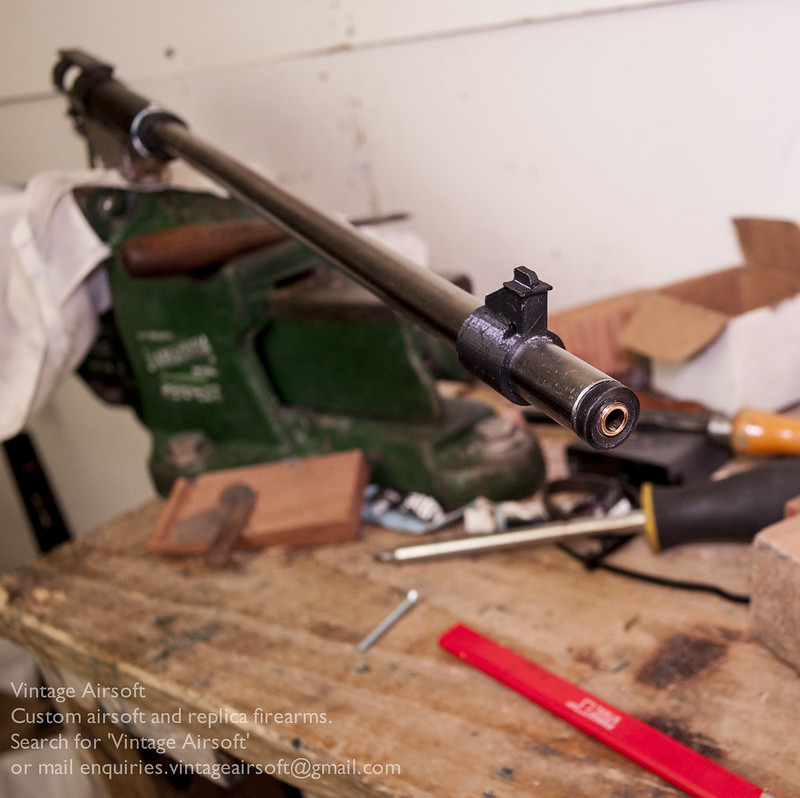
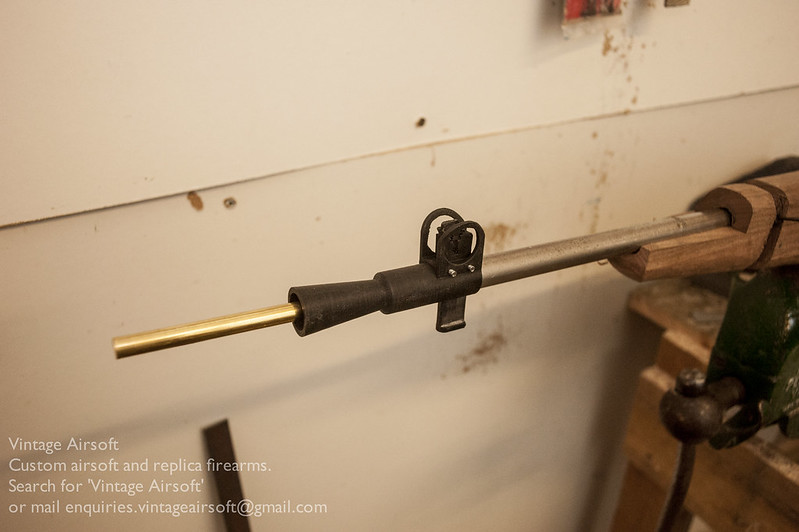
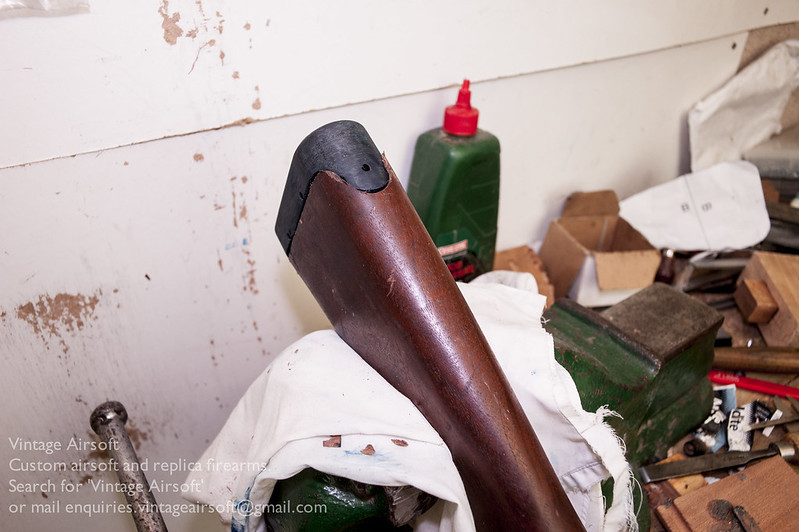
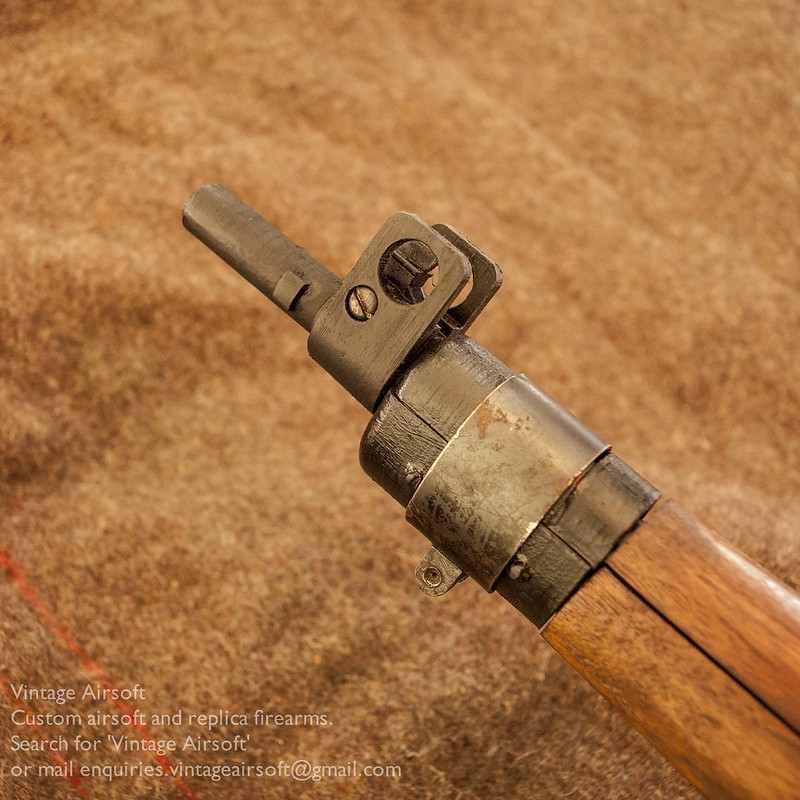
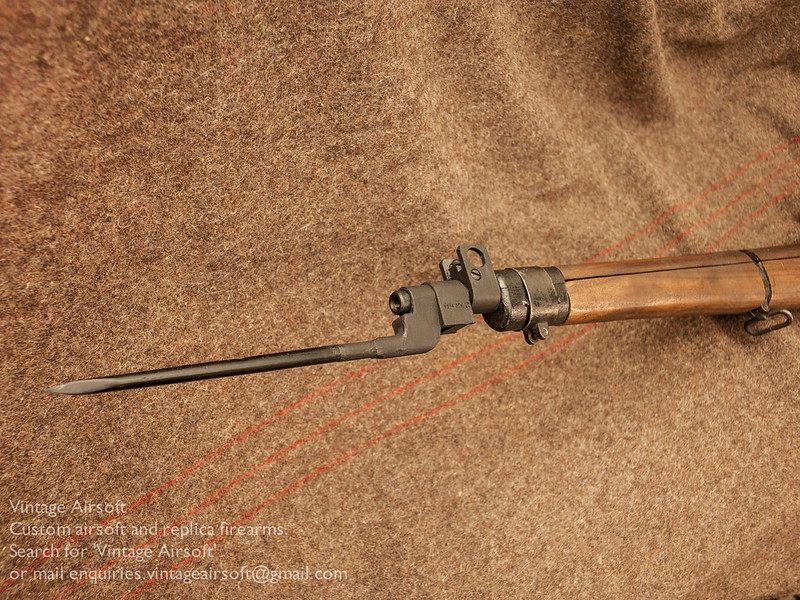
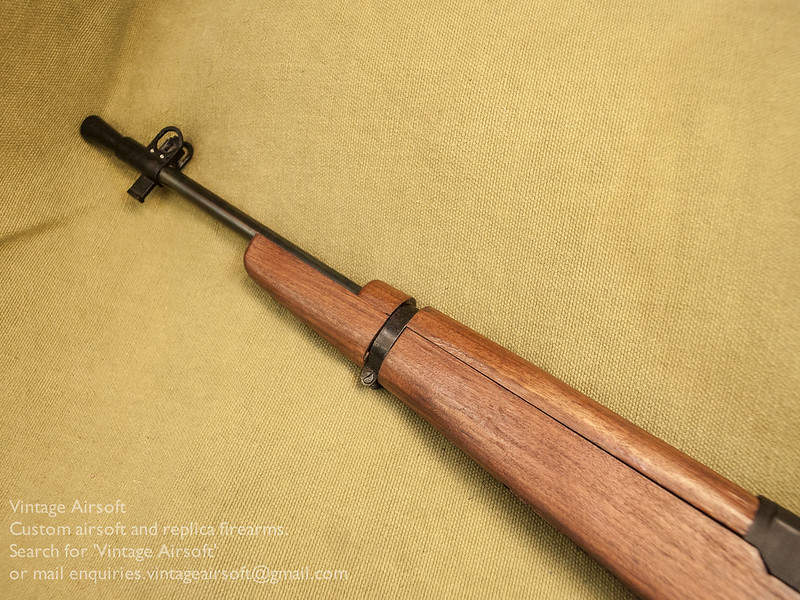
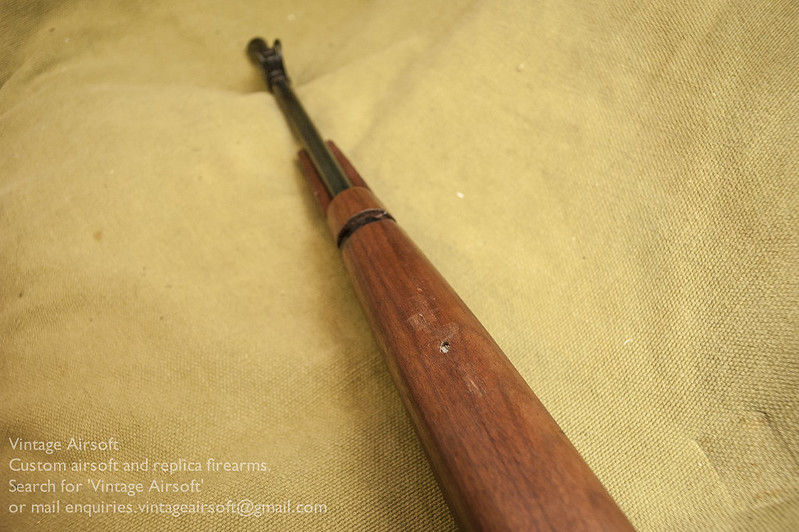
The foresight and muzzle. Dimensioned to take accessories. Note the original front band.
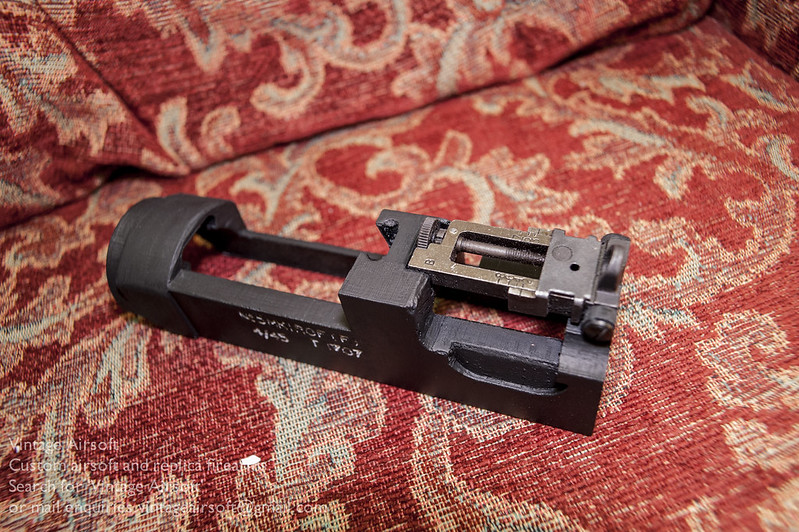
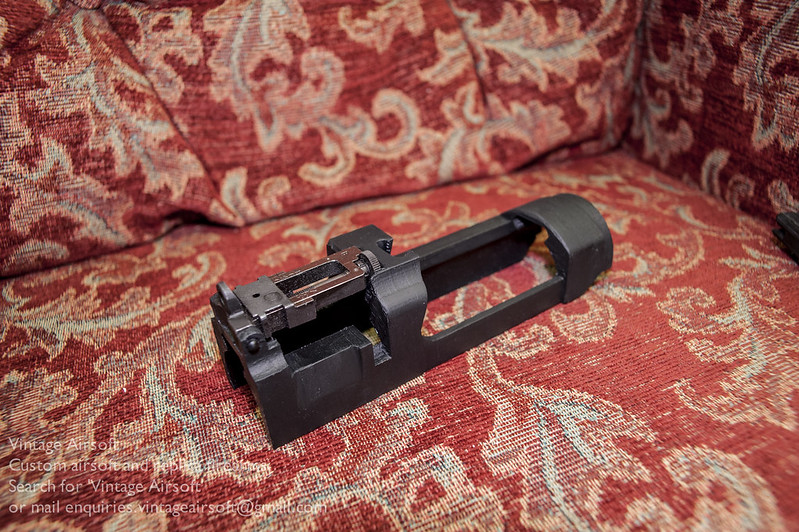
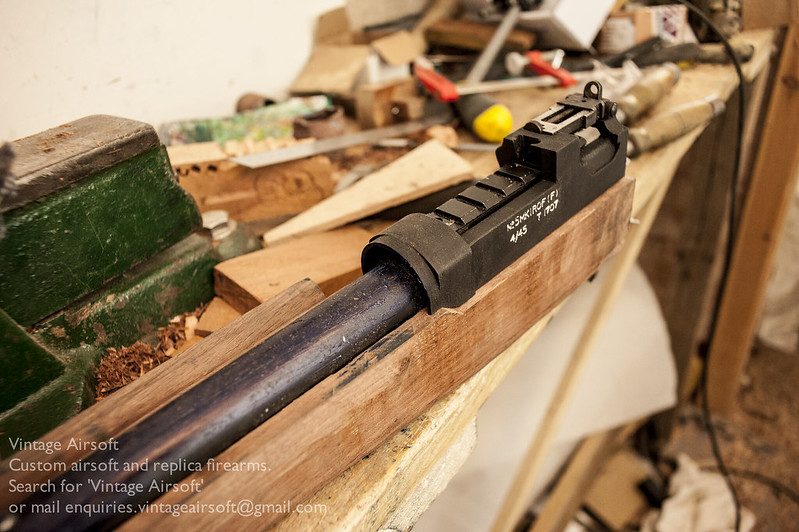
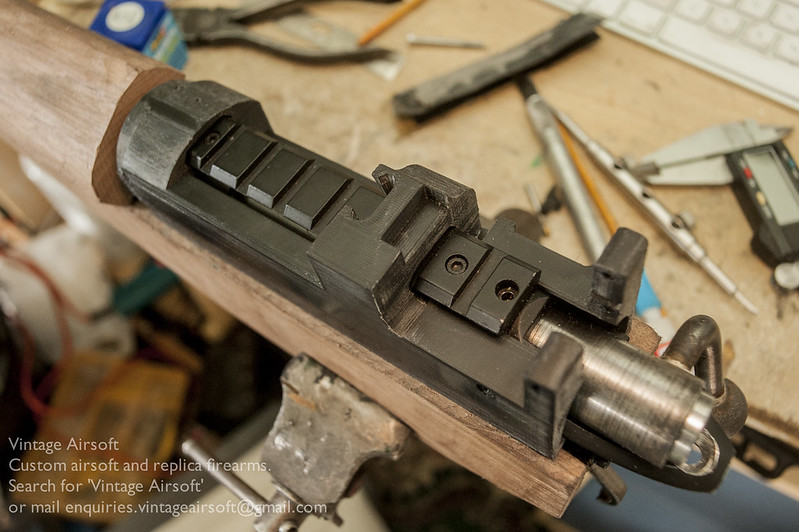
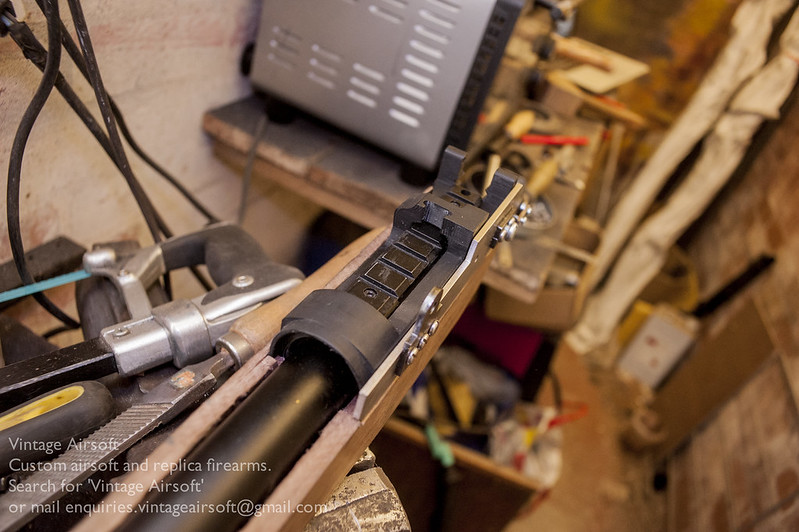
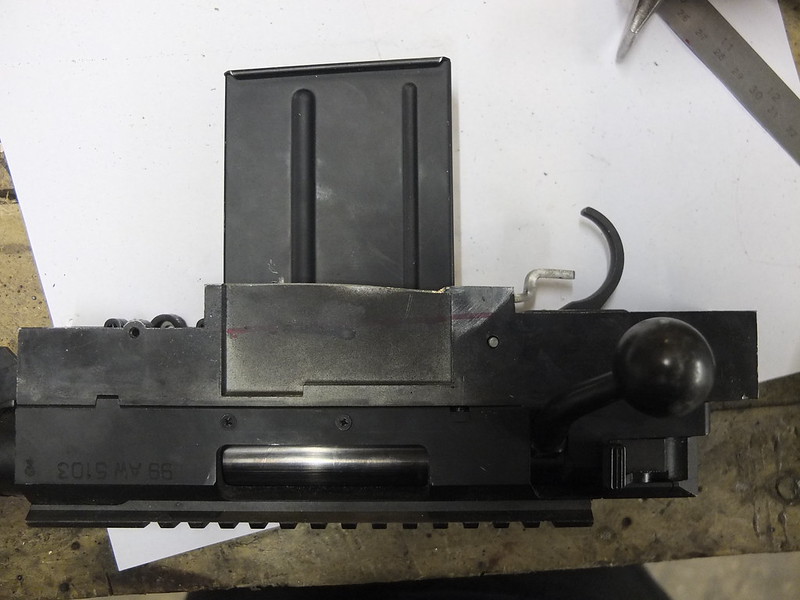
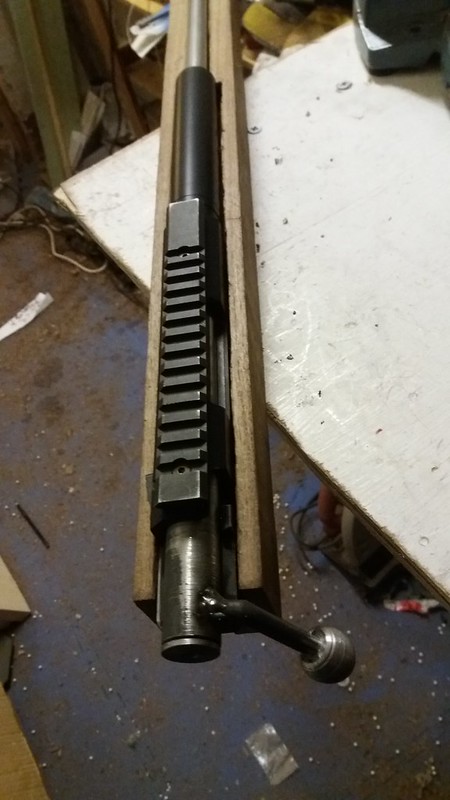
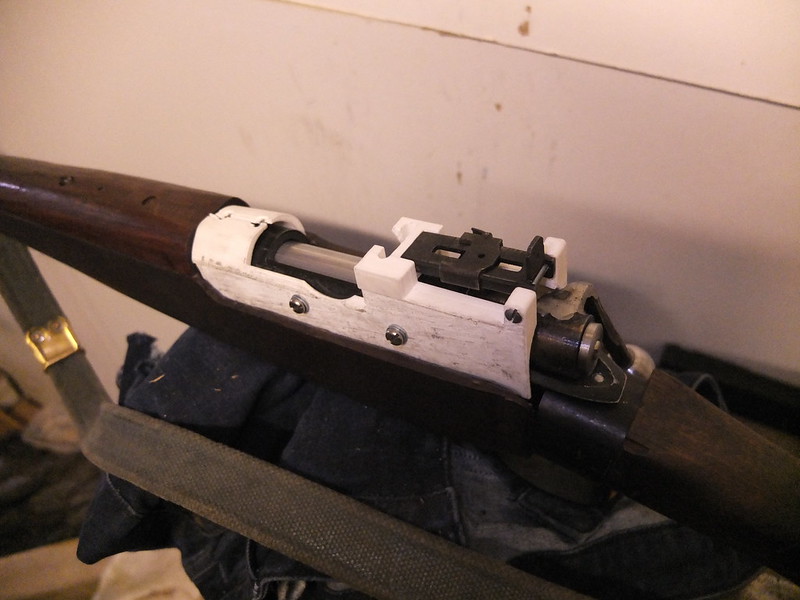
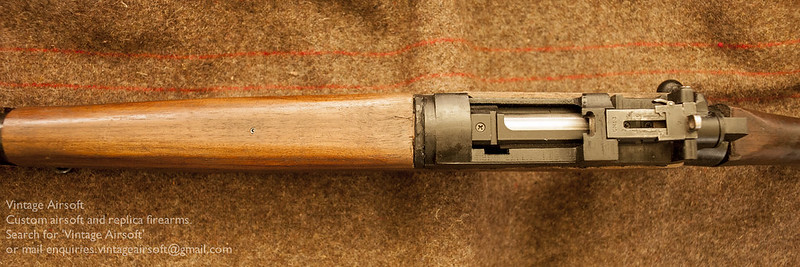
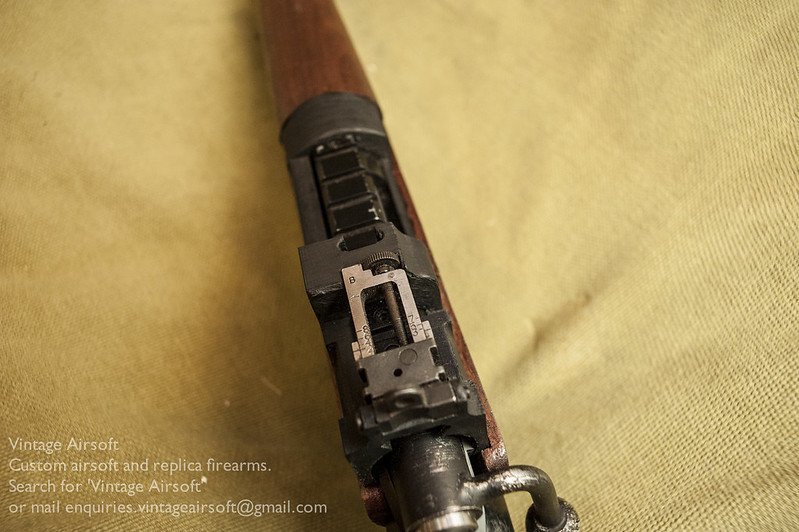
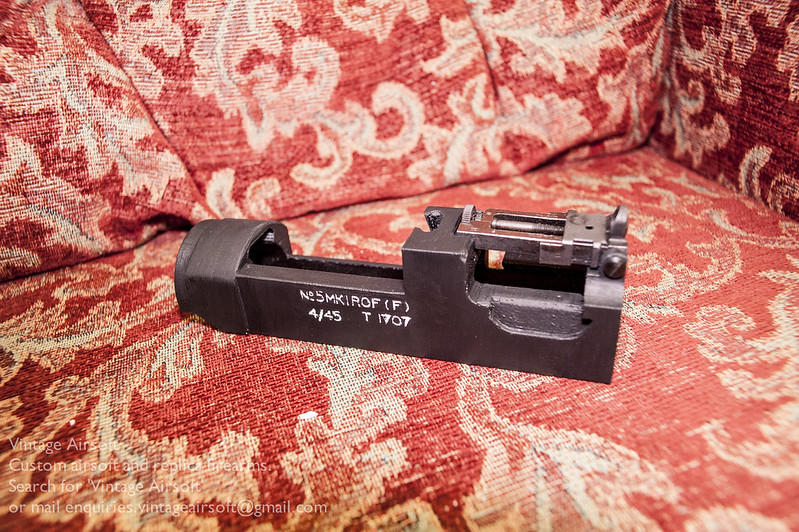
Top view of the receiver: from here you can see the hop-up adjustment screw in the top handguard. You can also see some of the modifications I have made to the receiver to fit the scope. As this is an older designed receiver I have used some Polymorph to add material to the structure.
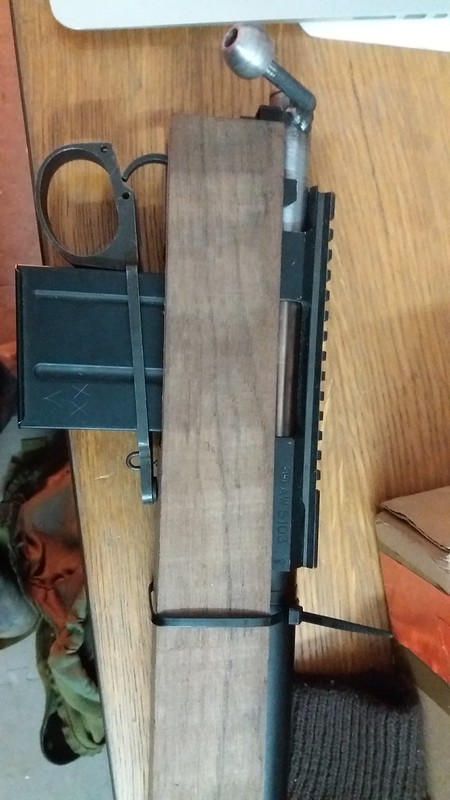
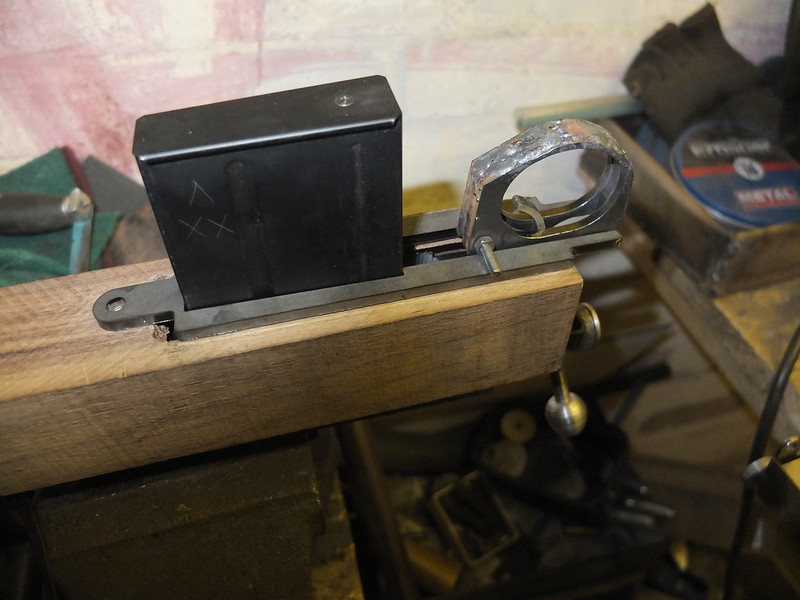
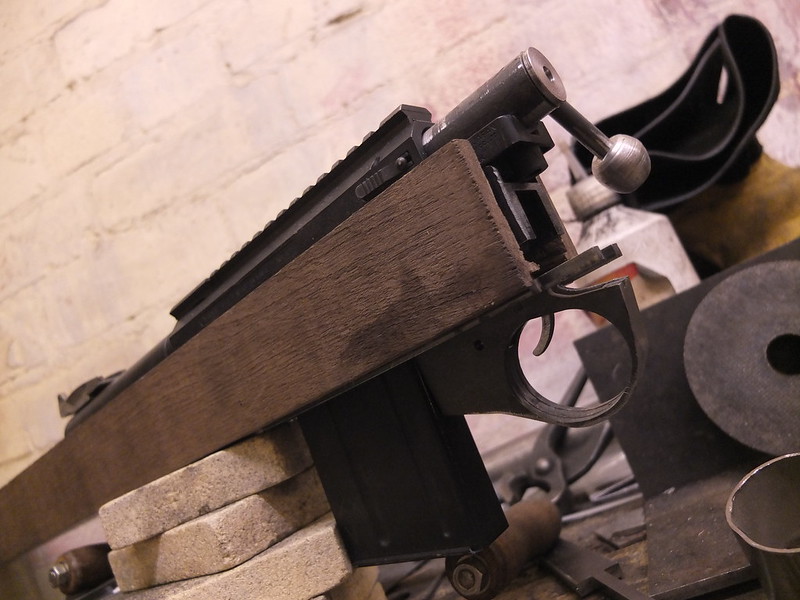
The VSR magazine well. This is the newer MkII version.

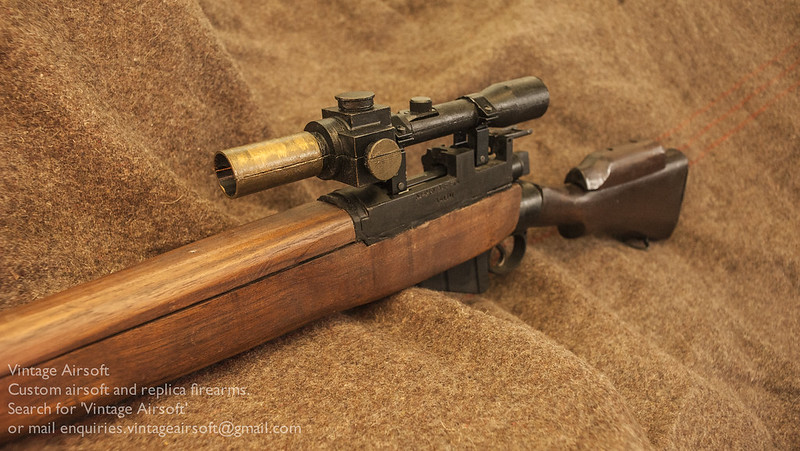
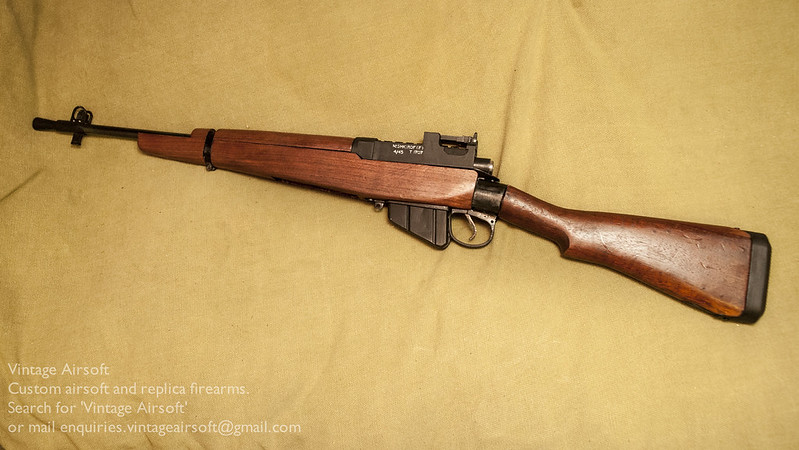
Scoped
This replica uses my No.32 scope option. Although I tried using modern pattern scopes, alas they just don’t look right on Enfields. The No.32 scope is a very distinctive shape, which really changes the silhouette when mounted.
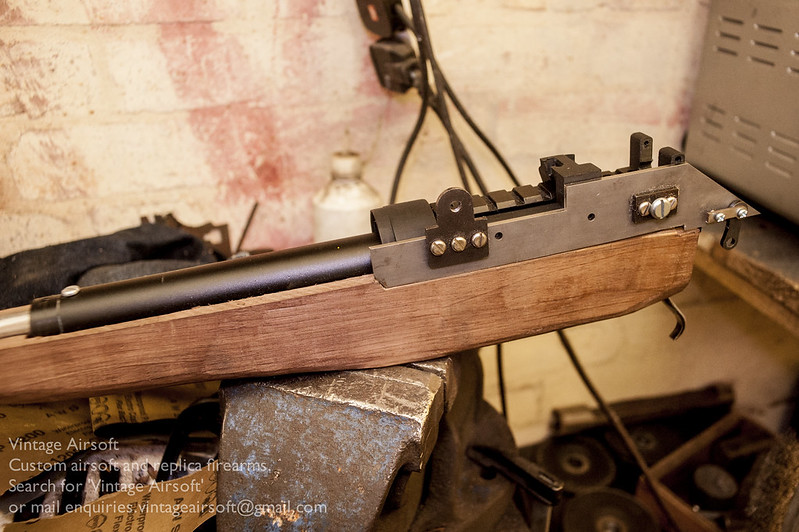
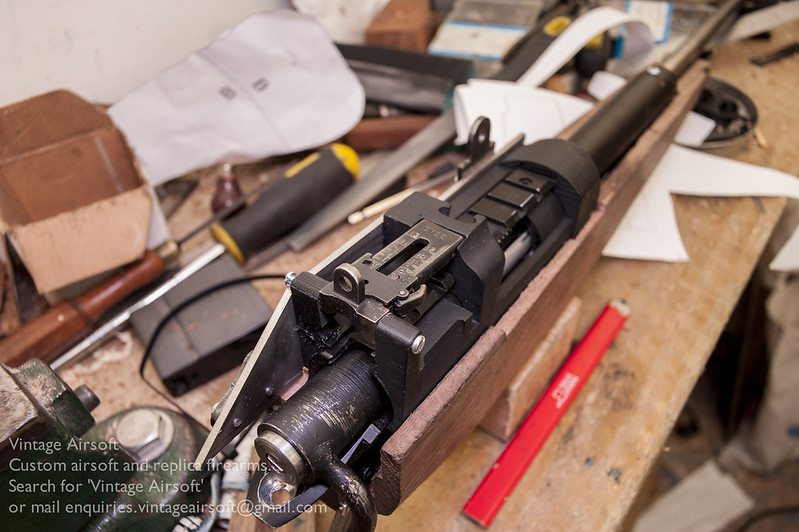
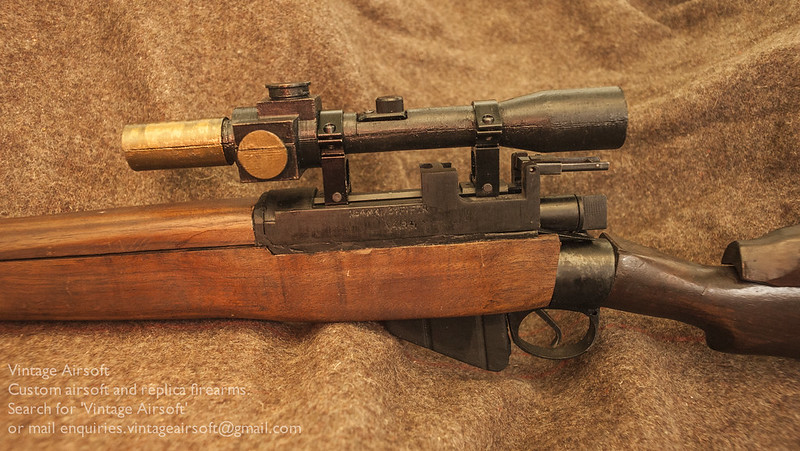
Side view showing the more modern scope mounts. As you can see, with these mounts it is necessary to fold the rear sight back to fit them.
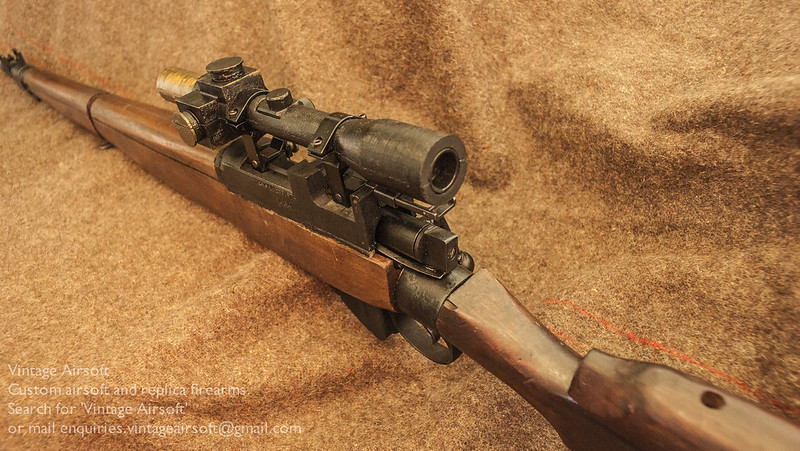
Rear view.
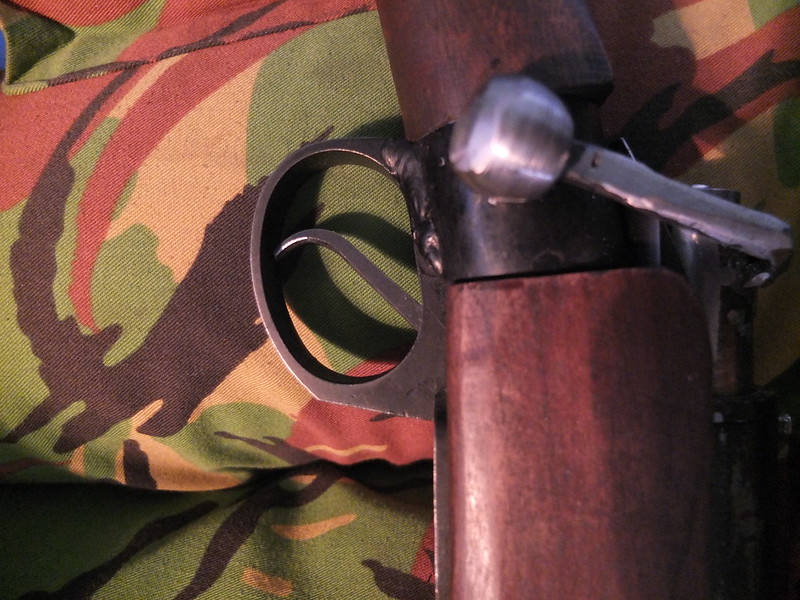
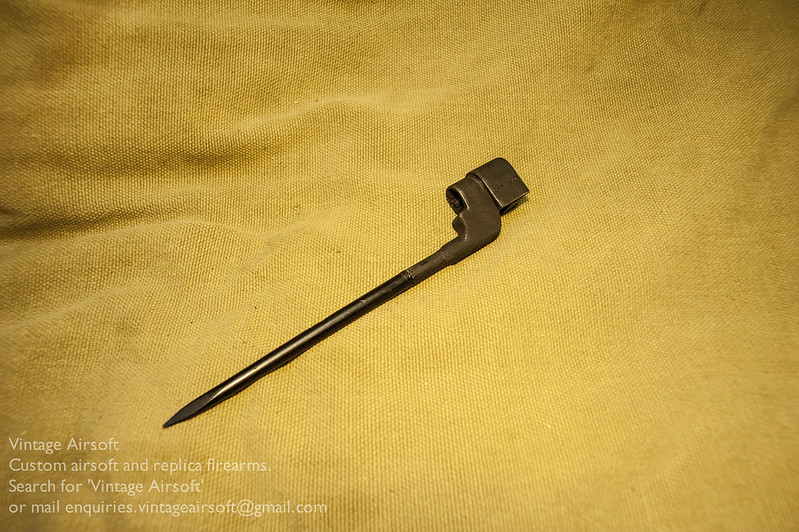
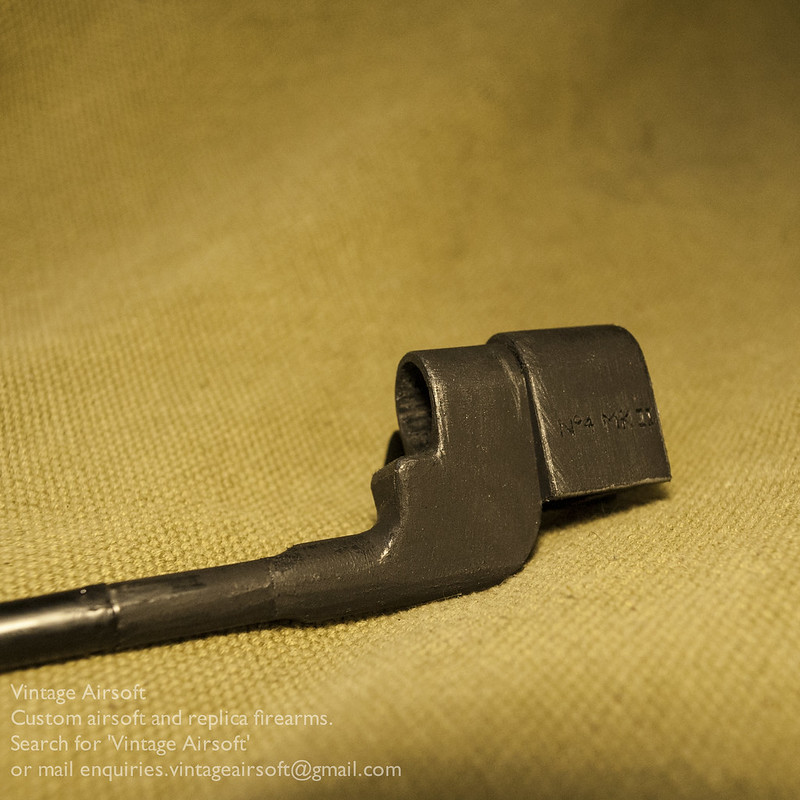
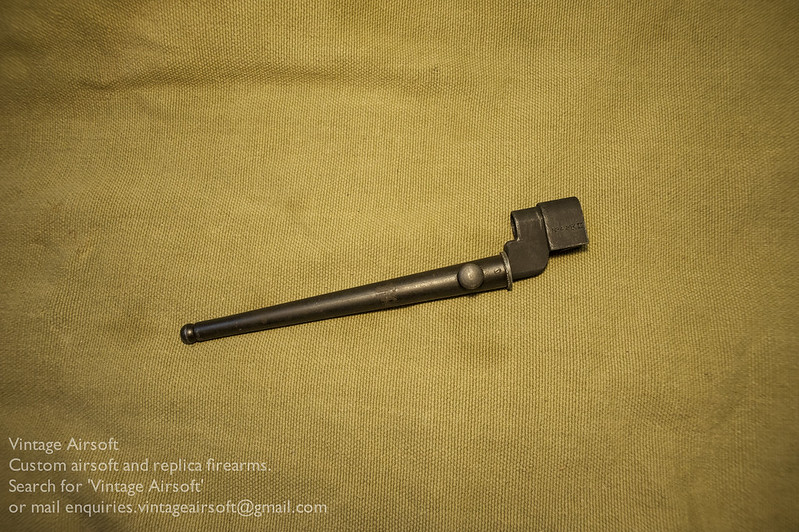
Spike Bayonet
Although I have shared pictures before, I thought it would be nice to share a picture of it mounted on the rifle.
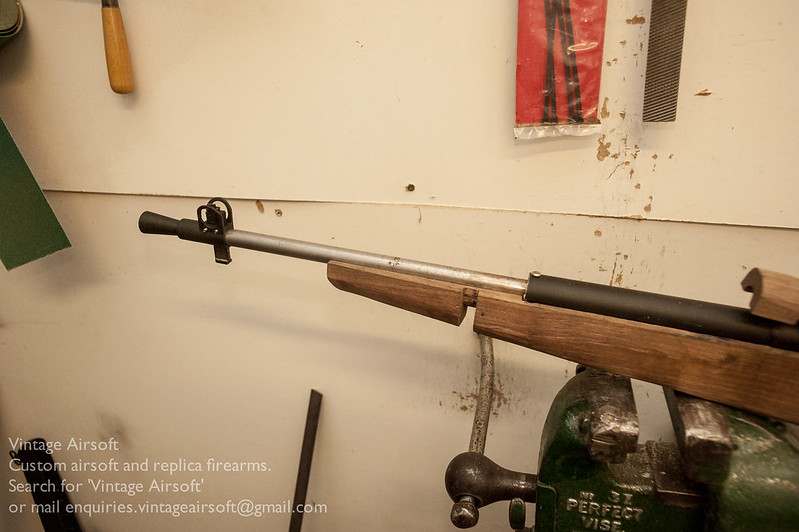
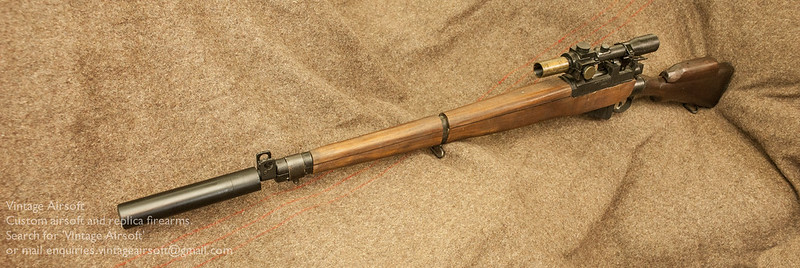
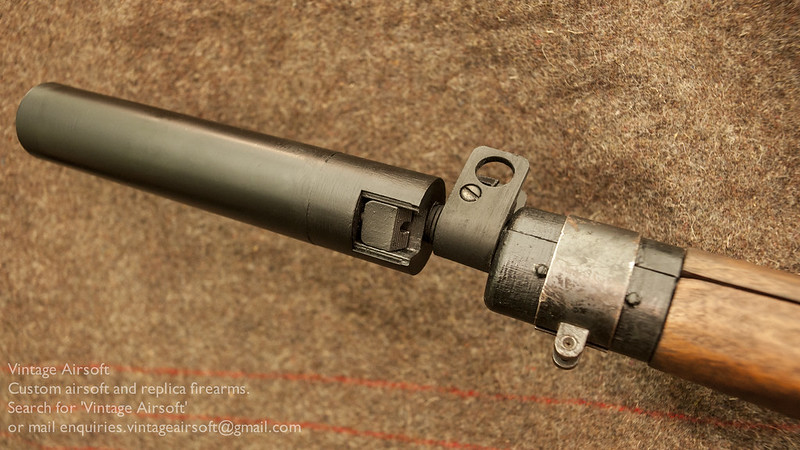
Suppressor
And finally, the heresy. Dan (Sniper Mechanic) wanted a way to mount a suppressor. I at first thought about making a screw mount adaptor, but this custom suppressor suits the rifle rather well, attaches to the bayonet lugs and keeps the tube out the way of this sights.
Front view.
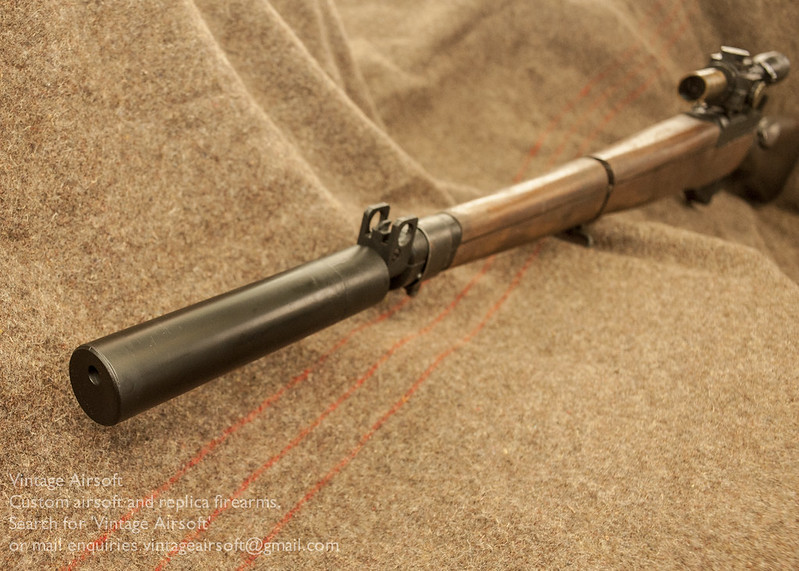
Keeping the suppressor off-centre from the barrel means it is quite nicely in line with the rest of the rifle.
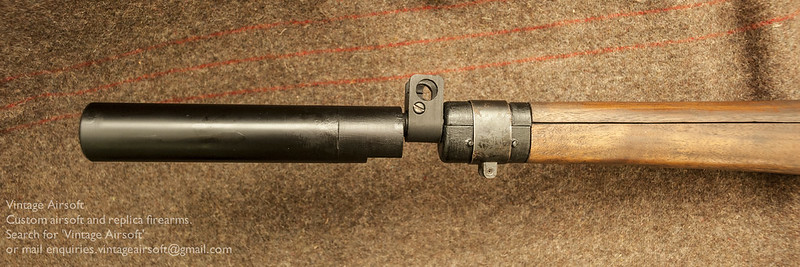
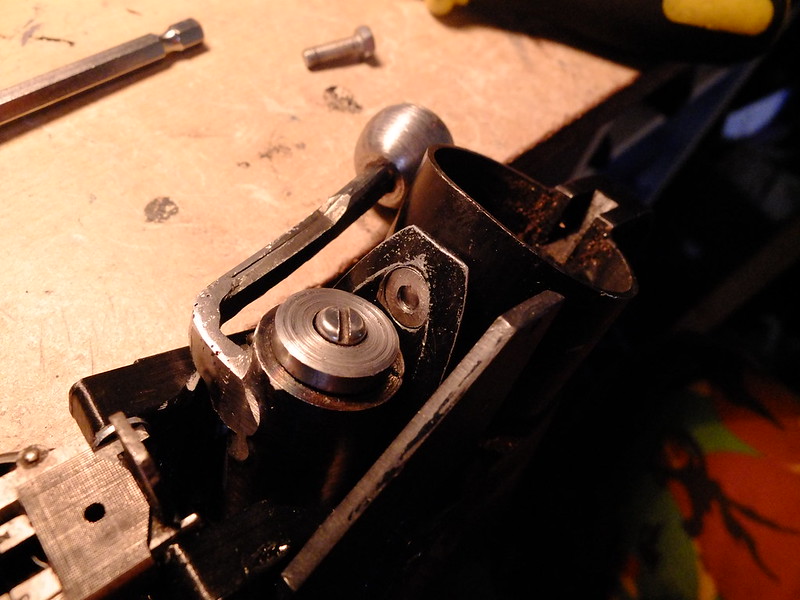
To remove it, it has the same system as the bayonet catch.
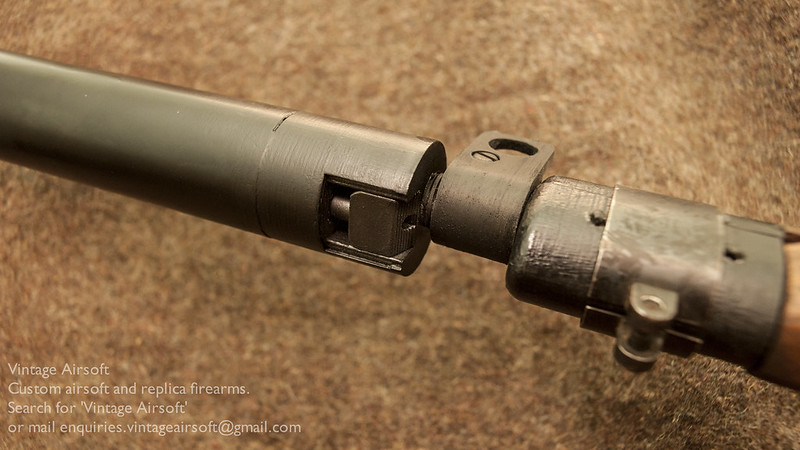
Pushing the button in allows it to be twisted and pulled off.
If you like this build you can see other complete projects here. If you have an idea of your own, drop us a line on enquiries.vintageairsoft@gmail.com to discuss. ‘Like’ our Facebook page or follow the blog to get regular updates on projects and interesting videos and articles.
Don’t forget you can buy our smaller items via Etsy. Our larger items can be found here.


 The rear sight fits in quite well, just needing a little filing down in the mountings for a snug fit.