Just to remind you, this is how the KWC P08 Luger starts out life! All black with minimal markings.

As I wanted a usable gun ASAP, my first modifications were internal. Using the ‘shot in the back test’, I determined that it was shooting much too hot for a pistol (at a guess 400fps plus with .25s). I trimmed approximately 8mm off the mainspring to make the hammer strike much softer.
While in there, I modified the hop. This gun has a fixed hop and in its natural state is very over-hopped. A dremmel tool took it down to the level it needed to be. The gun now fires at 309fps.
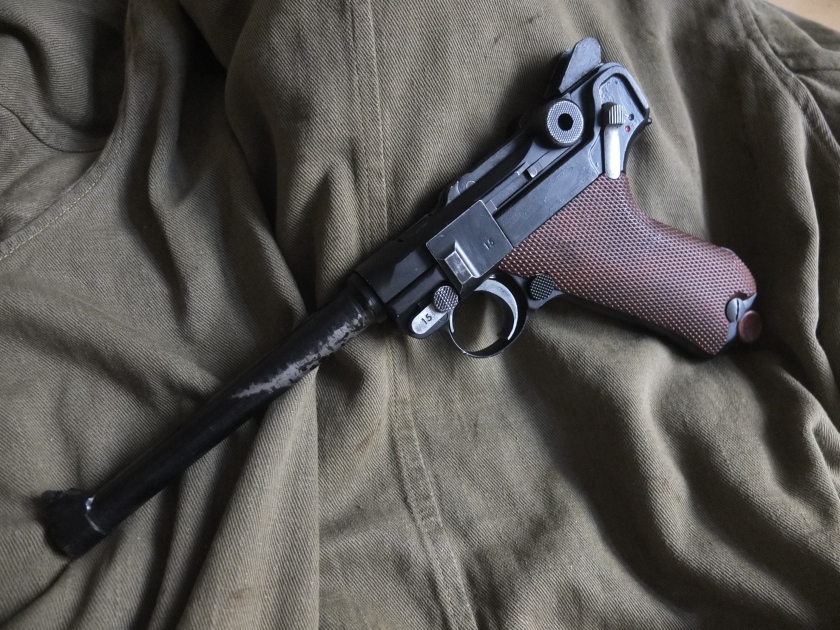
The next step and first aesthetic change, is the grips. These came in brown bakelite or walnut normally so two a red/brown mix of acrylic paints were used, followed by a spray-on varnish to protect them during use. To create the inconsistent, almost dappled effect I mixed small amounts of paint at a time so that it was not a consistent colour all the way across. If you want to do one thing to improve your replica Luger this is the best you can do! In the long term I plan to make walnut grips for it.

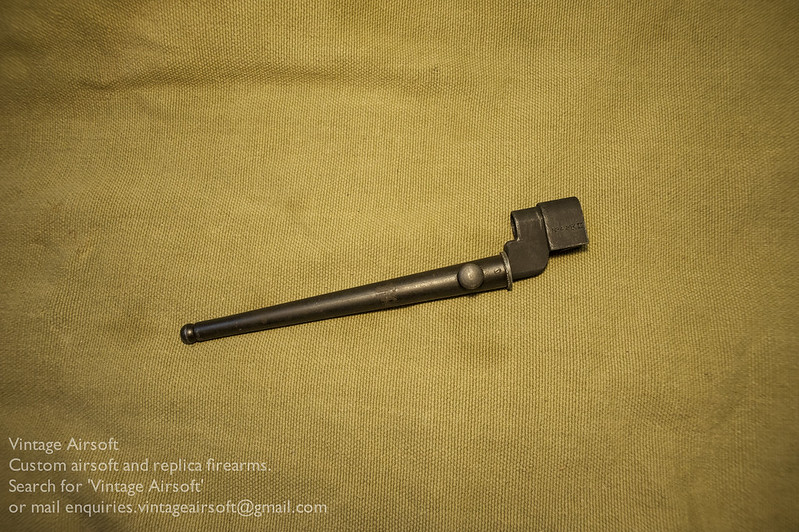
The next external improvement is the barrel. The P08 has a 4″ barrel, the P04 has a 6″ barrel. This piece is turned from black mild steel round bar on the lathe, inside has to be drilled to several different diameters to make it function with the internal parts. For now I am keeping the original barrel but there is scope to upgrade and lengthen the barrel.

With the inside fitting snugly, I could check the action operated properly. In the picture below you can see the old and new barrels side by side.

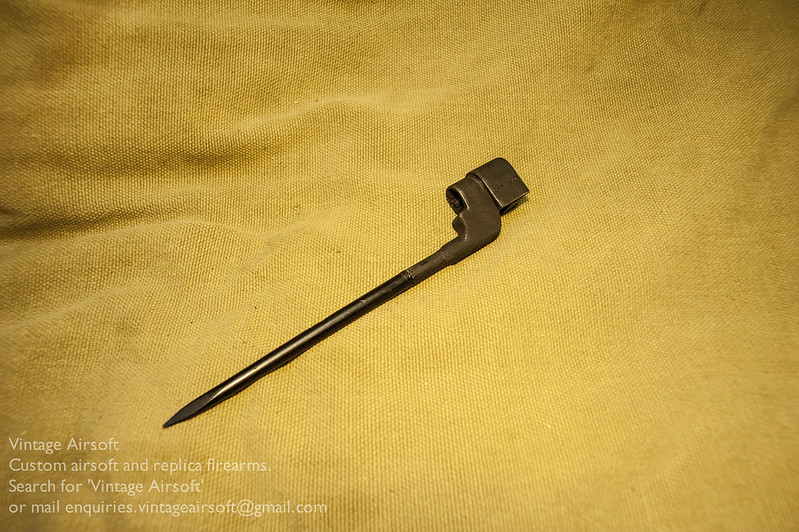
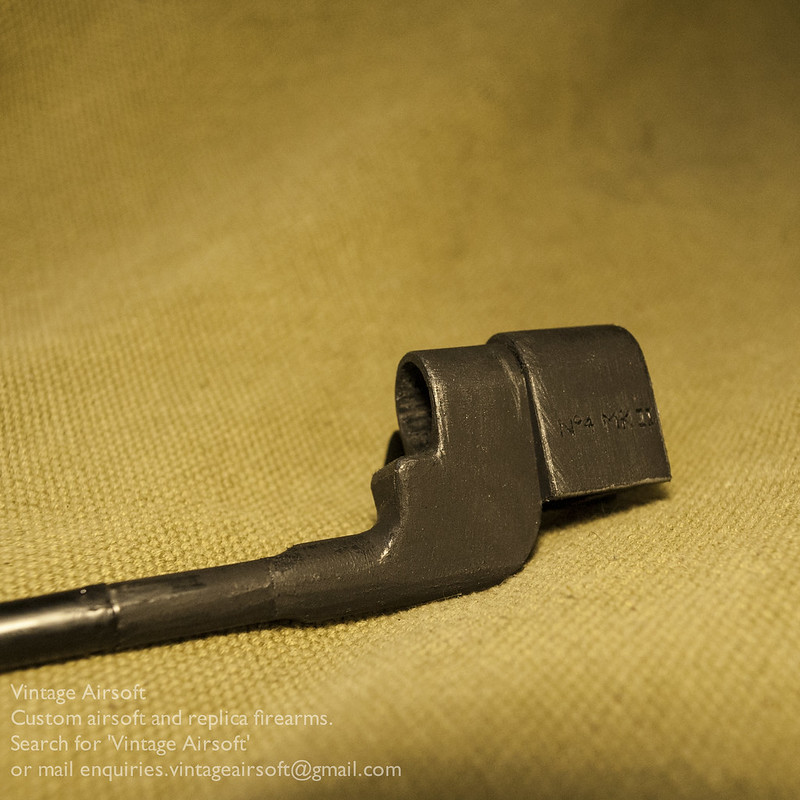
I could then weld on the foresight unit, which itself was hand-made and welded together in advance.


And cleaned up and back on the gun.

The rear sight is also very different. For the P08, a simple flat bar with a V-notch is used, the P04 however uses a large, finned tangent style sight.

So the sight has to go!

This makes space for the new rear sight unit, which is fixed rather than adjustable. In the longer term I would like to replace this with an adjustable one as per the originals.

It’s held onto the toggle with a screw. If this proves insufficient I’ll add in a second screw.


In context on the gun.

Obviously it needs a little bit of cleaning up!

Moving onto some detail work now, starting with etching the DWM logo onto the toggle. I produced a dxf file of the logo, shrank it down to the correct size and printed it out. Here it is superglued to the toggle.

I then followed the lines with the etching tool.

I could then get started on cleaning the paint finish off some of the components that were left in the white on the original gun.
 So far, so good!


I need to work on getting the logo finished nicely now, but the majority of the work is finished!
If this post has inspired you to want a gun of your own, drop us an email at: enquiries.vintageairsoft@gmail.com to discuss or join us on Facebook!
You can also buy many of our finished products in our Etsy store.