Preparing 3D prints

Advice columns, Tools

As I use quite a few 3D printed parts in my builds now and have started to sell 3D printed parts kits, I reckoned it was time to share with you how I prepare my 3D printed parts for use.
_DSF9950

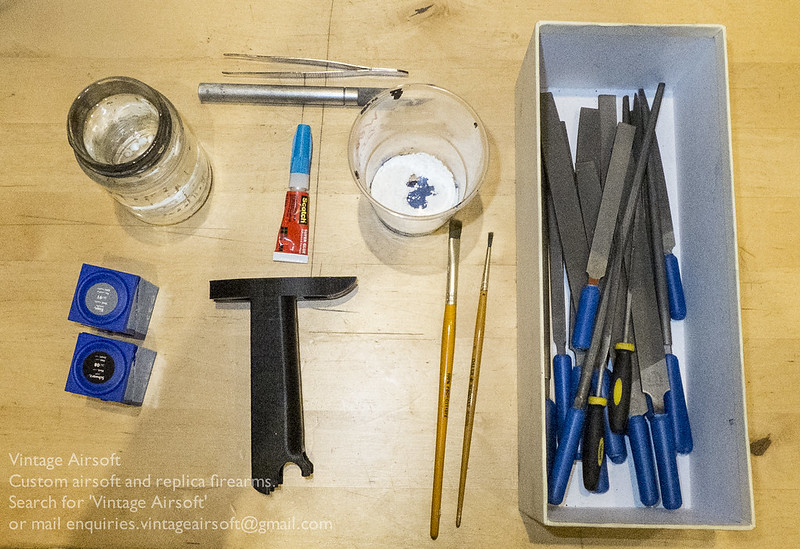
You need:

  • A set of small files, ideally of the 3″ kind, second and fine cut
    • as a minimum, one half round, one round, but it helps to have a flat and a square
  • Wet and dry paper: 800 grit and 1200 grit. You can go finer if you want to see your face in it but I personally find that overkill for my purposes
  • Acryllic model paints: I use Revell Aquacolor
  • Baking powder, the fine type rather than the coarse type
  • Paintbrushes, a mixing surface, paper towels and water
_DSF9955

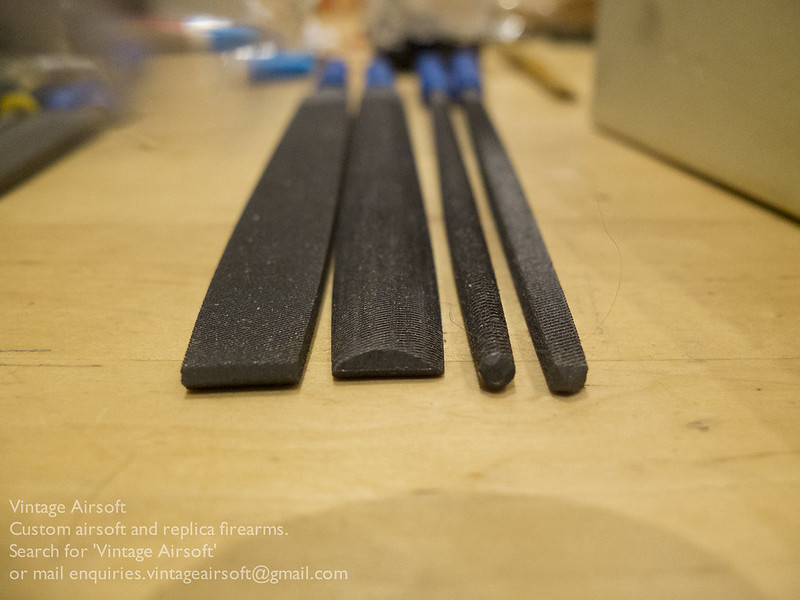
For those not familiar with files, from left to right: Flat, half round, round and square.

Some people use coarse grit wet and dry to get started. I personally don’t bother, it’s messy and slow, so use files to take off the highest points and work out which areas need filling.
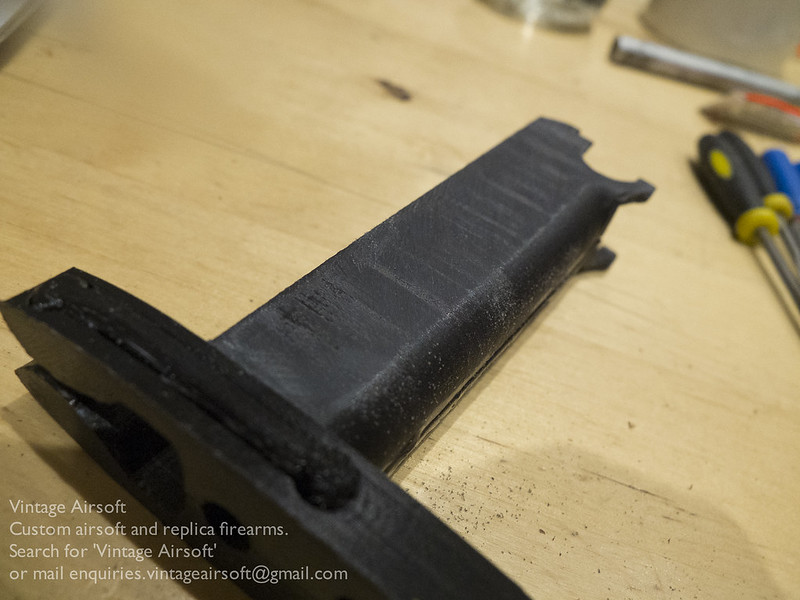
_DSF9957

Once I’ve established a smooth top surface, I work up to wet and dry until the overall impression of the surface is smooth except for the inevitable low points that come with 3D printing.
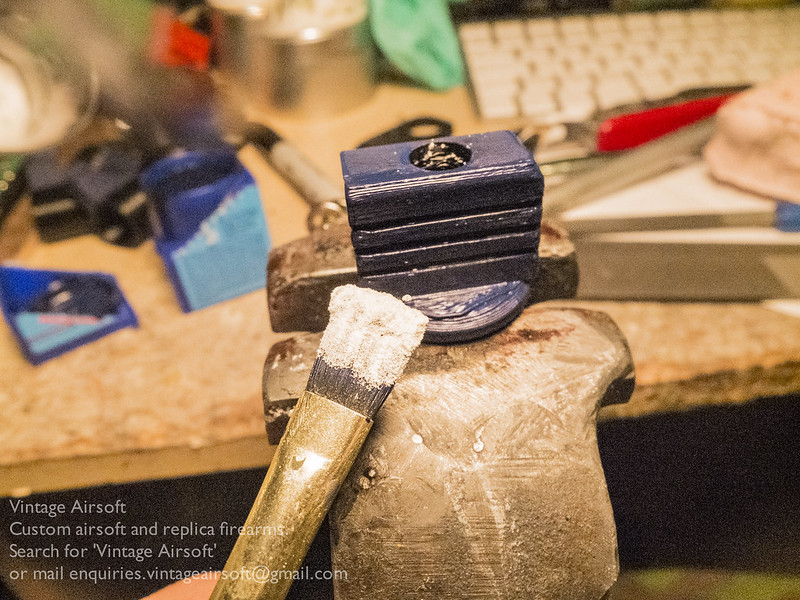
_DSF9962
Low points can’t be eradicated entirely without risking cutting through the outer skin of the part or wrecking the tolerances. I fill these by mixing my acrylic paint with baking powder or fine plastic dust saved from the previous steps. I dip my brush in the paint, dip it in a container of the powder so that the paint is covered and mix it together either on a mixing surface or on the part itself if suitable. A flat brush is better for this purpose as you can apply a fairly smooth finish straight off the bat.
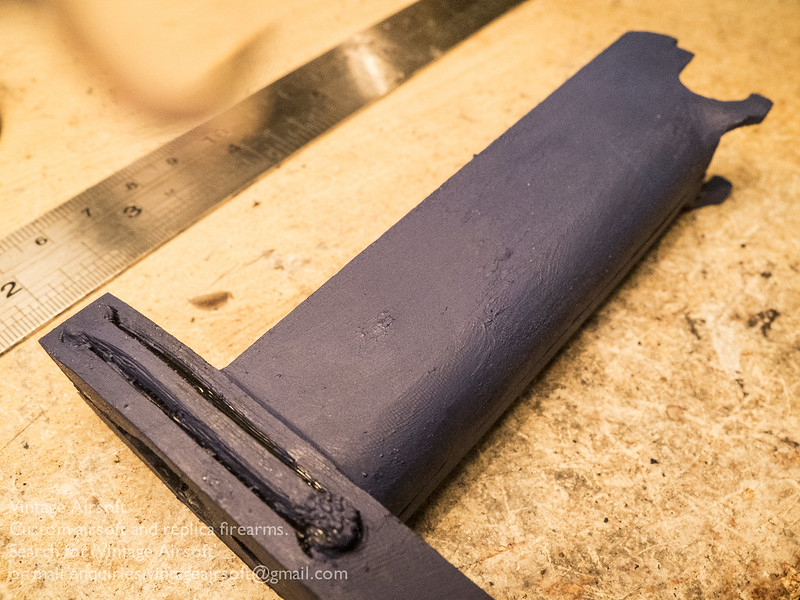
_DSF9963

If using this technique, you may wish to cover the majority of the model part in a thin layer of the paint/powder mix. This is so that when you’ve finished filling, you can take your finer grades of wet and dry and give the part a last wet run over to get a smooth and consistent finish.


You can now paint up the model in your finishing colour if the filler coat was not of that type. You may also want to consider a varnish to give it a suitable finish in gloss, matte or satin and add a bit more durability to the finish.


If you have an idea for a project of your own, drop us a line on: enquiries.vintageairsoft@gmail.com to discuss. If you found this article helpful, why not ‘Like’ our Facebook page or follow the blog to get regular updates on projects and interesting videos and articles?


Don’t forget you can buy our smaller items via Etsy. Our larger items can be found here.

First casting attempt

Tools, Weapons

OK, for those who have followed Vintage Airsoft for a VERY long time you will remember a couple of years back I built a kiln to try making some cast aluminium parts.


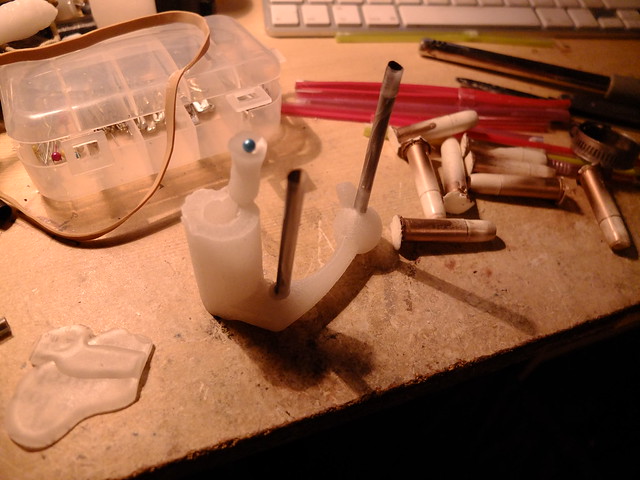
I have been trying to get my new version ready for use recently and have at last had my first casting session with it today. As many of you will know, I cast a lot of products from silicone moulds. I used one of these to make a wax copy of a 3D printed bolt. 


To this I added vents and a pouring spot. I made a bunch of these ready to do a batch of pours.

_DSF9301

These are contained within plaster moulds.

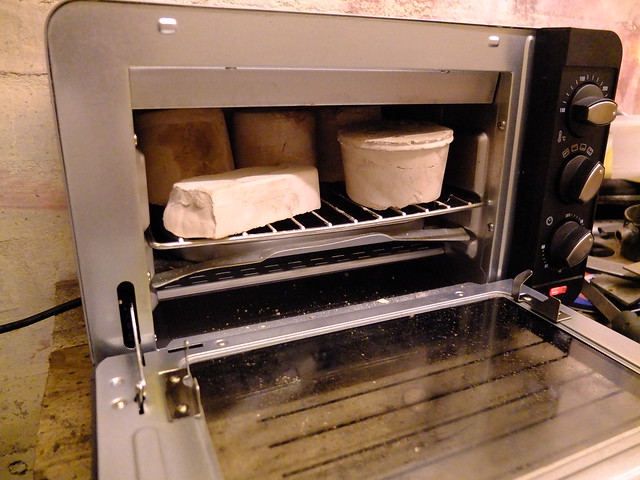
In these went into my mini oven for several hours. This has two purposes: 1. It melts the wax out of the plaster. 2. It dries out the plaster, forcing the moisture out of it. If there is any moisture left inside this can turn into steam instantaneously and crack the mould, possibly even a small explosion.

_DSF9304

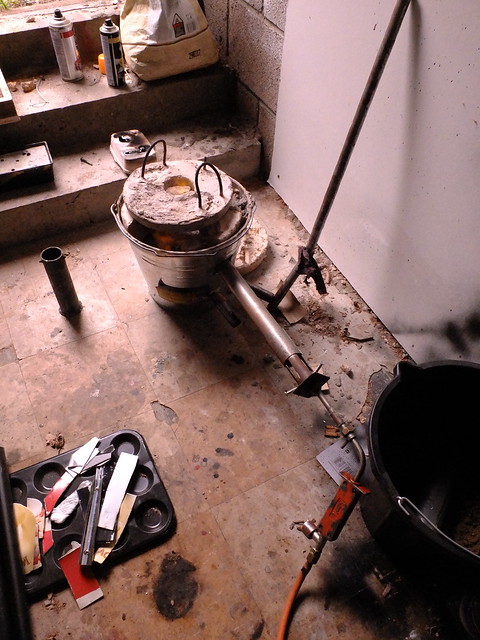
As the last half hour came up I started melting the aluminium. 

_DSF9306

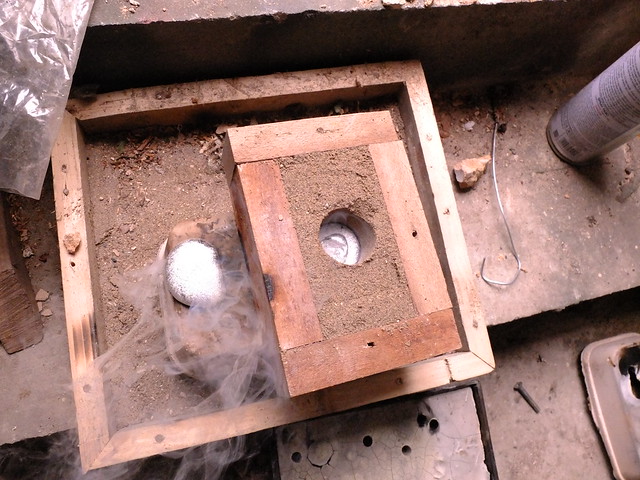
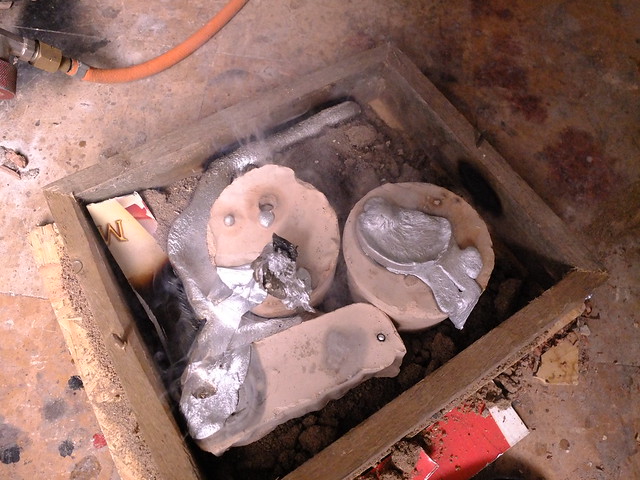
And then poured it into the moulds.

_DSF9308

And left it to cool…

_DSF9310

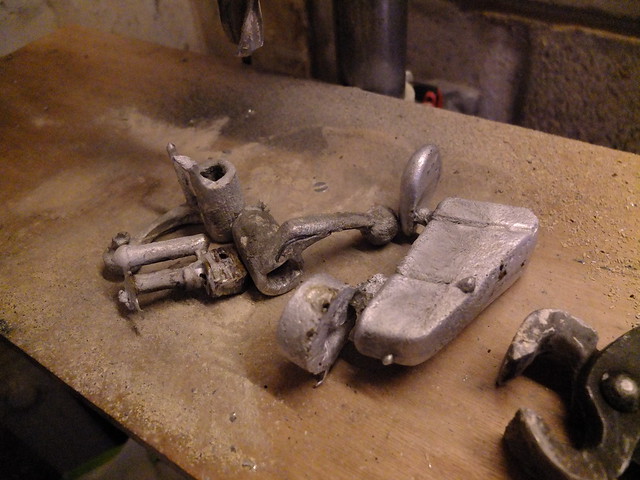
Once they cooled down, I broke them out of the moulds. 

_DSF9314

And the rest. These aren’t up to scratch for use but I am quite happy with them for a first attempt.

_DSF9315

In order to make more useful castings I think I will need to make more vents and pour the metal at a hotter temperature. I may experiment with some other casting materials and investments.

The Vacuum former project

Cold War, Tools, War on Terror

Hello all!

I’m going to do a post on the vacuum former I have been building for the LAW project. In the longer run I’m not entirely sure what this will be used for as very few gun projects of mine have much (if any) plastic in at all. However it seemed like the sort of thing that I should have just in case. I suppose in the longer run I could use this to make custom holsters, battery cages or who knows what (If you have any projects in mind drop us a line!)

_DSF4940

If you are unfamiliar with what a vacuum former actually is, it allows you to form simple three-dimensional shapes in plastic sheeting. There are two basic stages:

1. Heat the plastic sheet (I shall be using an IR heater unit) until slightly floppy

2. Place sheet on top of forming table (flat surface full of holes) and mould. A vacuum is created under the table and the higher pressure in the room pushes the plastic sheet hard against the mould and table.


This is going to be used to make the trigger mechanism housing on the LAW.

As you can see, this surface is covered in small holes where the air is extracted, I used a piece of MDF pegboard for this:

_DSF4942

In future models I would also add bracing struts under this board as it does seem to flex a little when the air is extracted!

_DSF4943The air is extracted through a tube in the side, although it isn’t greatly pretty it provides a very satisfactory seal. This is attached to a vacuum cleaner to provide the suction.

_DSF4972


I ran a test to see if the suction worked on a bit of plastic bin bag, I shot a short video of it sucking the air out which I think looks rather cool!

I will also be doing a post on the heater unit once that is finished.

As ever, if this post has inspired you let me know! You can contact me as ever via email at enquiries.vintageairsoft@gmail.com.