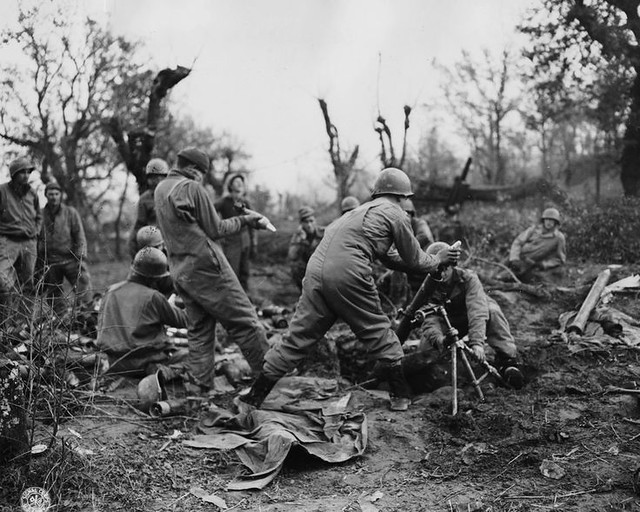
The M2 Mortar was a US light service mortar designed for close support by infantry at company level. These filled the gap between hand grenades/rifle grenades and the larger (81mm) M1 used at battalion level.
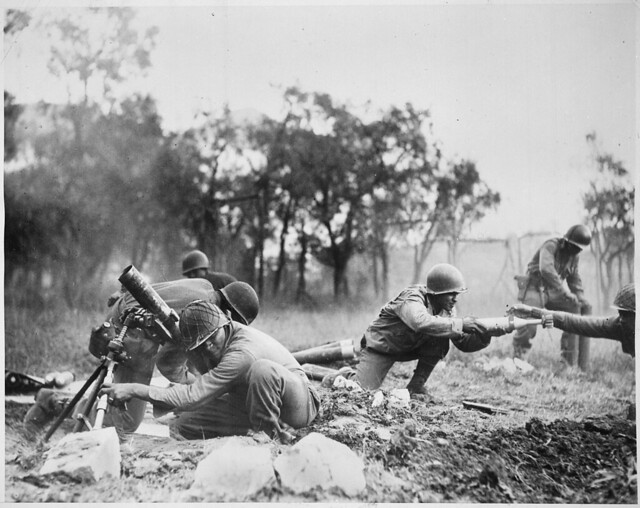
The 81mm mortar in use with a mortar company of the 92nd Division.
It has its origins, much like nearly every modern mortar, in the WWI-era Stokes design. It was smoothbore, drop-fired and used a bipod/baseplate system.
Doughboys with the WWI Stokes mortar.
Light mortars of the inter-war/WWII period fell into two categories: The first were simple, tubes held firmly by the user when fired and aimed by direct line of sight (such as the British SMBL 2″ and Japanese T89). The latter were complex, with coarse thread screws or other systems to control elevation and windage for very accurate controlled fire.
The M2 fell into the latter category, with an attachment for a sight that could be used for both direct and indirect fire. As a result, it could be used accurately at close to its maximum range (nearly 2,000 yards).
The sight used for the M2.
Post-WWII, the M2 served in Korea and numerous Colonial conflicts with the French, finally in Vietnam. The Chinese also locally produced their own copy. It was eventually replaced in 1978 by the M224 which is still in service today and increased range capacity by about 1/3rd.
You can see some footage of the M2 in action here:
The Airsoft version currently being built will fire TAGs and moscarts, with a possibility of using TLSFX shells as well.
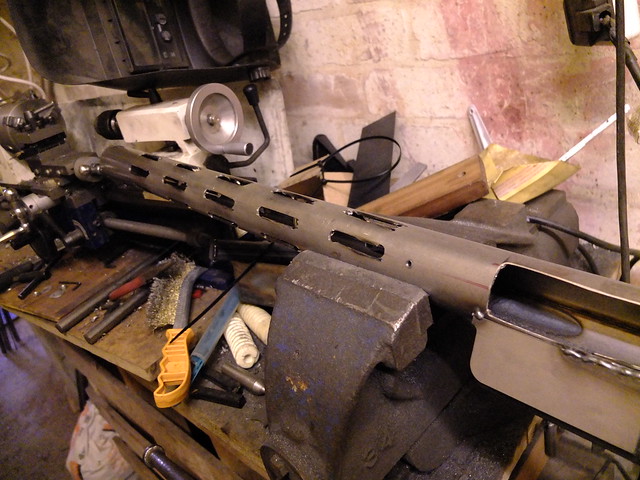
At the end of the last post, I had most of the large components roughed out for the LMG25. However the cooling ports in the barrel jacket are a little rough at the ends.
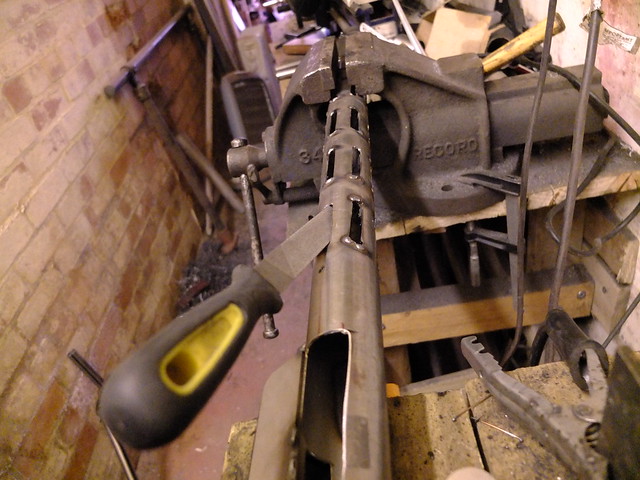
So I welded the outsides edges, so I could grind them down and round out the ends.
Next I welded up the ejection port.
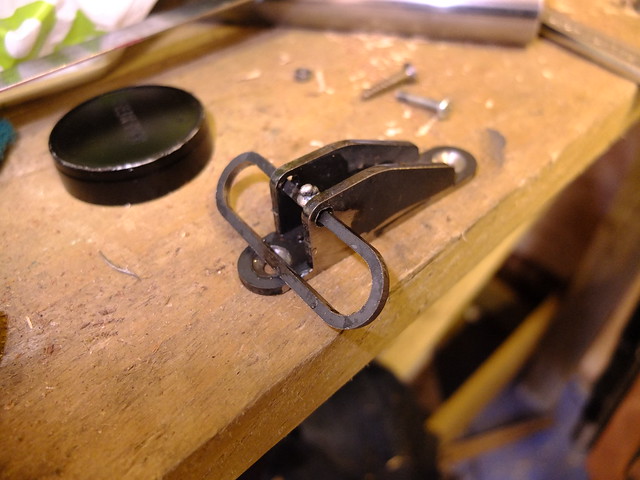
And the rear sling swivel, attached to the mount.
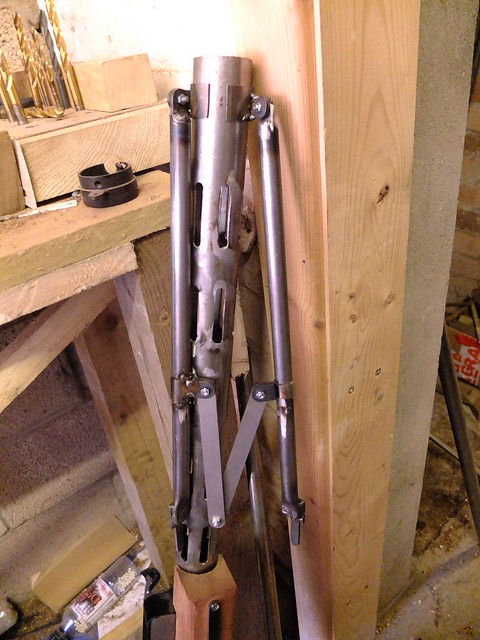
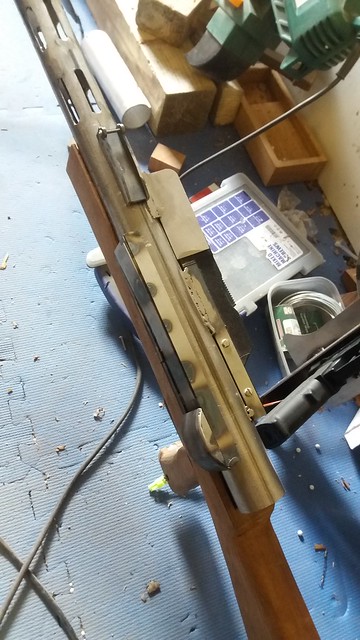
The bipod was an interesting challenge. In order to go from the stowage to the deployed position the lugs all have to rotate, so a little tweaking was needed to make everything move freely.
The end result is a pretty stable bipod with good movement, allowing the operator to sweep over an arc of fire.
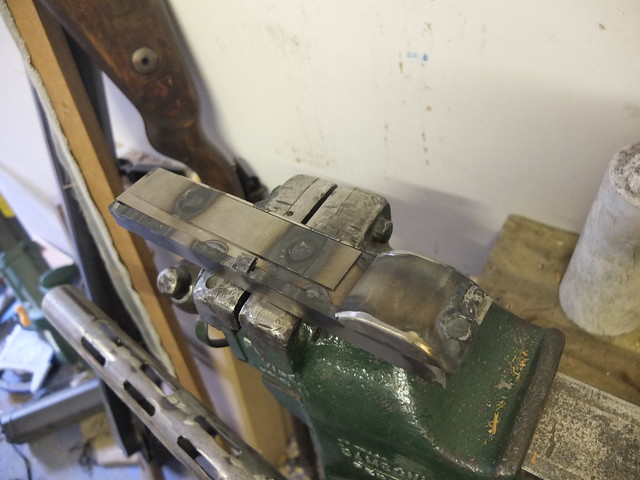
The dry assembly of the rear sight and ejection port. From this I learned that the ejection port needed a little trimming off the bottom to sit tidily. I also decided to chamfer the edges of the rear sight base to get a deep penetration for the weld.
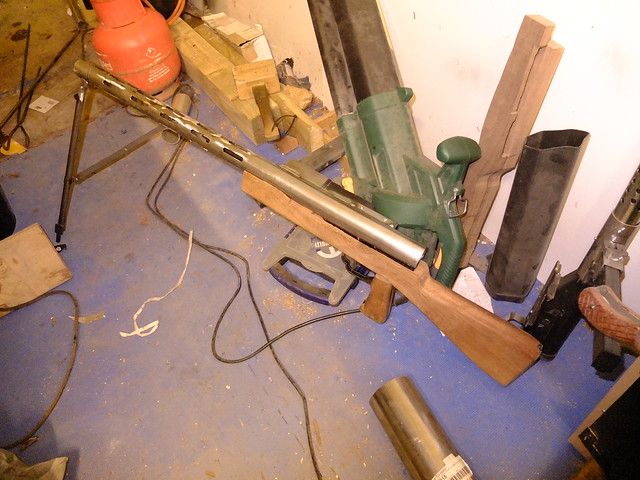
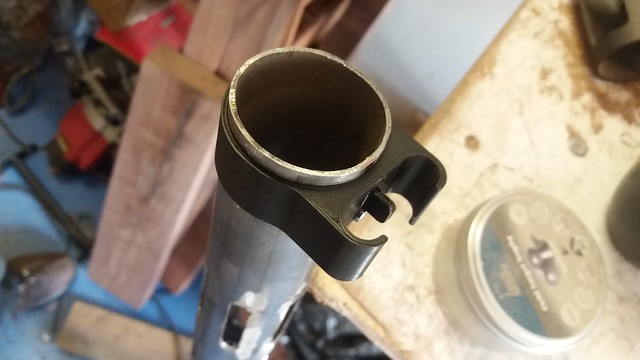
The foresight has been 3D printed, it screws into place on the barrel jacket.
It sits just ahead of the bipod.
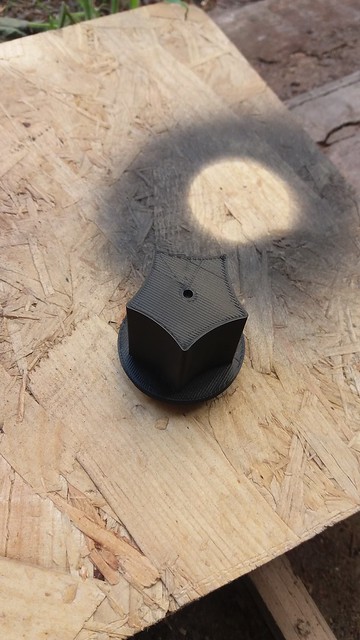
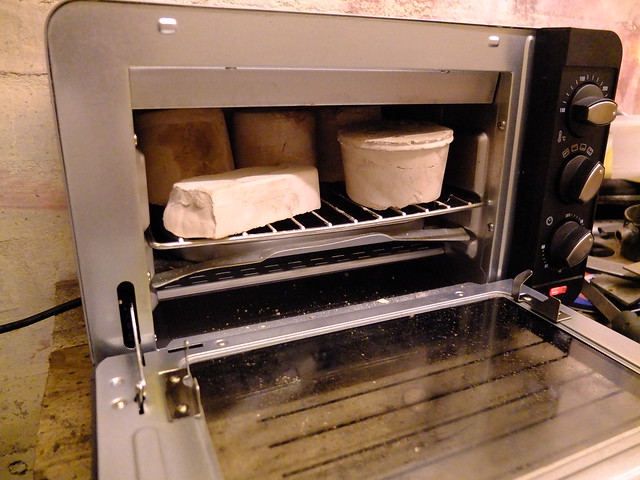
The back-cap is also printed, I may replace this with a cast aluminium version now I have a working kiln.
Most of the remainder of the work is now detail parts such as the rear sight unit, operating handle and the attachment for the back-cap.
If you have a thing for obscure Swiss Light Machine-Guns then you can check out the pre-build piece here.
If you enjoyed this content join us over on Facebook and check out our Etsy store. If you have an idea for a custom build of your own get in touch on enquiries.vintageairsoft@gmail.com.
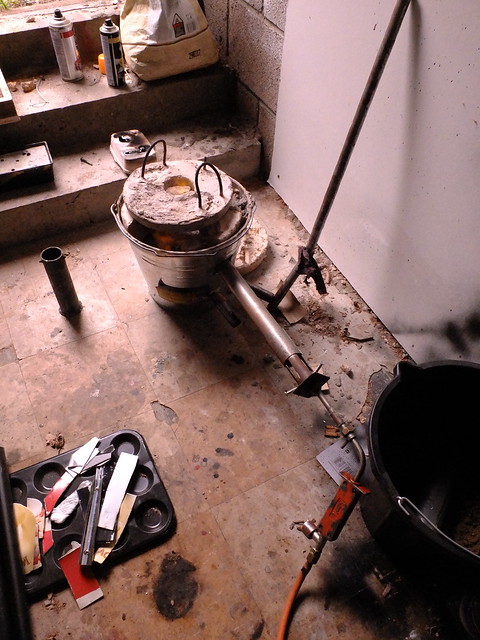
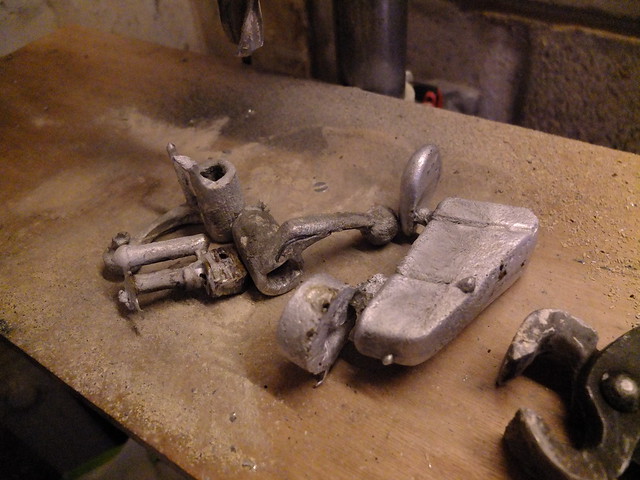
OK, for those who have followed Vintage Airsoft for a VERY long time you will remember a couple of years back I built a kiln to try making some cast aluminium parts.
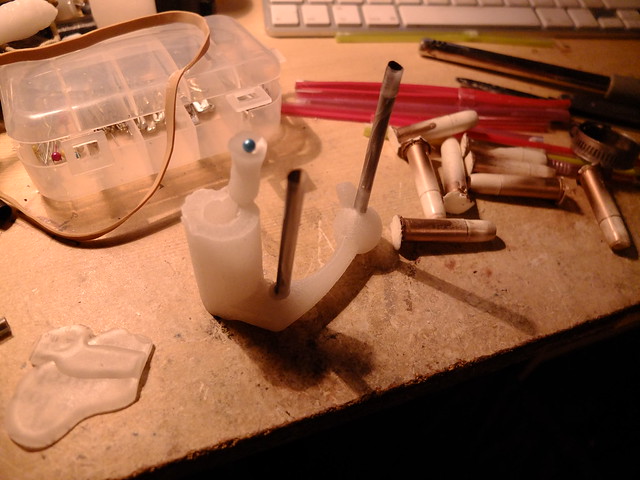
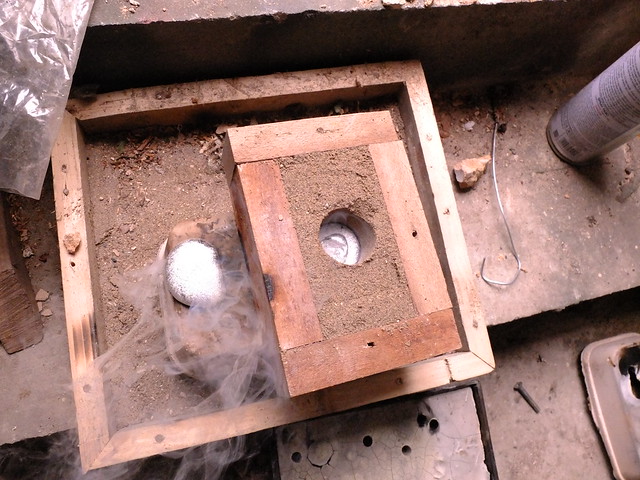
I have been trying to get my new version ready for use recently and have at last had my first casting session with it today. As many of you will know, I cast a lot of products from silicone moulds. I used one of these to make a wax copy of a 3D printed bolt.
To this I added vents and a pouring spot. I made a bunch of these ready to do a batch of pours.
These are contained within plaster moulds.
In these went into my mini oven for several hours. This has two purposes: 1. It melts the wax out of the plaster. 2. It dries out the plaster, forcing the moisture out of it. If there is any moisture left inside this can turn into steam instantaneously and crack the mould, possibly even a small explosion.
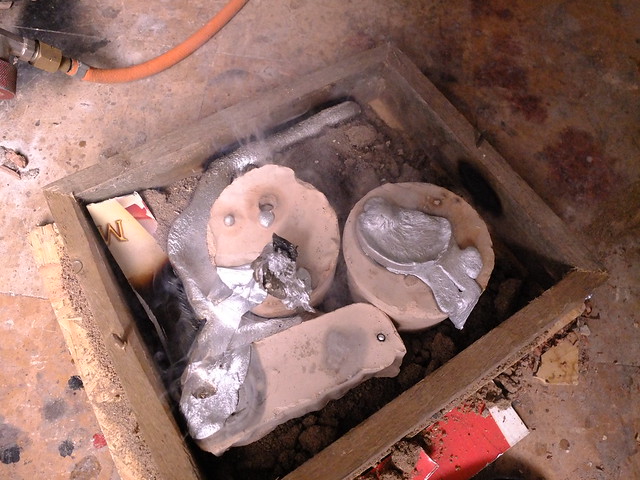
As the last half hour came up I started melting the aluminium.
And then poured it into the moulds.
And left it to cool…
Once they cooled down, I broke them out of the moulds.
And the rest. These aren’t up to scratch for use but I am quite happy with them for a first attempt.
In order to make more useful castings I think I will need to make more vents and pour the metal at a hotter temperature. I may experiment with some other casting materials and investments.
Before I go any further, if you are seriously interested in the history and workings of the Lewis gun, check out C&Rsenal’s video. If you just want a quick overview, you can skip that and carry on reading…
Issac Newton Lewis, Colonel, US Army designed his machine gun in 1911 and spent around two years banging his head against a brick wall trying to persuade the US Ordinance Department to adopt his gun. In 1913 he left the United States and set up shop in Belgium where he received a respectable first order from the Belgians. In 1914 BSA bought a license to produce it and as war loomed Lewis moved his factory to Britain to keep it out of German hands. Lewis’ BSA license proved very profitable: between BSA and Savage Arms around 50,000 Lewis Guns were produced by 1918 and the license granted him commission on every one made.
The design itself was based on work done by Samuel Maclean, but between Lewis and designers at BSA it was transformed into a reliable and easy to produce machine. It is gas operated, open bolt with three locking lugs at the rear of the bolt. The most distinctive feature is of course the massive aluminium heat sink/fins/barrel jacket arrangement.
Shot of the Lewis receiver. On the right you can see the barrel jacket and the rear end of the cooling fins. On the bottom of the gun, forward to the trigger is the clock-type main spring.
The idea of this was to wick heat away from the barrel as quickly as possible (quick-change barrels weren’t really a thing yet). The large mass of aluminium took the heat into the fins and the muzzle blast would suck air through from the back towards the front. In theory. In reality the necessity of this sophisticated arrangement is dubious, aircraft Lewis Guns were pressed into service on the ground during WWII, even in North Africa and the guns were found to function perfectly well without.
The magazine is also worth mentioning, coming in 47 and 97 round versions. This Pan magazine is NOT a drum magazine (which relies on a spring to feed, keeping ammunition aligned with the bore) and is manually rotated and indexed as the gun operates.
The indexing system for the Lewis. If you want to know how it works, see the C&R video above for the animation.
Last but not least, the mainspring is a spiral clockwork type, mounted in that distinct protrusion from the belly of the receiver. This is very efficient and saves space over a much larger conventional mainspring, also allowing for easy adjustment to account for field conditions to make for reliable firing in all weather.
The Lewis gun’s service was long and varied. Before even leaving for Europe, Lewis had put the gun on a Wright Flyer and as a result it has the distinction of being the first machine-gun fired from an aircraft (1912).
During the Great War, Britain used them extensively, eventually outnumbering the Vickers by about 3:1 in spite of being more expensive. That the government was willing to spend so much more on these than an established home-grown piece is a comment on the quality of the design.
Due to its light weight, the Lewis was readily adopted by Air Arms where it was widely used for observer’s defensive guns. It was also mounted as foreward firing guns but had to be mounted outside of the propeller’s arc due to firing from an open bolt (therefore being nigh-on impossible to synchronise to a propeller).
By the Second World War, the Lewis was outdated for the role in which it was originally used. After Dunkirk and the fall of France, Britain pulled its Lewis guns out of reserve where it was used by the Home Guard and for low-level anti-aircraft fire. In the Far East it served with Empire forces on the front lines. Throughout the war it remained in use with the Navy and RAF for air defence from boats.
As well as versions chambered in .303 British, there were Lewis guns made in 7.92 and 7.7 Japanese rimmed, the Japanese having copied the design from versions captured in the Far East.
The Lewis had some limited influence on other designs, the FG42 taking inspiration for its bolt/piston arrangement and from that the M60. There was also a Lewis pistol, which fired from an open bolt.
After the Great War, the Treaty of Versailles (TofV) put strict limits on the number of weapons, ships and small arms. Germany, like all the major powers, had learned that short rifles were every bit as good as a long rifle for any realistic infantry use and frankly better in any situation other than firing in ranks.
As a result, they disposed of a lot of their G98 long rifles, keeping hold of far more Karibiner 98az models, though producing the so-called K98b (which was basically a G98 with a tangent rear sight and turn-down bolt) during the Weimar years. How many ‘b’s were produced is uncertain, but they don’t feature in pictures of the period.
During the inter-war years, levels of tolerance to the TofV fluctuated, with many civilian hunters and paramilitaries reluctant to give up their beloved weapons. As a result many were hidden, coming out of the woodwork to fight street battles between Communist and Fascist militias, the militias and the government and eventually into service with some government units.
K98k, with laminate stock.
In 1934, the German Army ordered a new design of rifle. The reasons of this are not entirely obvious, but given the timing one could conclude that it is related to: the re-armament of Germany and therefore standardisation on one rifle for all to simplify production and logistics. It would also allow for the removal of the G98/K98b from regular service and finally push those pesky long rifles to the reserves.
With this short rifle as standard, the Germans also standardised on the new s. S Patronen (previously used for machine guns) which produced less muzzle flash in the shorter barrels.
Early K98ks were blued, with walnut stocks, though changes were made to this as it went through its service life. Over time, laminate stocks were introduced, which were cheaper and required less processing time for the timber. Oak was used as a stand-in from 1943. Parkerisation was used to finish the metalwork on later models, making for a much hardier finish than traditional bluing.
The K98k is one of history’s iconic sniper weapons. Many were equipped with the ZF39 scope (pictured) and these were preferred by ‘true’ snipers.
Most famously, the K98k was the standard German rifle of WWII, but it was also used by Sweden and captured units by the USSR to fill gaps in their own equipment.
Later in the war the ZF41 scope was also issued. This clipped onto a mounting next to the tangent sight and could be removed quite easily. At 1.5x magnification it was unpopular with snipers and had a fairly poor field of view but it did allow sharpshooters to perform something of a Designated Marksman role as it would be called in modern parlance.
Post-war, it saw service with the Viet-Minh/Viet-Cong (Soviet captures sent as war aid), Korea, France, West Germany, Norway and Yugoslavia, all with their own local modifications. They also saw action in Palestine, where they were used against Arabs and British forces. Even in the latest Iraq War and following insurgency they were being used against Coalition Forces.
Participants of the Haganah revolt against British control of Palestine carry K98ks and a Sten MKII.
This really is just to scratch the surface. The K98k and its Mauser brethren went everywhere and did everything, much like its sister bolt-actions of the era well outlasting standard military use to serve in specialist roles even up to today with some armed forces. This is not to even mention civilian use.
Vintage Airsoft is currently working on a VSR-based K98k and will be posting the build to the blog as it progresses.
You can find more information on the K98 through these links: