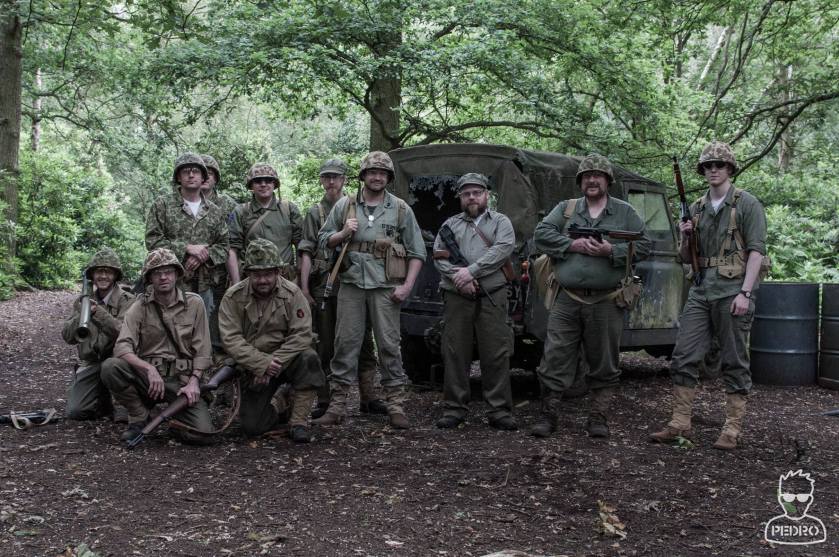
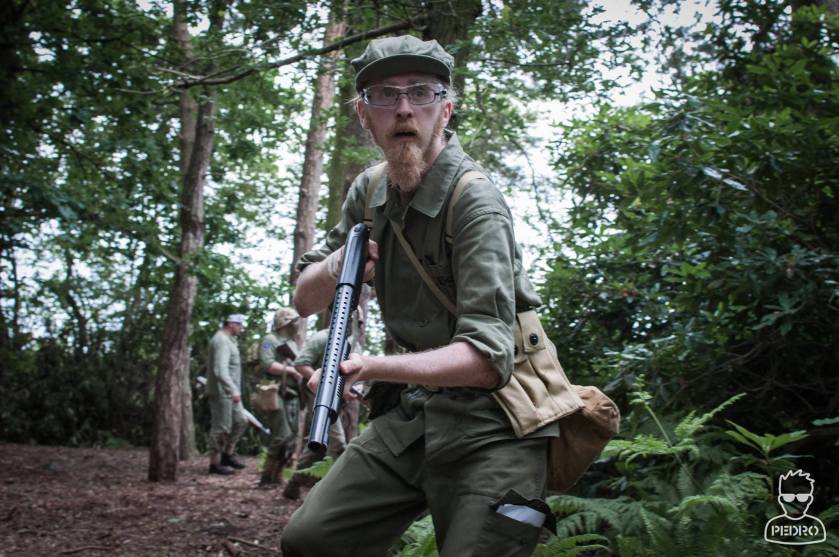
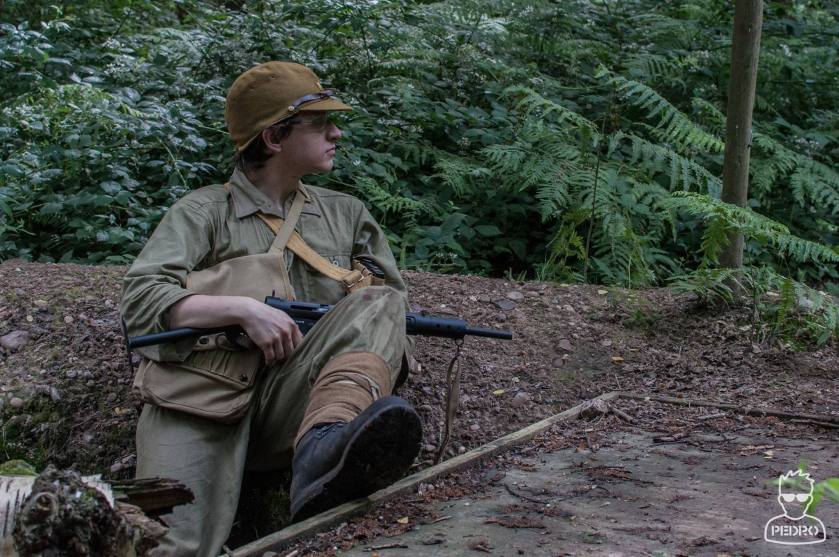
The saga of the Short, Magazine Lee-Enfield

Cold War, Era, History, Lee-Enfield, No. 4 L-E, Rifles, SMLE, Weapons, WWI, WWII

Notes:

In this piece I will refer mainly to the British use of the Lee-Enfield as it was predominant. In that I include the Empire as it was part of Britain for the majority of the time the Enfield was the British main service rifle. I shall only refer to other nations’ use in passing as that would involve covering most of world history from 1910 onwards.

British nomenclature is a specialist field and there are a few notes you should be aware of for reading this article, while most English speaking readers with be aware of these I will detail them in case you are unaware of their meanings or they are poorly translated:

No. : Number, abbreviated. Used to describe a series of rifles in this case

Mk: Mark, the sub model of a series

‘*’ or ‘star’: Used to denote minor changes that do not justify a new ‘Mk’ designation.

(T) : Telescopic

(TH) : Telescopic sight, heavy barrel

I should also make clear that while the P13s and P14/17 rifles are Enfields, they are quite unrelated mechanically. I have referred to the SMLE’s predecessor only as the Lee-Metford, or MLE as I am not intending to go into the sub-types in this article. Maybe another time.

Lee-Metford MkII. Wikipedia.

Lee-Metford MkII. Wikipedia.

The story begins

The Lee-Enfield was the main British service rifle from 1907 to the 1950s, born out of the arse-kicking the British Army received during the Boer war where the Lee-Metford (or Magazine Lee-Enfield) did not perform to expectations against the Boer Guerrillas armed with Mauser rifles.

P13 at RIA

P13 at RIA. Although an Enfield, this is not related to the Lee-Enfield series.

A replacement was needed, quickly. The War Office started investigations into the options, including adopting a Mauser-style rifle (which became the P13 eventually) and shortening the MLE to what, at that time, was considered a carbine length and issuing it as a standard rifle to all troops.

SMLE No. 1 MkI

SMLE No. 1 MkI. Rare as hen’s teeth.

There were a couple of early renditions of the SMLE but these were not widely issued, however on the No.1 MkIII they finally settled on one of the classics of the 20th century. A bold move, a short rifle to be issued to all troops from Infantry to Cavalry, Artillery and Engineers to simplify logistics. A far cry from many countries where all of these cadres had their own specialist rifle or carbine. The stubby, snubbed nose appearance given to the rifle by the nose cap, foresight guard and bayonet lug combined contrasts quite strikingly with the slender, elongated fore-ends of the French Lebel and the German Gewehr 98. The detachable magazine and multiple piece stock also means a greater level of modularity for repairs and personalisation, such as was available.

Lee-Enfield_Mk_III_(No_1_Mk_3)_-_AM.032056

The classic SMLE. Rifle No. 1 MkIII

Military service

This was ready for WWI where it served very well in the filthy confines of the trenches. Its rate of fire was so terrific that in the early stages of the war in the west, German soldiers overestimated the number of machine guns in use by the British.

During the war, it was supplemented in the field by a simplified version, the No.1 MkIII*, which sped up production in the pressured wartime economy and the P14, a development of the P13 with lessons from trials learned and applied. During times of need, old MLEs were also occasionally pulled out of storage.

P14 Enfield. Basically a better thought through short Mauser.

P14 Enfield. Basically a better thought through, short Mauser.

After the war, the SMLE was retained despite the moves to replace it pre-war, though some features such as an aperture rear sight were implemented in the 1920s. Although these improvements were great they were expensive and as a result Britain and the Empire went into WWII with exactly the same rifle as they went into WWI with.

During WWII, the No.4 Lee-Enfield series was introduced, though it was mainly used in Europe and didn’t reach the furthest ends of the conflict in the Far East. This featured an aperture rear sight at last! Different marks featured slight alterations in the rear sight configuration depending on location of manufacture (Long Branch, Savage and British models all varied slightly) and model. However the aperture sight went down well and the rifle was popular. Unlike the SMLE, the barrel is not in contact with the woodwork all the way down its length which improves barrel harmonics and accuracy as a result. The receiver and the woodwork is also lighter as well as easier to manufacture, all of which made it an ideal wartime improvement.

Lee-Enfield No.4 MkI

Lee-Enfield No.4 MkI

An even further lightened, shorter version in the form of the No.5 Mk1 was used in the Far East. Colloquially known as the ‘Jungle Carbine’, it looks much like a shortened, sporterised No4 with an enlarged foresight guard and muzzle flash compensator. When you look at it closer, you also see the rubber buttplate and integrated sling swivel. However this rifle was discontinued only three years after its introduction and phased out due to issues with a wondering zero, combined with aggressive recoil and large muzzle flash. It still managed to serve in Korea and Malaysia before seeing the end of British service entirely, though it was officially outlasted by the No.4 Mk2 which served right up until the replacement by the Self-Loading Rifle.

No. 5 Mk 1 'Jungle Carbine'.

No. 5 Mk 1 ‘Jungle Carbine’.

Even past the introduction of the 7.62 round and the semi-automatic rifle, the Lee-Enfield lived on in frontline British service in the form of the L42 Sniper rifle. SMLEs had been used as sniper rifles since WWI, when standardisation for such modifications was non-existent, and No.1 MkIIIs and No.4 MkIs had both been used officially in both world wars as well as Korea and a number of smaller conflicts.

L42A1 Sniper rifle.

L42A1 Sniper rifle. Note the cut-back stock and the magazine shape change to take the new round.

Many L42s were apparently converted from No.4 MkI (T) rifles, themselves chosen from the factory for their accuracy. They were converted to take the new magazine, re-chambered for 7.62 and their No. 32 scopes modified for the new cartridge. These served as the British Army’s sniper rifle until the introduction of the Accuracy International L96 in the 1990s.

Other countries have continued to use SMLEs right into the 21st Century. Notable examples include India (especially with the Police), Canada (with the Rangers) and Nepal. They are also still prized in Afghanistan, where open terrain and long distances are in some ways better suited to the Lee-Enfield than modern intermediate-calibre assault rifles.

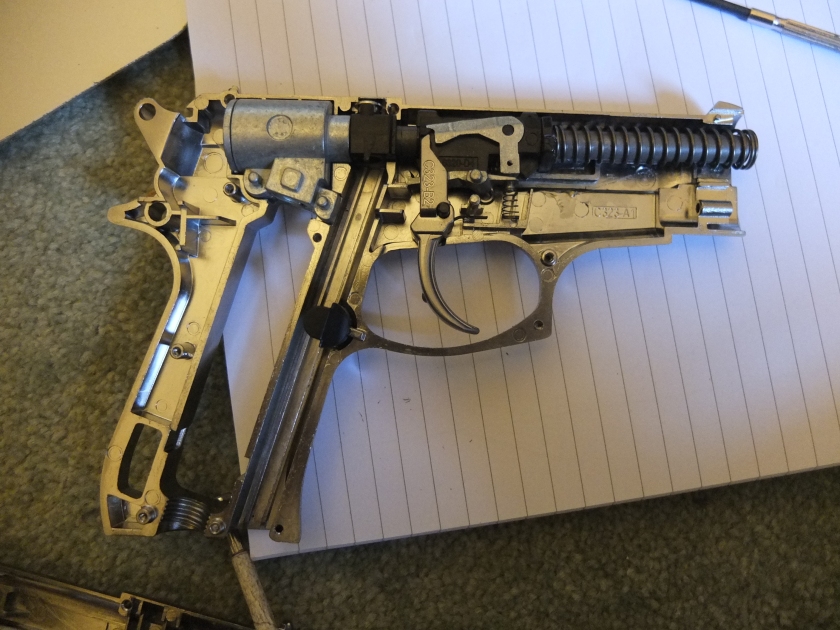
There are also a number of specialist sub-variants of the SMLE, which I will cover at a later date as this is intended as a VERY brief overview of the rifle’s history and development before I start covering the multiple airsoft builds going on at the moment.

The Battle of Guadalcanal

Game write-up, WWII

Those who follow Vintage Airsoft on the Facebook page will know I attended the 34th Infantry’s WWII Pacific game last week at Fireball Squadron. I thought I would give a little writeup on the day as these games really summarise what WWII airsoft games are all about for me.

13701037_1556731174634764_6917937850205247728_o

The game format that the 34th run is based on missions. Each squad has to accomplish as many of these as they can, they choose which missions they do when. As a result, friendly and opposing teams are tracking across the field randomly, never knowing exactly where everyone else is. As a result, you can go for an hour not seeing another squad, then have a solid half-hour contact with both enemy squads!

13724076_1556730941301454_7532353967394876524_o

This randomness means you never know exactly when or where a firefight will be. You may lay an ambush carefully, wait for 20 minutes and the enemy is as likely to appear behind you as where you wanted them to be!

13710665_1556732057968009_1035743645650927127_o

For my part, I played Japanese. Our squad had a very quiet morning, only the one contact. We spent a lot of time patrolling the field, achieving lots of objectives. We came close a few times, with the US Marines clearly operating at the next set of buildings or defensive lines, but held our fire in order to complete our missions13765724_1556732241301324_3409418459314172379_o

The missions varied, there were several where we had to sabotage various facilities, placing bombs to ‘destroy’ targets. The loud bangs sometimes drew in the enemy, so it was wise to bug out as quickly as possible.

There were also search and destroy missions, where you had to simply go out and get kills from enemy squads as well as supply runs or treasure retrieval.

13717289_1556732331301315_7476387656128870935_o

For me, the highlight of the day was a Banzai charge. The squad got as close as we could to a Marine squad without being spotted, as soon as they saw us and started to fire, most of us jumped into a sprint, yelling and screaming “BANZAIIIIIIII!!!!” at the top of our voices. I went in with the Luger, firing off a magazine as I charged. About 15m away from the Americans, I copped two shots in the torso and went down. One of the great things about the format is that instead of shouting ‘Hit!’, raising a hand and walking away, you scream out and ‘die’, as dramatically as possible. This is disconcerting for people who have never seen it before but it does add to the immersion value. Once you get into it, it is also quite fun in its own right. It certainly makes taking a hit more enjoyable.

13719516_1556731347968080_3182840814547442745_o

If not all your squad are killed in a contact, there are two bandages per player that allow you to be medic’d back into the game twice. One prolonged contact in the afternoon, all my squad around me had been wounded and I was on my last Sten magazine. I ended up having to do a dance of death with my opponents, shooting and moving position, waiting for them to move up to a place where I could land my shots on them. At a crossroads in the path around which this contact happened, three of my team were lying injured, with one of the enemy.

Fortunately I had a good view of this and when people came up the path I was able to jump out with the Luger and emptied a magazine at them, taking them down. I pulled back for a bit and waited again. A Marine came back from further ahead to try and medic one of his teammates back into the game and I shot him with a short burst from the Sten. At that point enough of the Marines were out of action for me to feel comfortable healing my own teammates. Three healed, we started to pull back to our HQ, leaving the Marine squad ‘dead’ at the crossroads.

13724879_1556732327967982_3394278286955255478_o

There were also a lot of contacts where our squad got slaughtered, quickly or otherwise! One mission was to achieve two confirmed kills, we set up an excellent ambush at a checkpoint with lots of hard cover. As the US troops came into view,crossing the road about 20m away I opened fire with the Sten. Unfortunately, it turned out that both Marine squads were together at this point, resulting in our being flanked from the back, right and killed to a man!

13735656_1556731771301371_6594056660192709137_o

The sheer unpredictability of this style of game is what makes it so attractive. You have to be on the ball constantly, there is no doss period as you make your way to the start point of a mission, as soon as you leave your HQ you are fair game! You may be contacted before you reach your objective, while you are carrying out the mission or on your way back. The enemy can come from any direction, at any time. There are quiet periods, but that makes you appreciate the fight even more when it does come.


If you are able to make it to a game with the 34th Infantry I highly recommend it. You can find them at Fireball Squadron, near Sutton Coldfield.


Photographs are kind courtesy of Pedro @The Airsoft Project.

If you would like to get involved with WWII airsoft in the UK, you can find the WWII airsoft forum here.

P.S.: This rare airsoft beauty featured in the game. A Type 14 Nambu pistol, this is the first I have seen in the flesh. A truly lovely replica, with very good handling characteristics._DSF7665

FG42: Part 3

Battle Rifles, Custom builds, Era, FG42, Weapons, WWII

The FG42 is finally coming together and starting to look like an FG42. The rough woodwork is together, this will be upgraded to birch ply on the production version, with a few adjustments to improve authenticity such as vents in the foregrip, the buttstock will be one piece including the back (left open on this test part).

_DSF7645

The foresight, folding like the rear sight. The original was locked into place with a spring and detent, this one uses a screw that holds it solidly in position. Below it is the mounting that attaches to the barrel, below that is the bayonet lug.

_DSF7647 _DSF7648


This is now at the stage where I can build the first production model as soon as I have a willing client to fund it! This will obviously be far more detailed, with better shaping for the timber and with much better consideration for ease of use in the field.

_DSF7651


The bipod is on the way and if I have enough money left over for development this month I will order the new woodwork.


Very much looking forward to getting this finished!


If you would like to be involved in the development of this gun, do drop me a line on enquiries.vintageairsoft@gmail.com to discuss or follow us on Facebook.

You can also buy many of our finished products in our Etsy store.

Airsoft Welrod: Part 1

Cold War, Custom builds, pistol, Suppressed, Weapons, Welrod, WWII

Our long-term readers may remember a long time ago an introduction to the Welrod.


While the initial project was for an airsoft model, it ended up being an inert replica for the client in question. Well, the Welrod is back for another attempt at the quietest airsoft pistol around!

The base gun for this is a double-action non blow back CO2 pistol. For those of you who like the internals of guns here is a picture!

_DSF7395

In order to keep things simple (K.I.S.S. or Keep It Simple, Stupid is my motto), I’m keeping as much of the frame as possible as it does a good job of holding the internals and designing a new frame… well suffice to say that life is short. The red coloured areas will be removed over the course of the build.

_DSF7396

The donor with several of the red panels cut away on one side. I actually quite like the slightly steampunk aesthetic of being able to see some of the internals.

_DSF7433

The receiver in progress, the first step is to cut out a recess for the donor.

_DSF7425

Which, with both halves now matching, fits in very nicely. Inside the tube is a buffer that holds the front of the barrel and stops the mainspring. In theory this could be adjustable to make the barrel unit strike the valve harder/softer to control FPS. I’m not sure at this stage how feasible this would be though.

_DSF7553

The front cap and back cap, freshly turned on the lathe! Both parts are in mild steel so will match the rest of the receiver nicely when all finished. The dip around the muzzle is to disperse the muzzle blast more effectively when used at point-blank range. Which it often had to be as accuracy was pretty appalling with the original!

_DSF7554

A close-up of the back end.

_DSF7555


The next stage is to make the trigger guard and housing unit, then modify the pistol grip.


If you would like to discuss commissioning a gun of your own or want to see more content like this,feel free to drop us an email at: enquiries.vintageairsoft@gmail.com to discuss or join us on Facebook!

You can buy many of our finished products in our Etsy store.

P04 Navy Luger: Complete

Complete builds, Custom builds, Era, Imperial Era, Luger P04, pistol, Products, Weapons, WWI, WWII

Some pictures of the completed build! It’s not 100%, I think I will re-visit the rear sight at some point in the future and improve on the shape a little.

_DSF7638

With the exception of the areas left in the white, there is a thin coat of paint over the whole pistol in a dark blue, to try and simulate the blued effect of the original. It is quite successful, though the dream is to have an all steel model that is correctly blued!

_DSF7639

The text is slightly highlighted with off-white paint to improve visibility as well as authenticity.

_DSF7640

The original magazine plugs of the era were wooden, sadly this can’t be achieved with this model but I have painted them to give some of the effect for now until I can find a solution.

_DSF7641

And the DWM mark on the toggle lock. I need to find a way to fill this more effectively with paint, for some reason the usual technique isn’t working so well but the etching itself was satisfying!
_DSF7643


If this post has inspired you to want a gun of your own, drop us an email at: enquiries.vintageairsoft@gmail.com to discuss or join us on Facebook!

You can also buy many of our finished products in our Etsy store.


To see the whole of this build from the start, you can see it here.

P04 Navy Luger: Part 2

Custom builds, Imperial Era, Luger P04, pistol, Weapons, WWI, WWII

When testing the Luger the first time round I found a few issues with certain features. The barrel’s paint job wasn’t ideal, I just did a quick spray job to make it usable at the time. I could have re-done it with several coats and lacquer but decided instead that Oil finishing was the way to go. I cleaned the barrel, heated the piece and dropped it in the oil tank.

(If you want to see how oil finishing works, you can check out this article here).

_DSF7603

Also, the single screw holding the rear sight came loose under recoil after about half a day’s play so I added a second screw and loctite to keep it tight and in place.

_DSF7604

A second day’s testing and it’s ready to have the finishing touches added!

_DSF7635

A few last bits of paint…

_DSF7637


Finished photographs to follow soon.

If this post has inspired you to want a gun of your own, drop us an email at: enquiries.vintageairsoft@gmail.com to discuss or join us on Facebook!

You can also buy many of our finished products in our Etsy store.


Gewehr ’98: Part 3

Custom builds, G98, Rifles, Weapons, WWI, WWII

As this build seems to be coming to a close, it’s time to get the detailing right. In the fore-stock, there are two springs that keep the bands in position. These are laser cut to rough shape, then I used the grinder to mill in details such as the recesses the bands sit in. On the back of the piece is a smooth recess which combined with the correct tempering allows it to act like a spring.

_DSF7544

The front band viewed from the front. There is, annoyingly, a space between the barrel and the bayonet lug that needs fixing, but I am pleased with the difficult shape of the band itself.

_DSF7546

There are a few bits of etching on this gun, something I haven’t done before. I’m using a dremmel style tool with fine etching bits. To cut accurately I made templates in Qcad and glued them to the material with PVA. (This is a practice piece).

_DSF7523

Once dry, I could get to work removing the black areas.

_DSF7524

Then soak the part in warm water and detergent to remove the template.

_DSF7528

A bit of practice later and the templates are ready to be attached to the rifle itself.

_DSF7533_DSF7534

First pass with the dremmel has give a good outline! Hopefully a second pass will get it a little deeper.

_DSF7558

_DSF7560


Not too much more to do now! Looking forward to getting this one finished, it should be a very pretty rifle by the end of it!

P04 Navy Luger: Part 1

Custom builds, Era, Luger P04, pistol, Weapons, WWI, WWII

Just to remind you, this is how the KWC P08 Luger starts out life! All black with minimal markings.

13459548_10208583642261291_1127903712_n

As I wanted a usable gun ASAP, my first modifications were internal. Using the ‘shot in the back test’, I determined that it was shooting much too hot for a pistol (at a guess  400fps plus with .25s). I trimmed approximately 8mm off the mainspring to make the hammer strike much softer.

While in there, I modified the hop. This gun has a fixed hop and in its natural state is very over-hopped. A dremmel tool took it down to the level it needed to be. The gun now fires at 309fps.

The next step and first aesthetic change, is the grips. These came in brown bakelite or walnut normally so two a red/brown mix of acrylic paints were used, followed by a spray-on varnish to protect them during use. To create the inconsistent, almost dappled effect I mixed small amounts of paint at a time so that it was not a consistent colour all the way across. If you want to do one thing to improve your replica Luger this is the best you can do! In the long term I plan to make walnut grips for it.

_DSF7460

The next external improvement is the barrel. The P08 has a 4″ barrel, the P04 has a 6″ barrel. This piece is turned from black mild steel round bar on the lathe, inside has to be drilled to several different diameters to make it function with the internal parts. For now I am keeping the original barrel but there is scope to upgrade and lengthen the barrel.

_DSF7511

With the inside fitting snugly, I could check the action operated properly. In the picture below you can see the old and new barrels side by side.

_DSF7551

I could then weld on the foresight unit, which itself was hand-made and welded together in advance.

_DSF7563


_DSF7565

And cleaned up and back on the gun.

_DSF7566

The rear sight is also very different. For the P08, a simple flat bar with a V-notch is used, the P04 however uses a large, finned tangent style sight.
_DSF7572

So the sight has to go!

_DSF7573

This makes space for the new rear sight unit, which is fixed rather than adjustable. In the longer term I would like to replace this with an adjustable one as per the originals.

_DSF7568

It’s held onto the toggle with a screw. If this proves insufficient I’ll add in a second screw.

_DSF7575 _DSF7576

In context on the gun.

_DSF7577

Obviously it needs a little bit of cleaning up!

_DSF7580

Moving onto some detail work now, starting with etching the DWM logo onto the toggle. I produced a dxf file of the logo, shrank it down to the correct size and printed it out. Here it is superglued to the toggle.

_DSF7588

I then followed the lines with the etching tool.

_DSF7589

I could then get started on cleaning the paint finish off some of the components that were left in the white on the original gun.

_DSF7594 So far, so good!
_DSF7596
_DSF7599

I need to work on getting the logo finished nicely now, but the majority of the work is finished!


If this post has inspired you to want a gun of your own, drop us an email at: enquiries.vintageairsoft@gmail.com to discuss or join us on Facebook!

You can also buy many of our finished products in our Etsy store.

Webley MkVI Buttstock Complete

Add-on kits, carbine, Complete builds, pistol, Products, Weapons, webley, WWI, WWII

You can see the build post for this product HERE if you’re interested!

This buttstock is strongly based on the model available for the original Webley MkVI.

_DSF7581

The stock is made entirely of steel and real, solid walnut.

_DSF7582

The steel is oil blued and the wood has been finished with danish oil, followed by a protective layer of hardwax oil.

_DSF7583

The only real aesthetic improvement would be to make the remaining standard grip a brass colour, which it was with the original when the buttstock was attached.

_DSF7585

If you would like a stock like this for your own or you have a great idea for an accessory, drop us a line on enquiries.vintageairsoft@gmail.com to discuss or get in touch on Facebook!

You can also buy many of our finished products in our Etsy store.