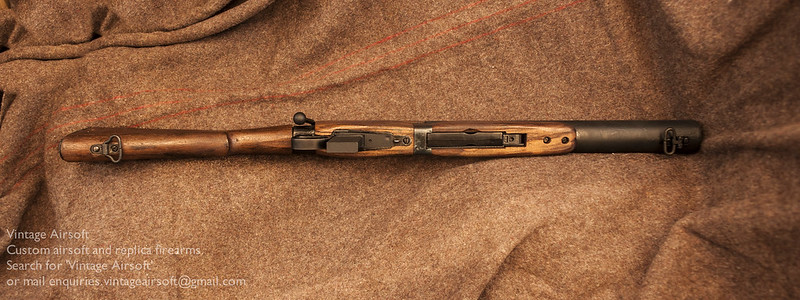
The first step was to fit the woodwork as far as possible. Due to the split woodwork I have to estimate it to some extent as I’ll have to fill the gap with a receiver.
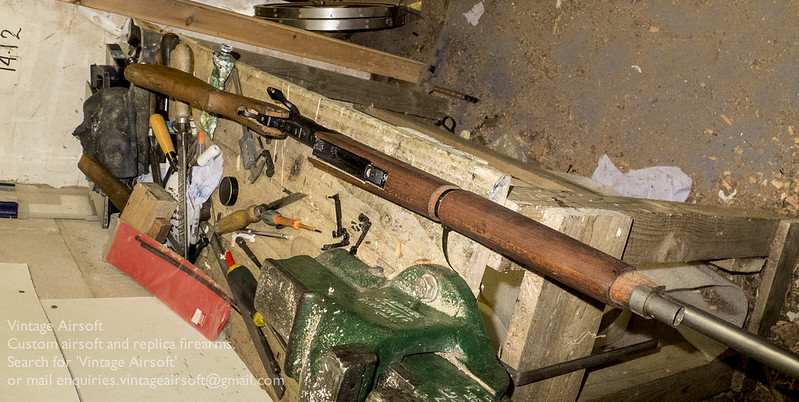
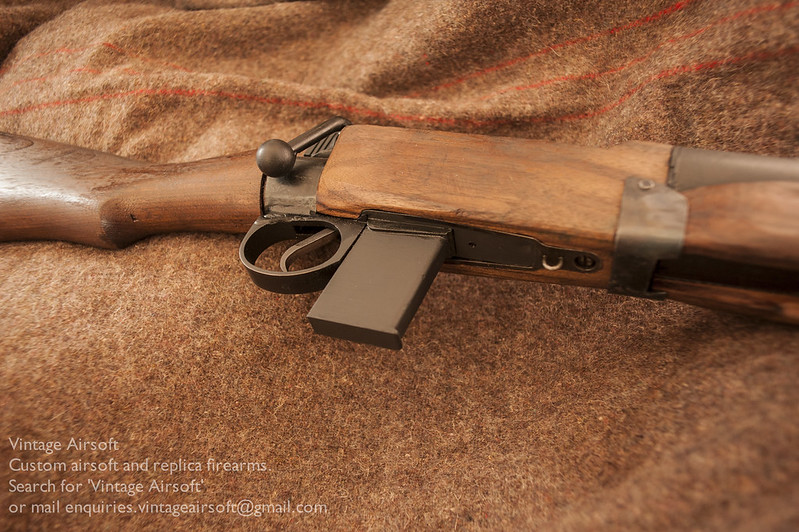
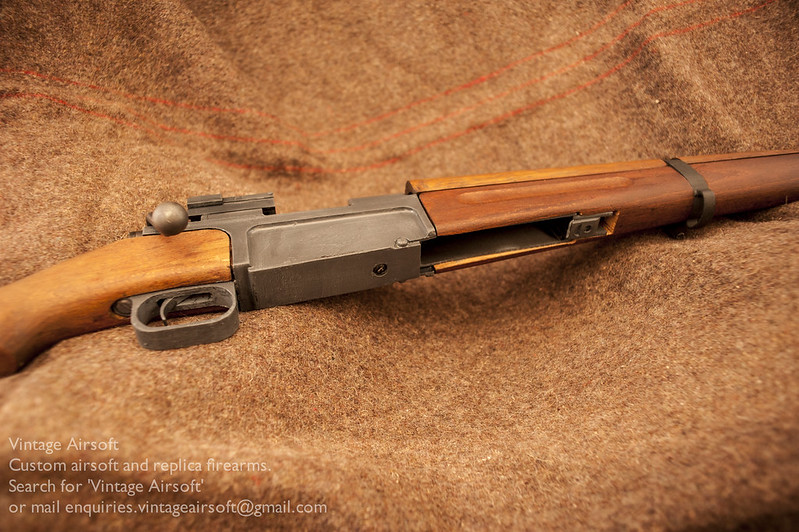
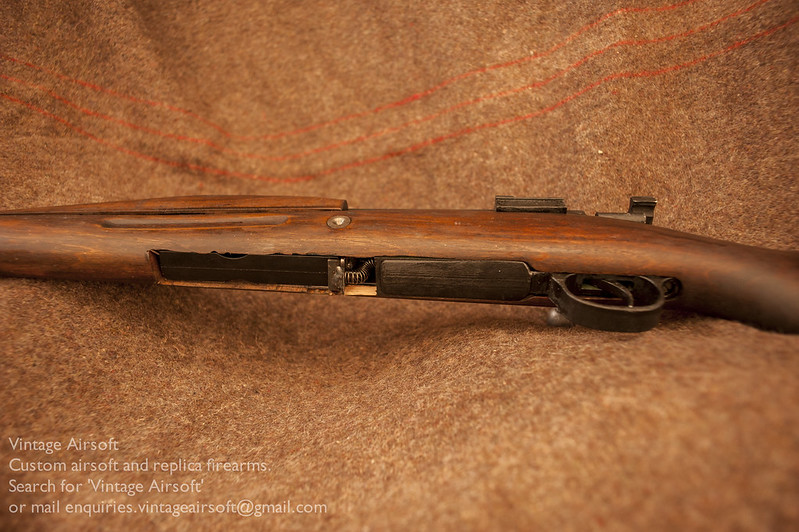
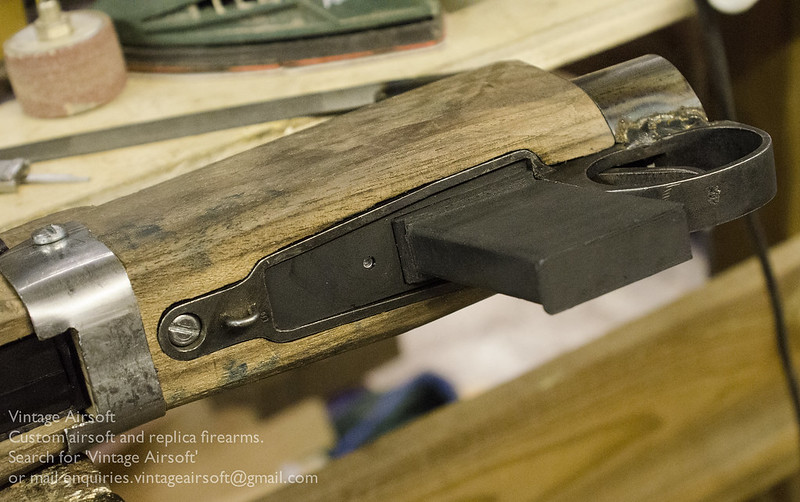
I’m using the MkII magwell, a much easier design to fit than the previous version.
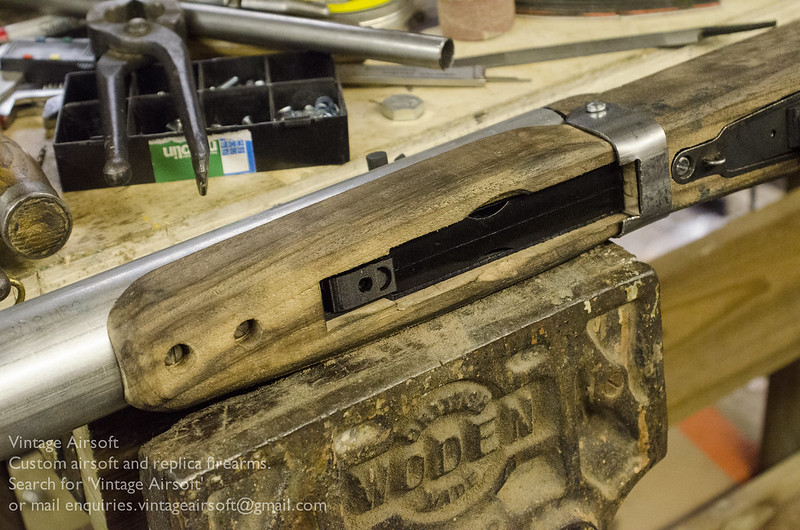
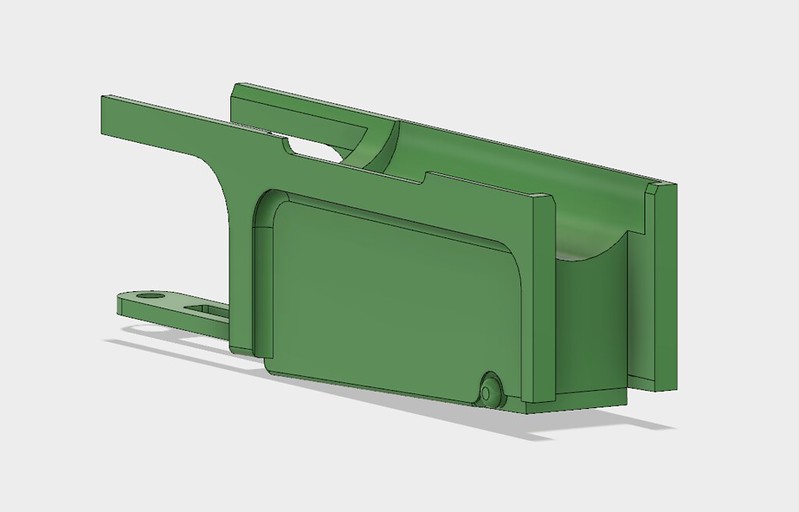
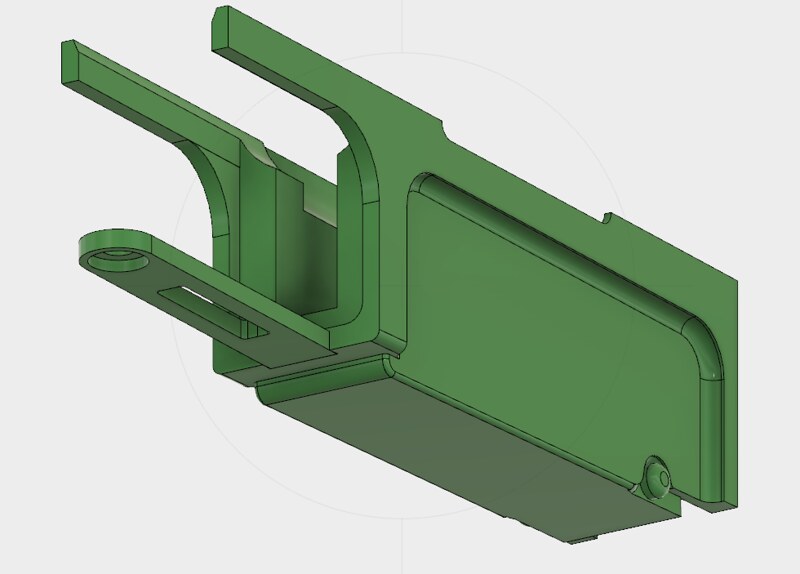
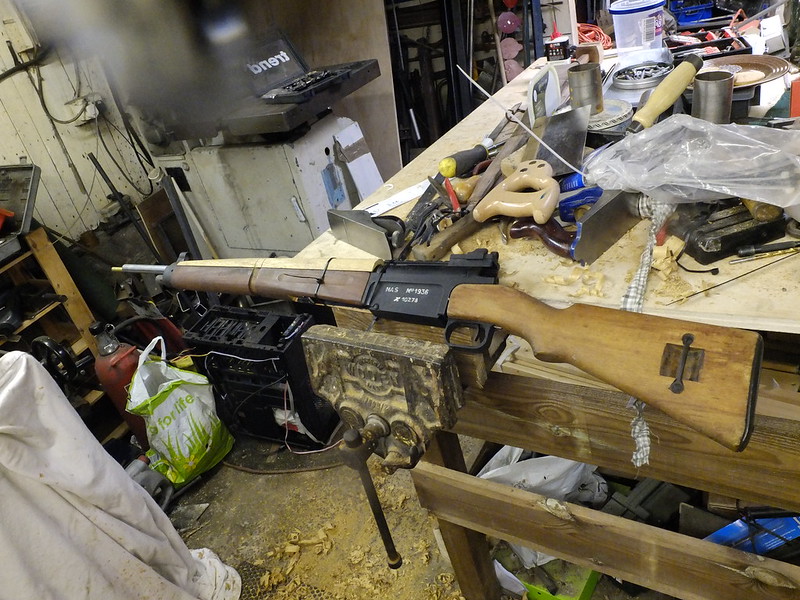
Rough fitted, I can design the receiver.
Three days and many cups of tea later…
This has been done in two parts, the trigger guard tang is being done separately, which gives me a bit more flexibility if a dimension is out slightly.
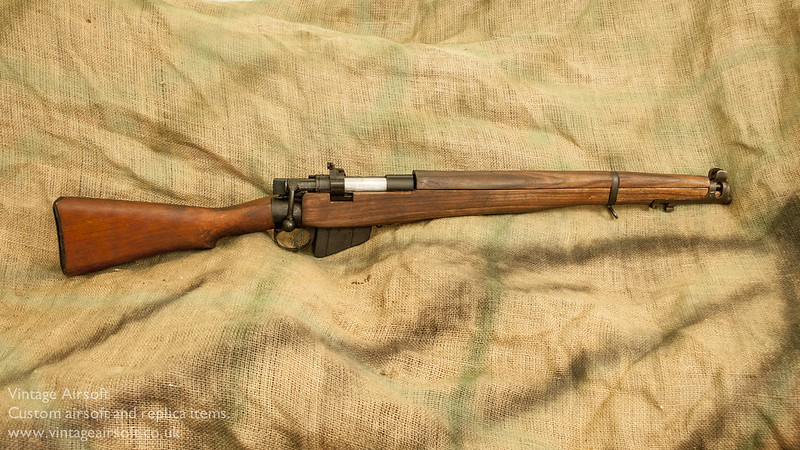
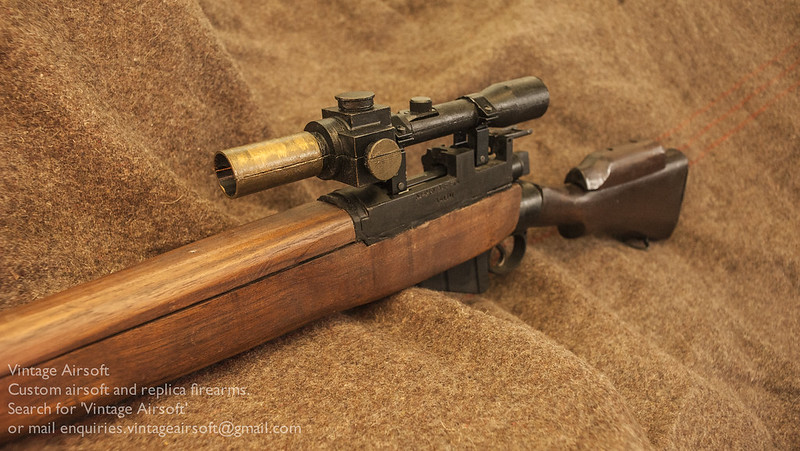
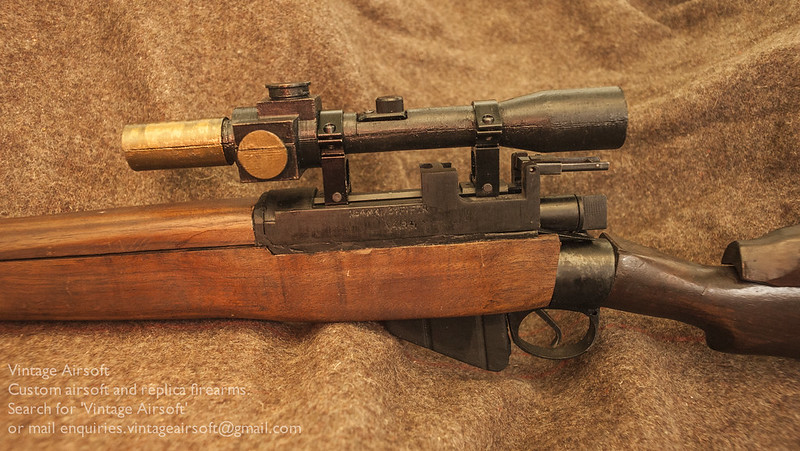
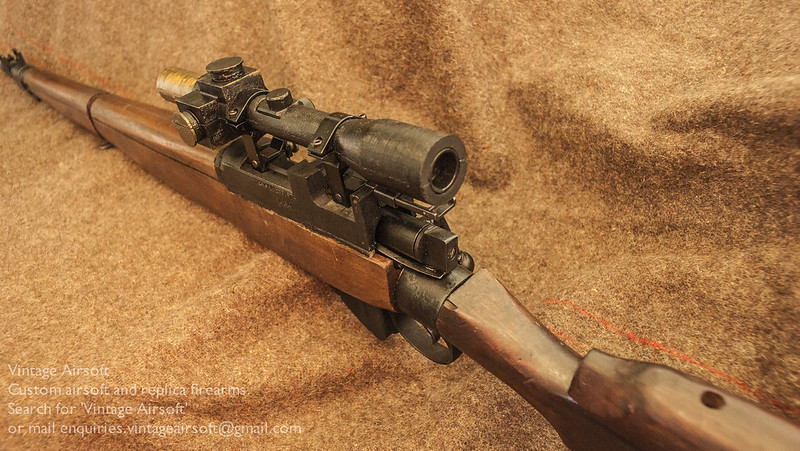
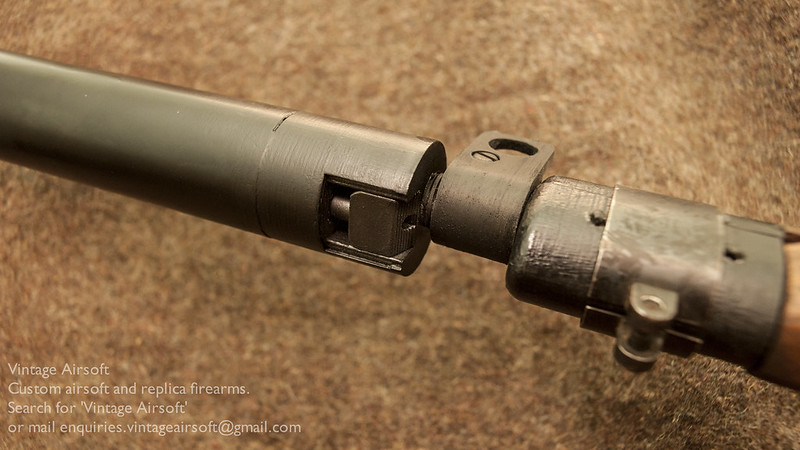
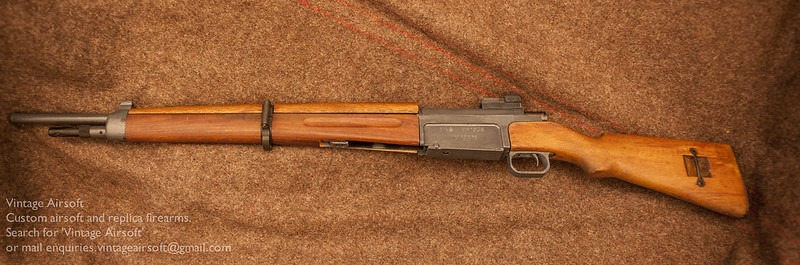
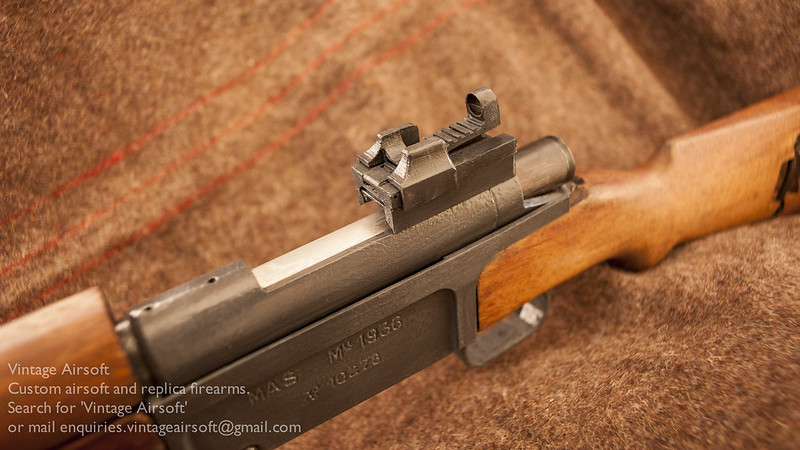
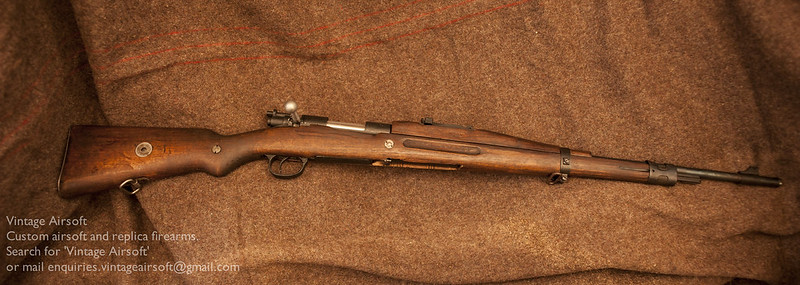
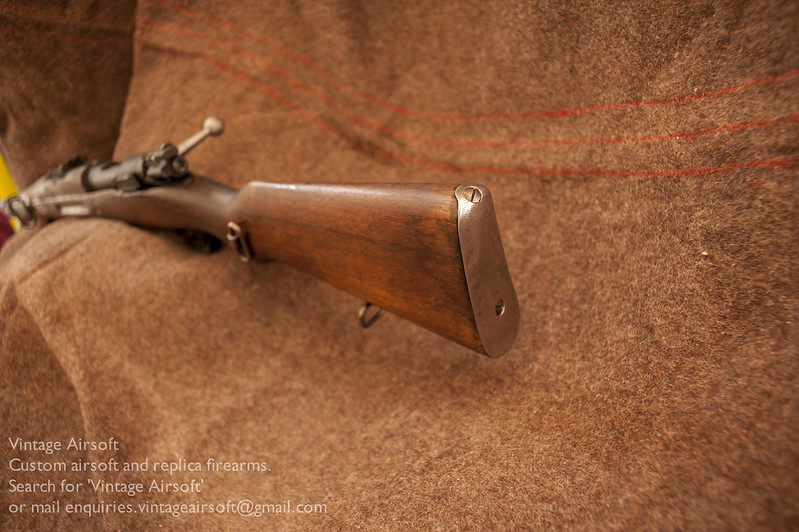
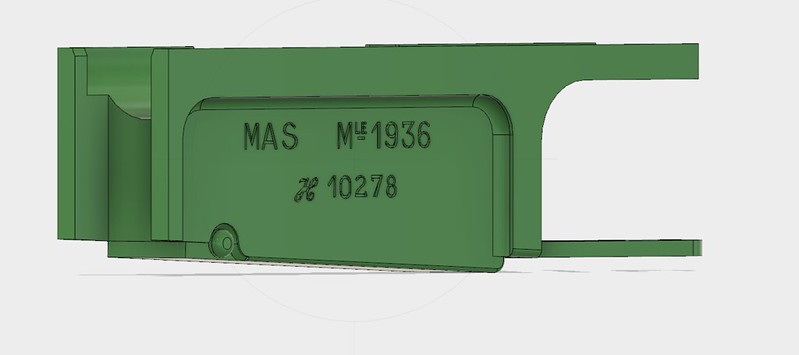
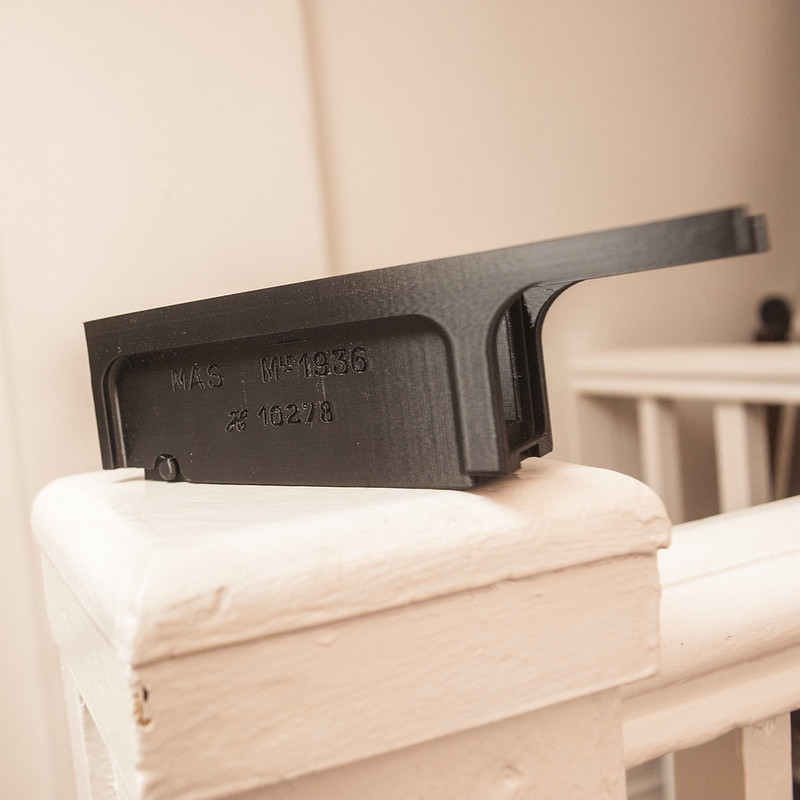
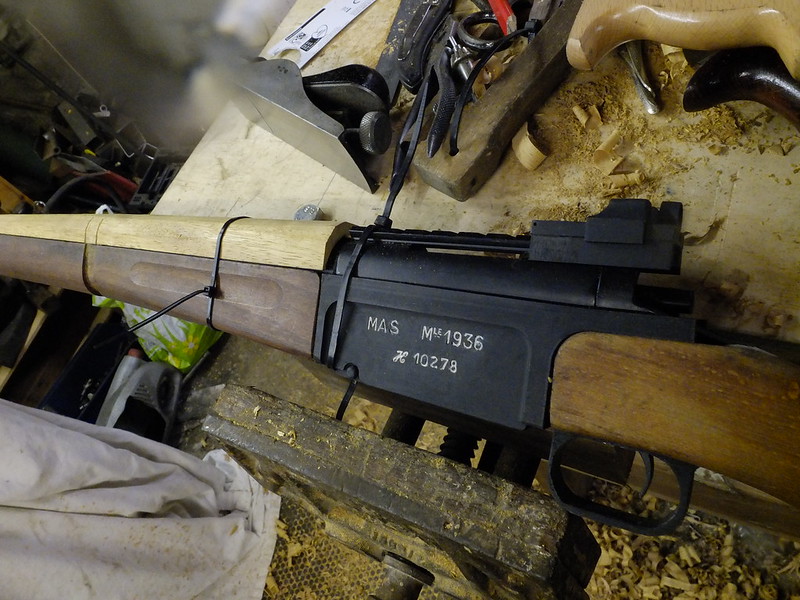
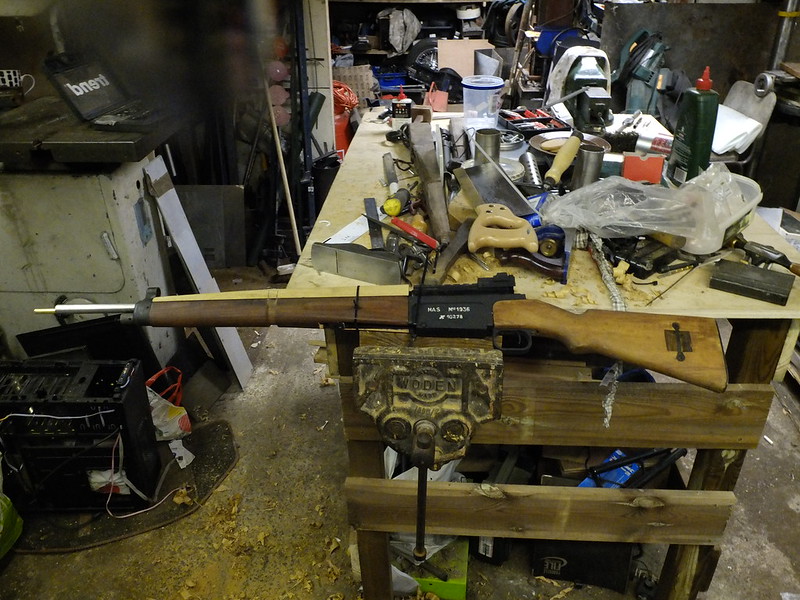
And on the other side, markings. I’ve really got into doing these lately, they are satisfying to reproduce and add an air of authenticity to the replica.
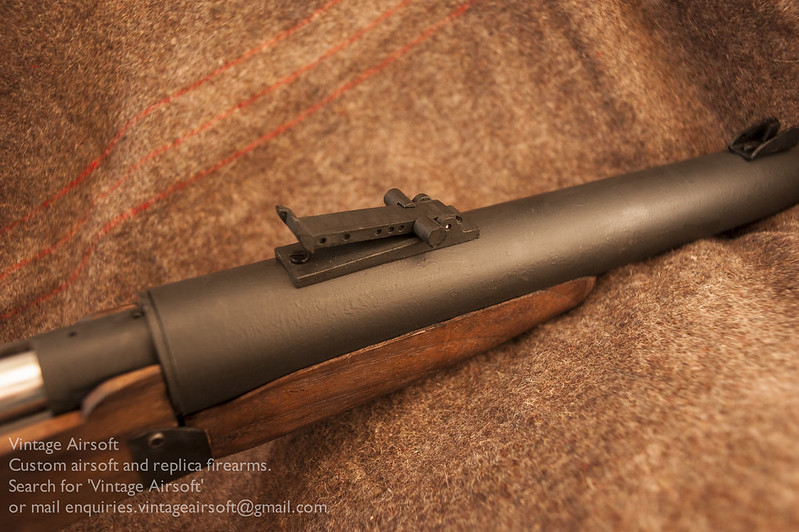
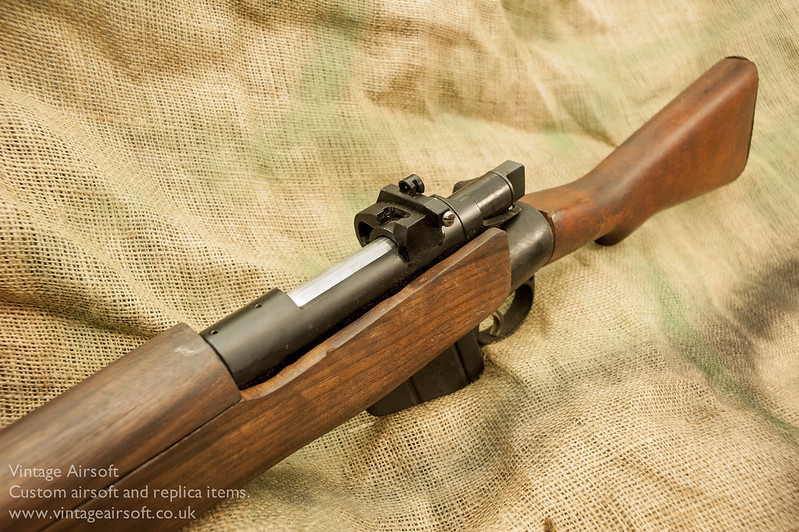
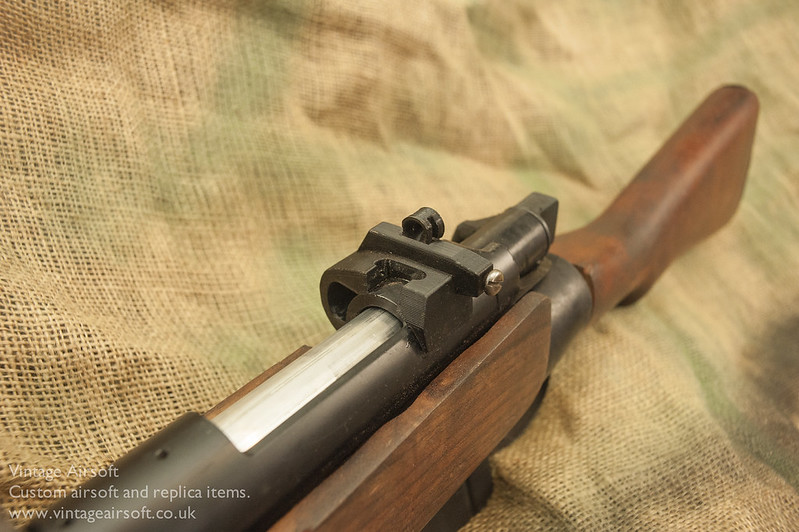
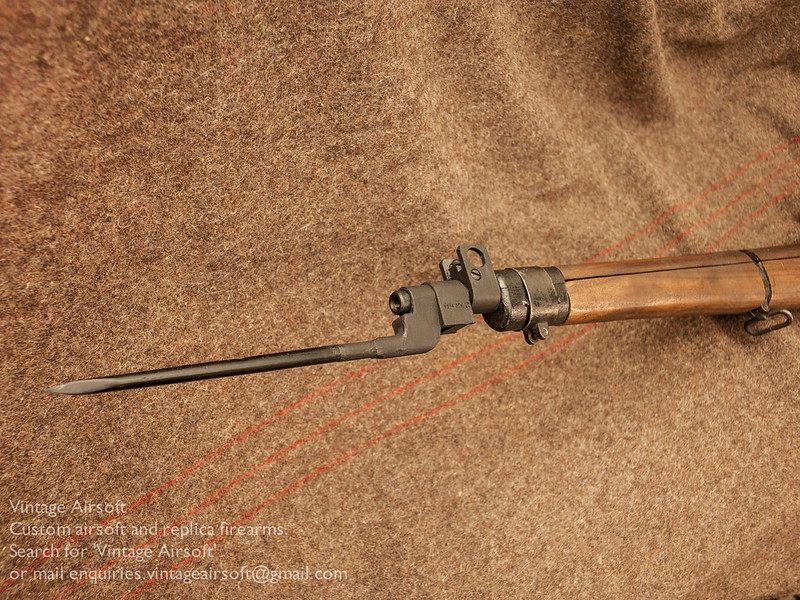
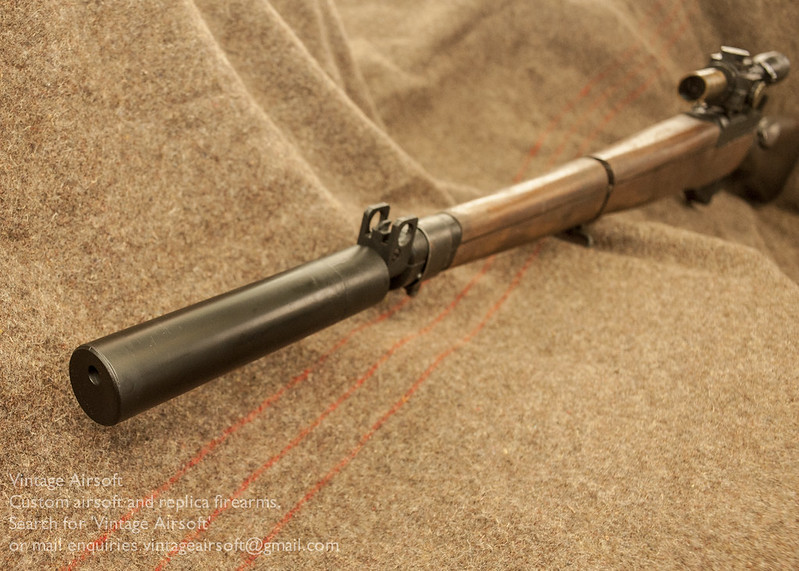
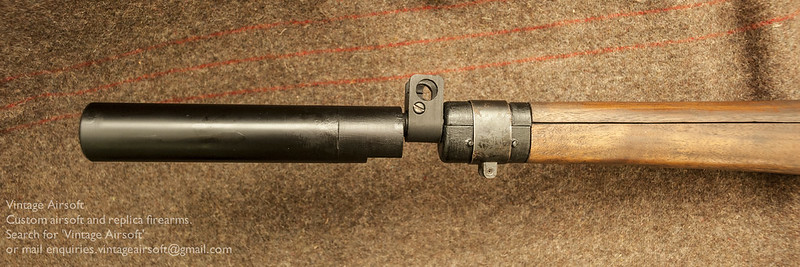
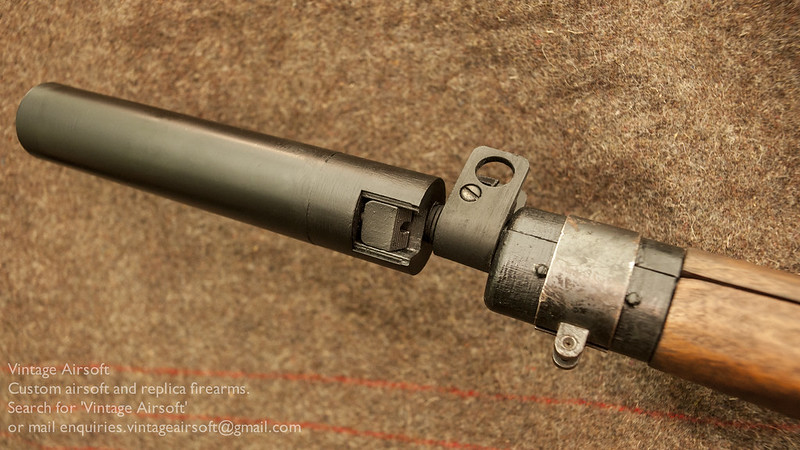
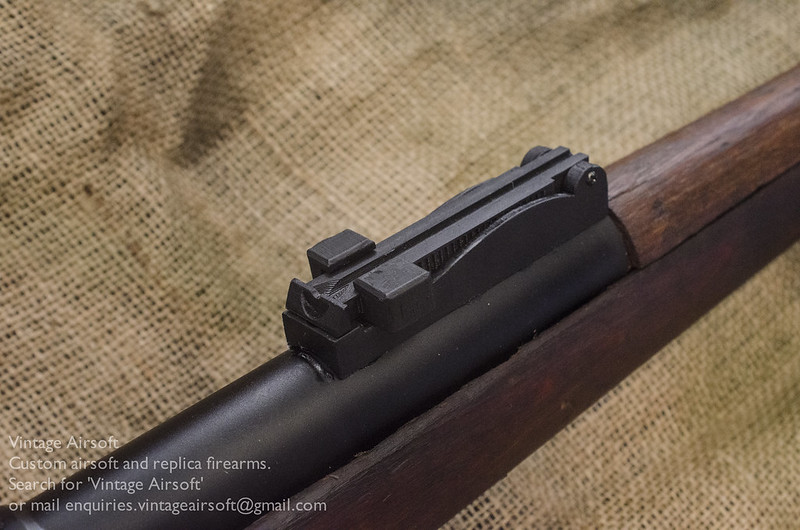
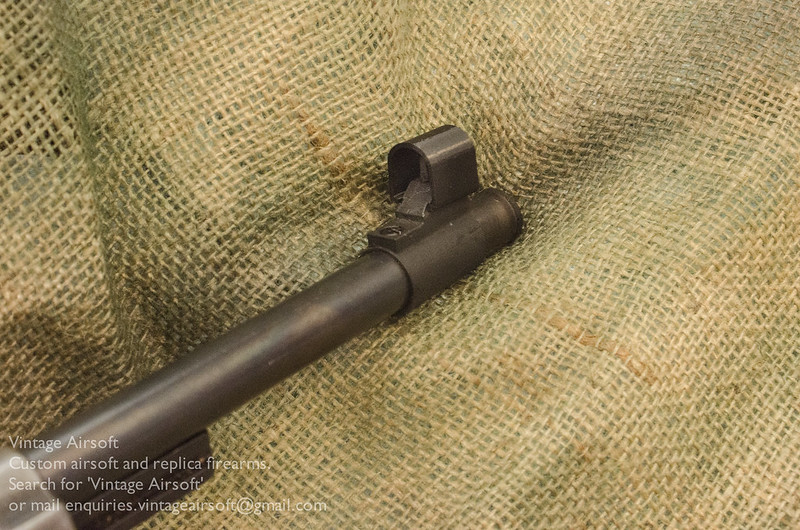
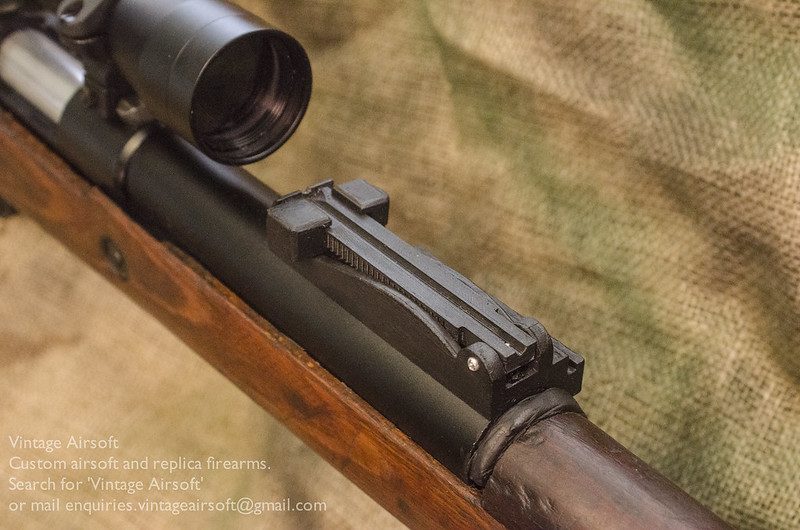
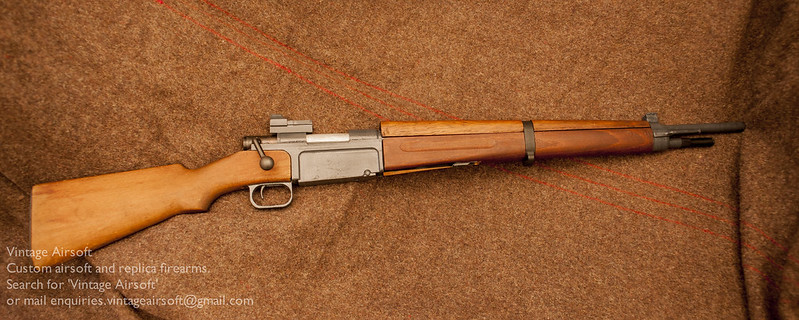
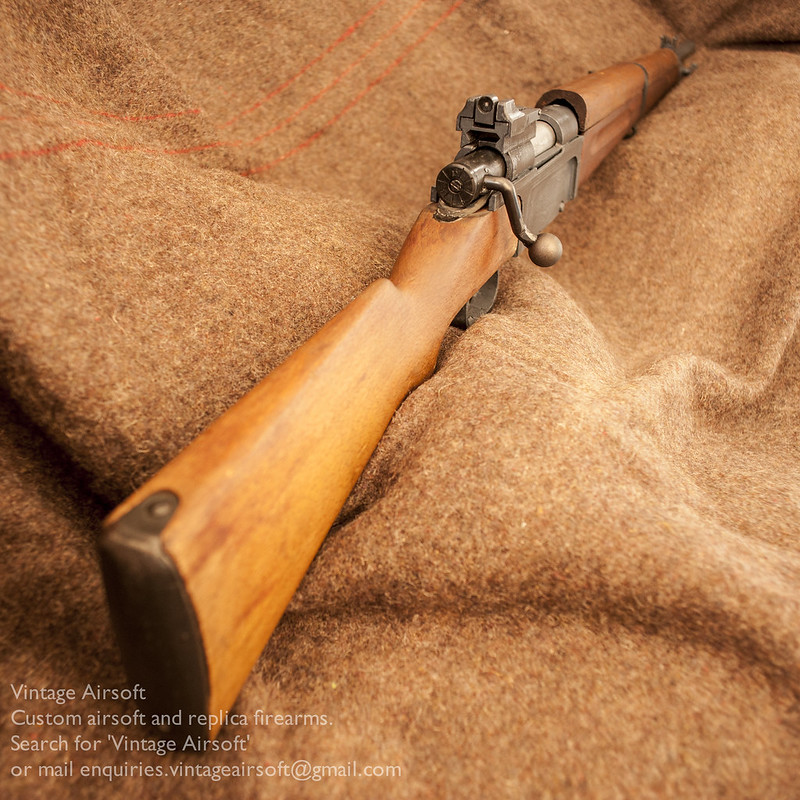
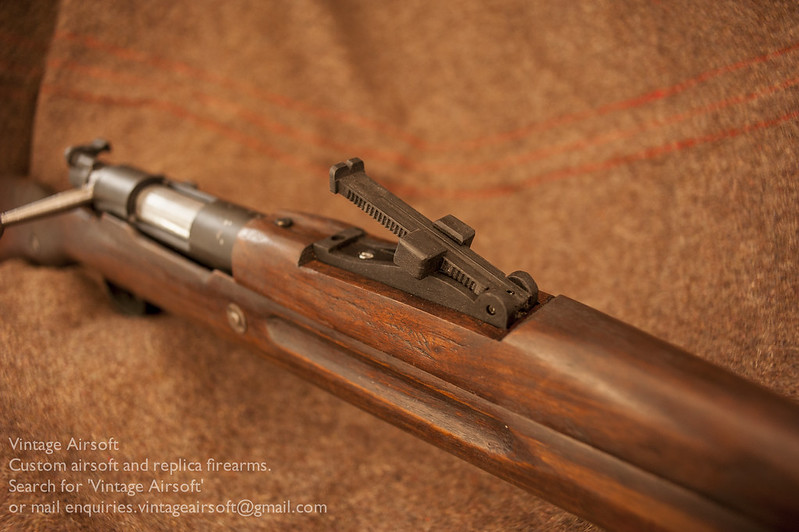
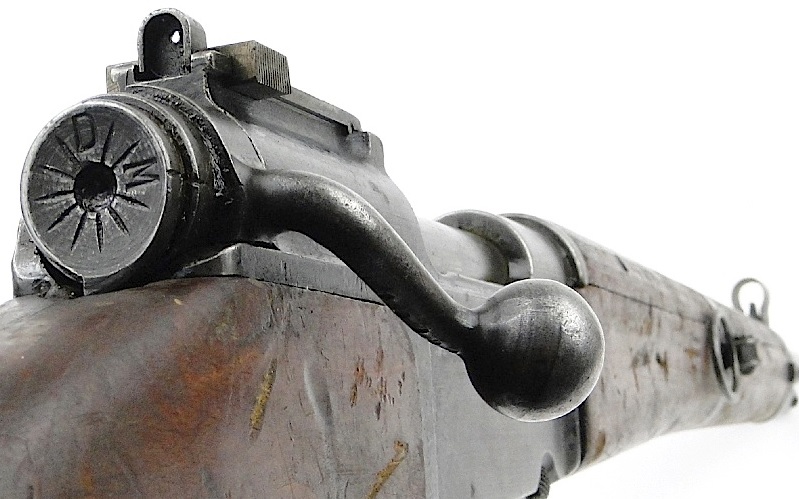
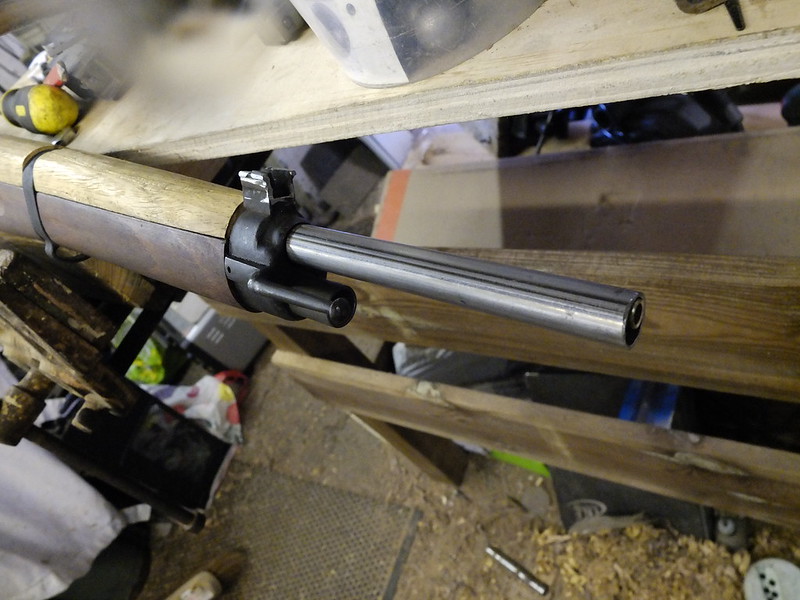
The rear sight is the early pattern one to go with the rest of the gun. Finding photographs of this variant to work from was very tricky, but the end result works just like the originals.
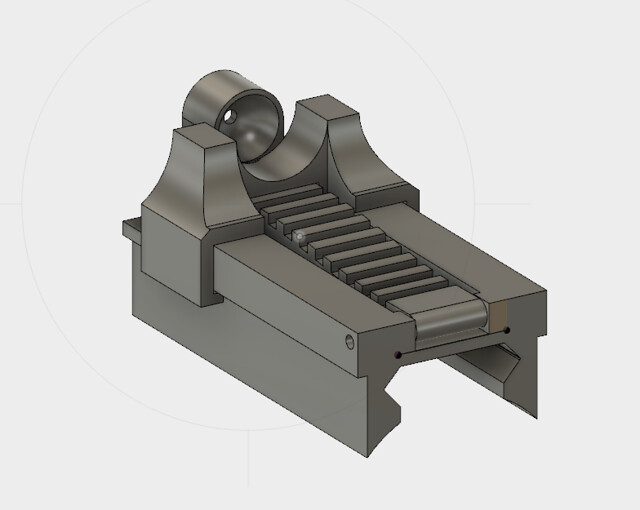
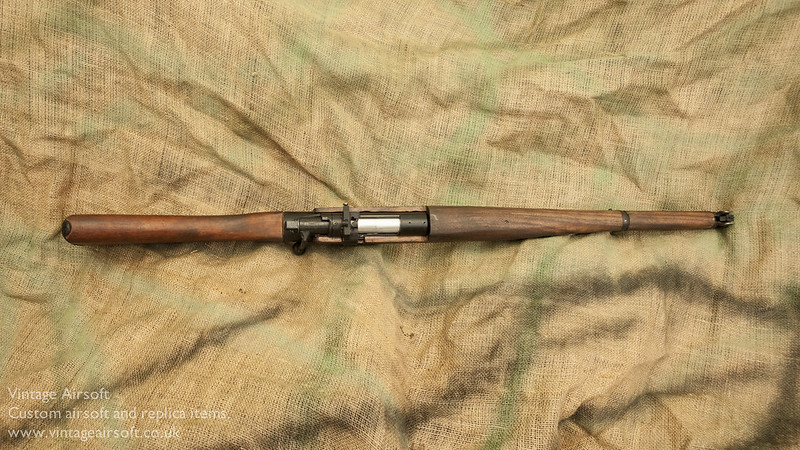
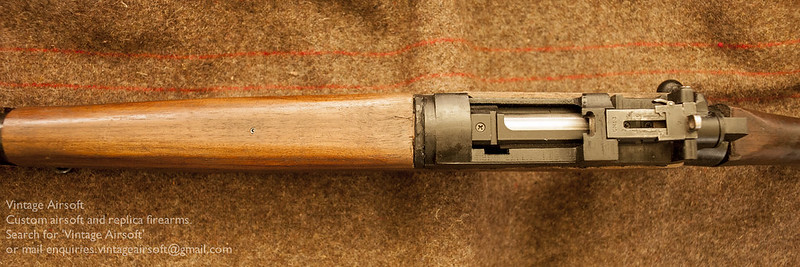
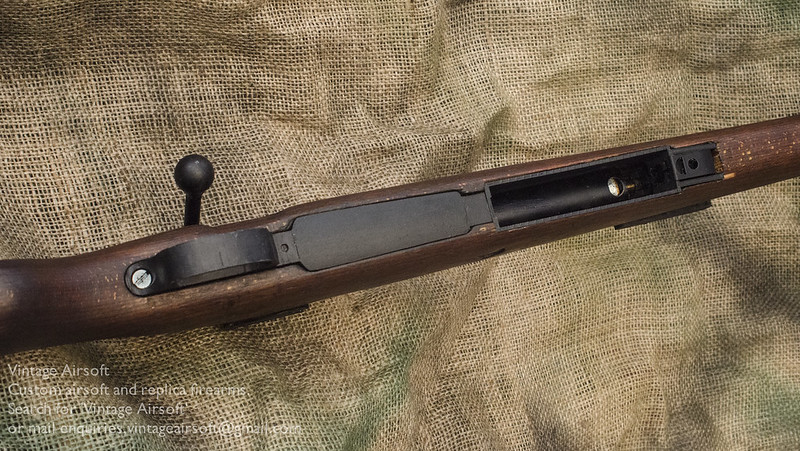
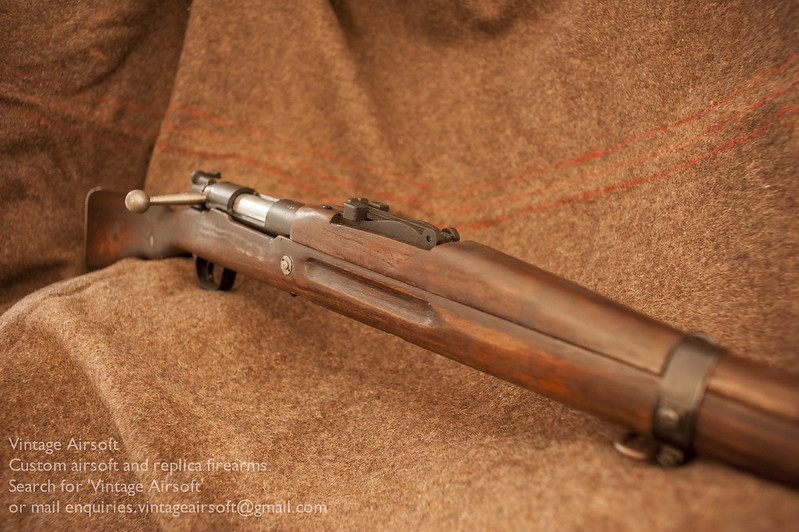
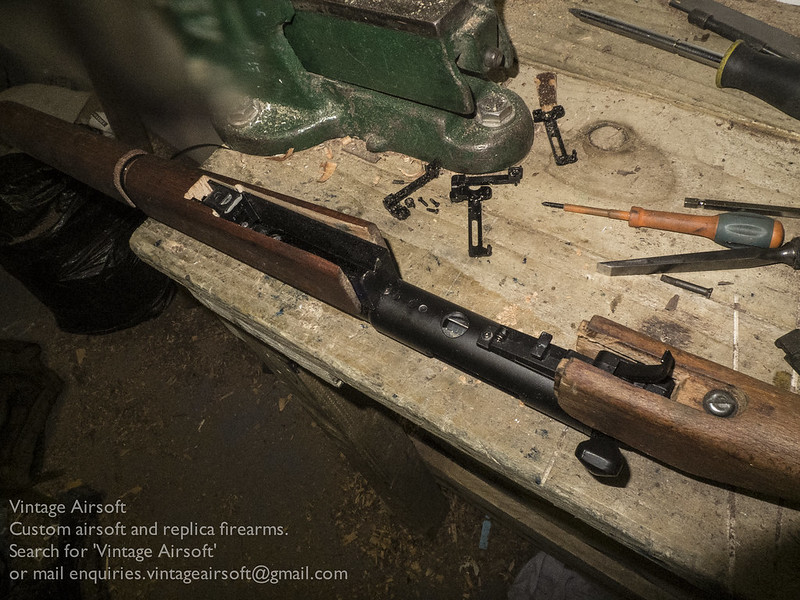
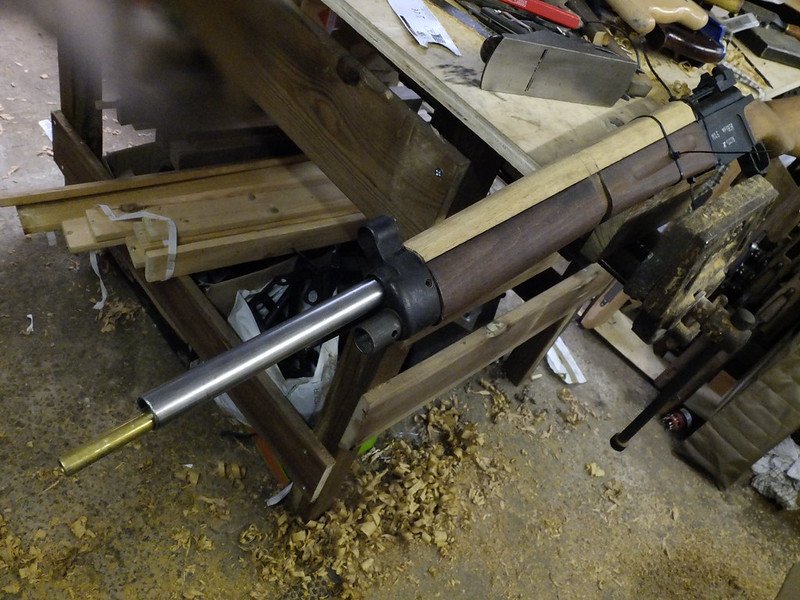
The receiver, now printed, arrives!
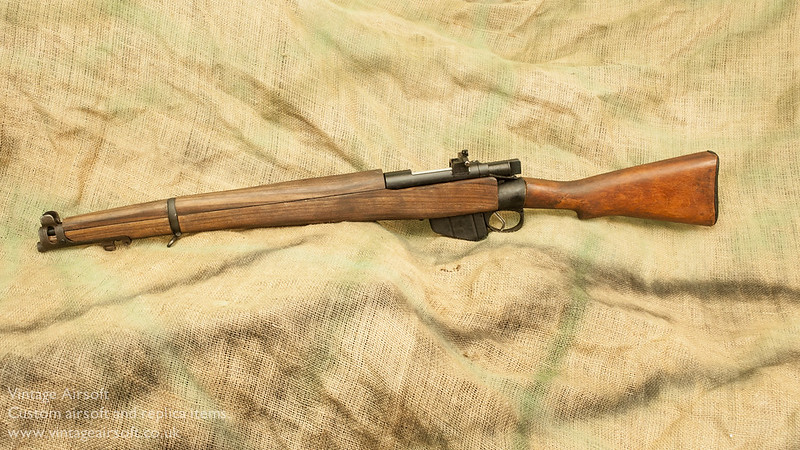
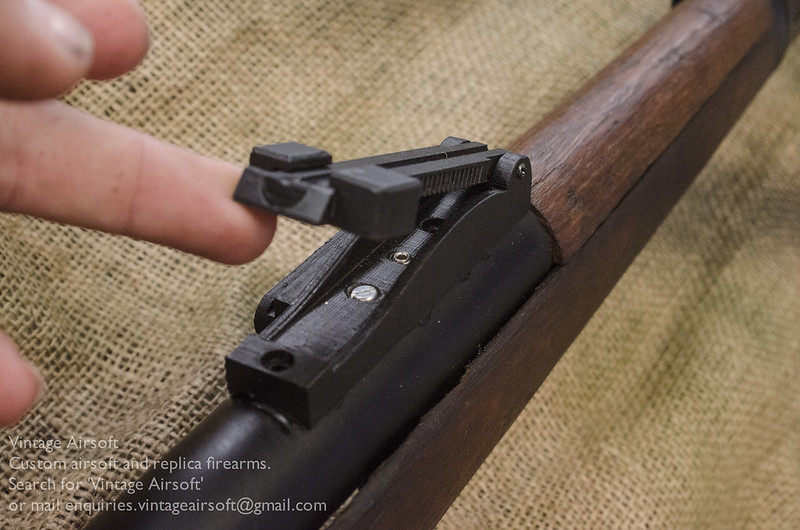
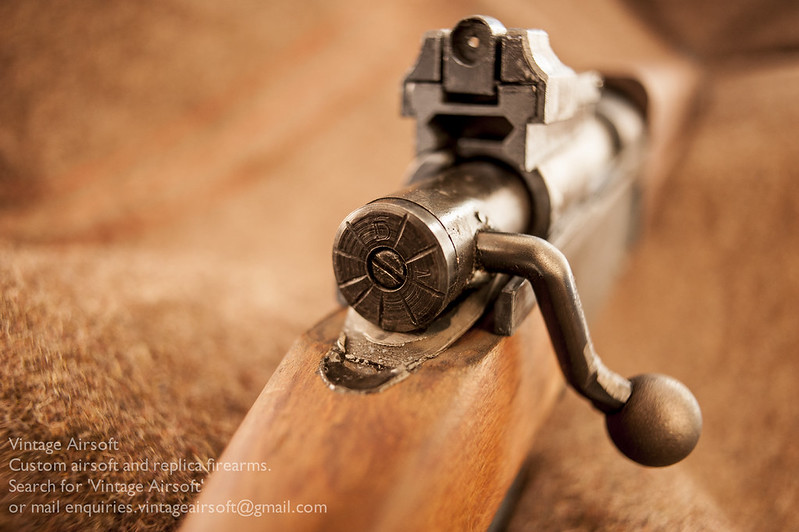
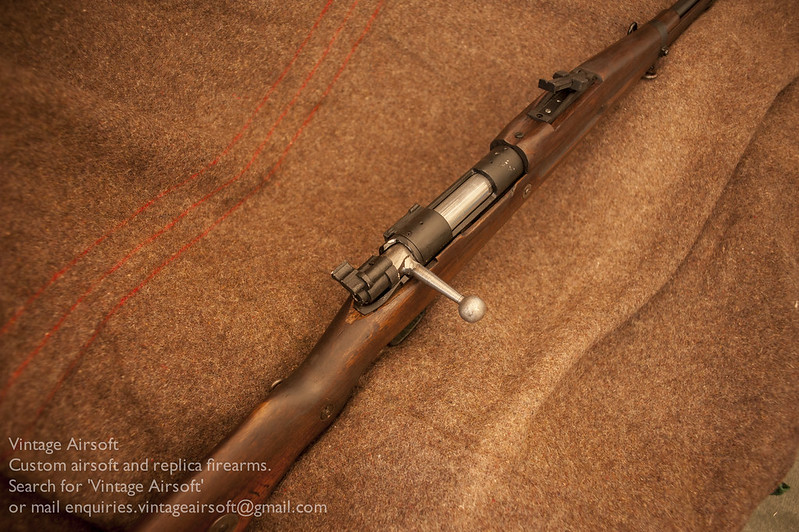
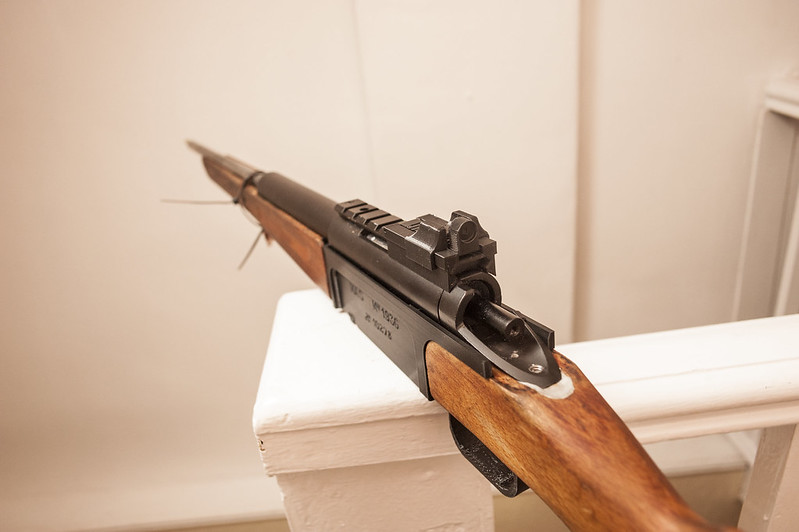
And amazingly, this fits first time. As does the rear sight unit.
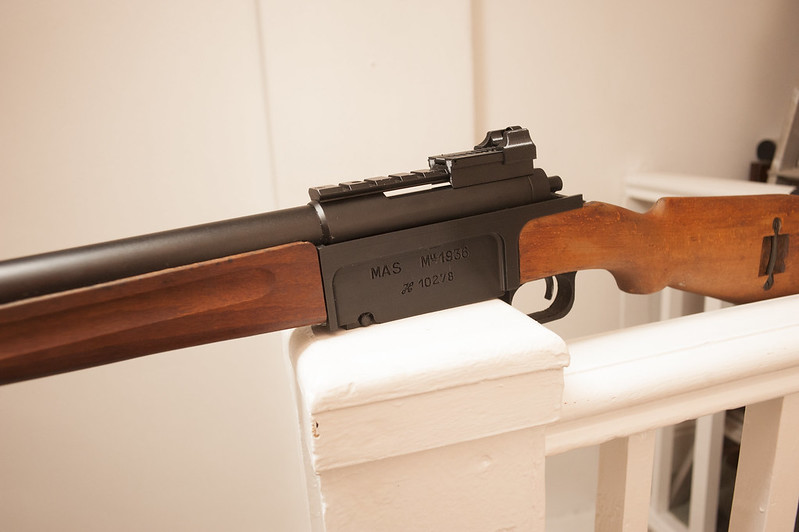
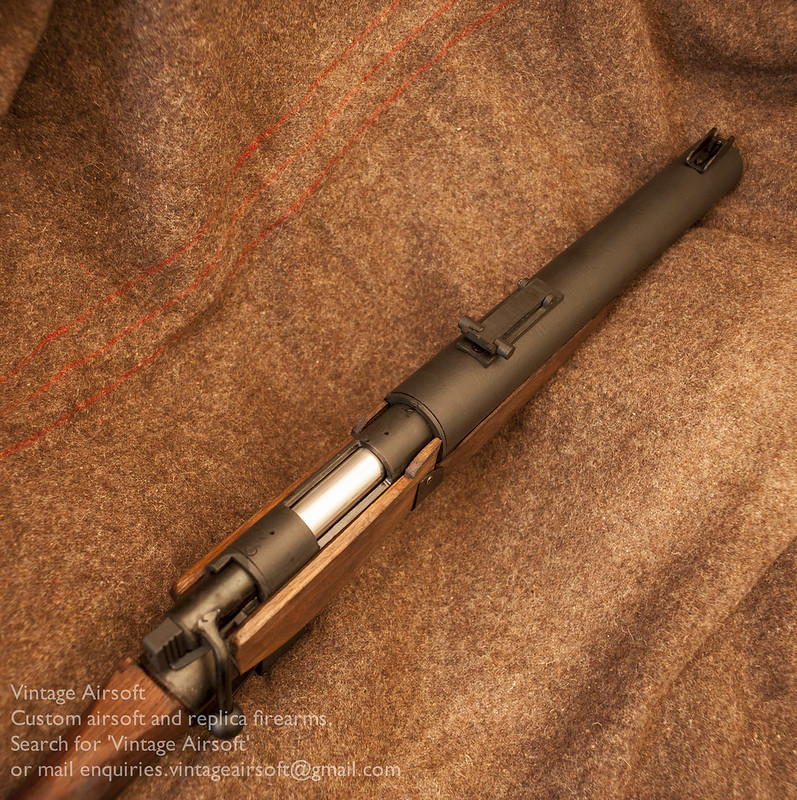
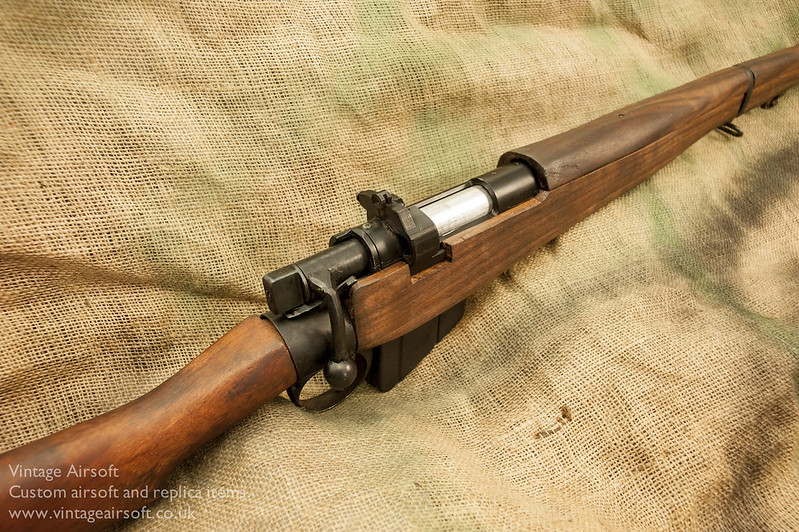
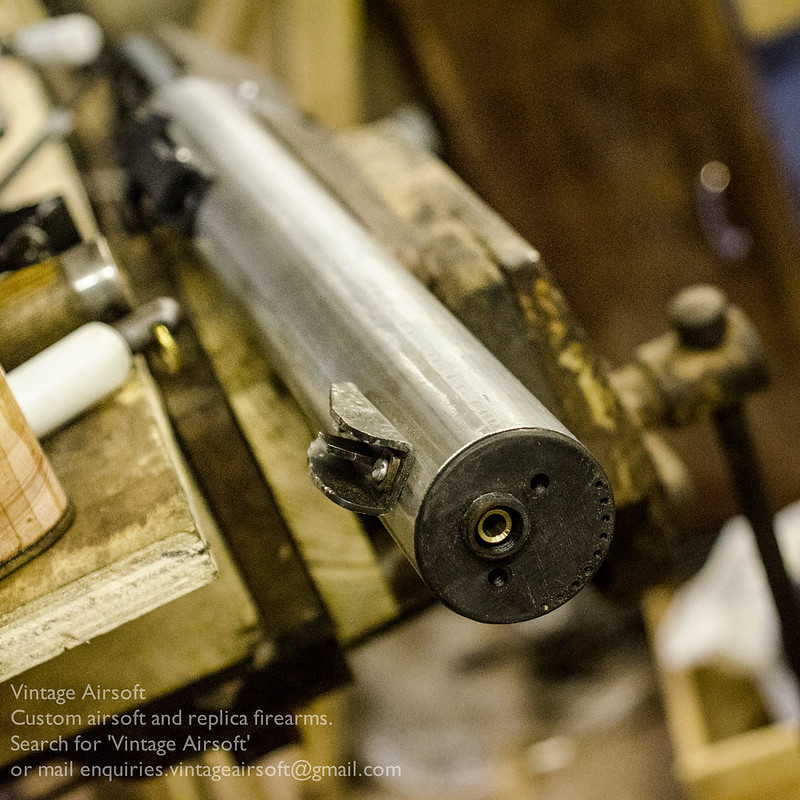
The underside looks a bit rough now, but a bit of filing down will smooth it off nicely.

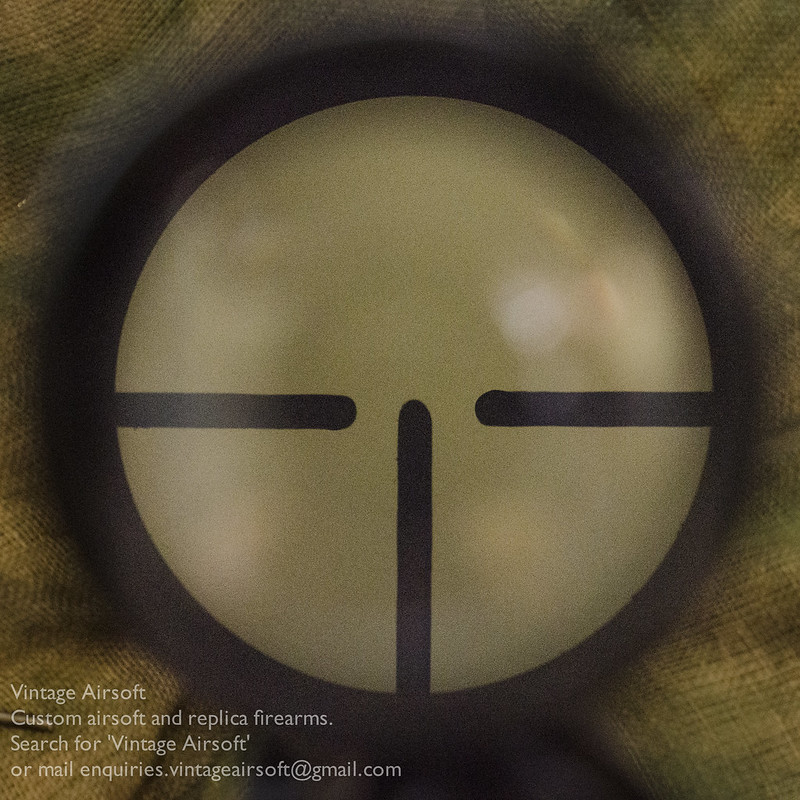
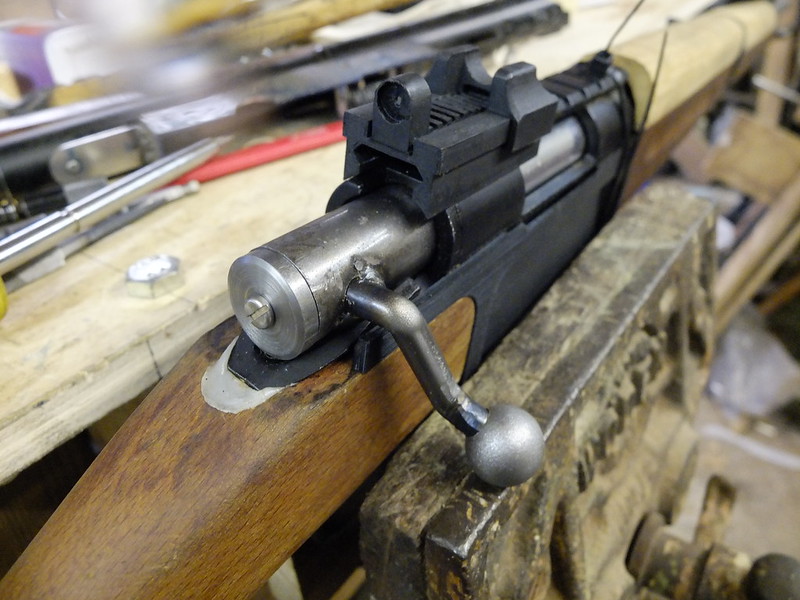
The rear sight is adjusted by pushing the leaf down and adjusting the slider forwards and back, a pretty unusual system.
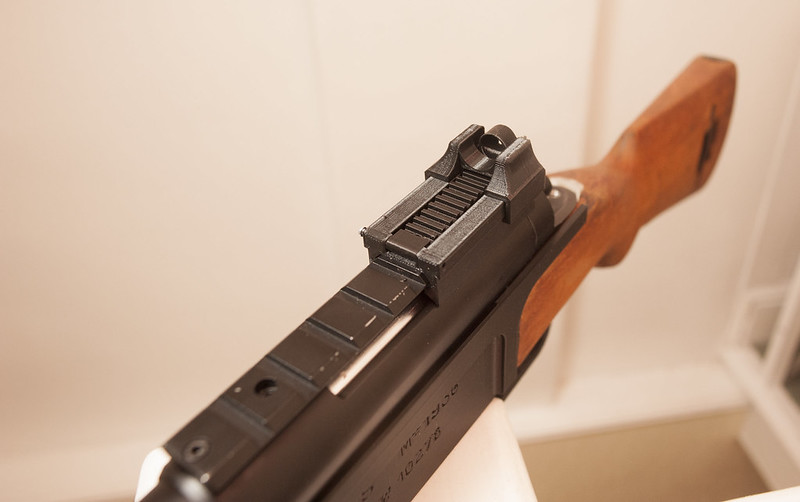
Once I’d cleaned out the peep hole it’s quite a nice light sight.
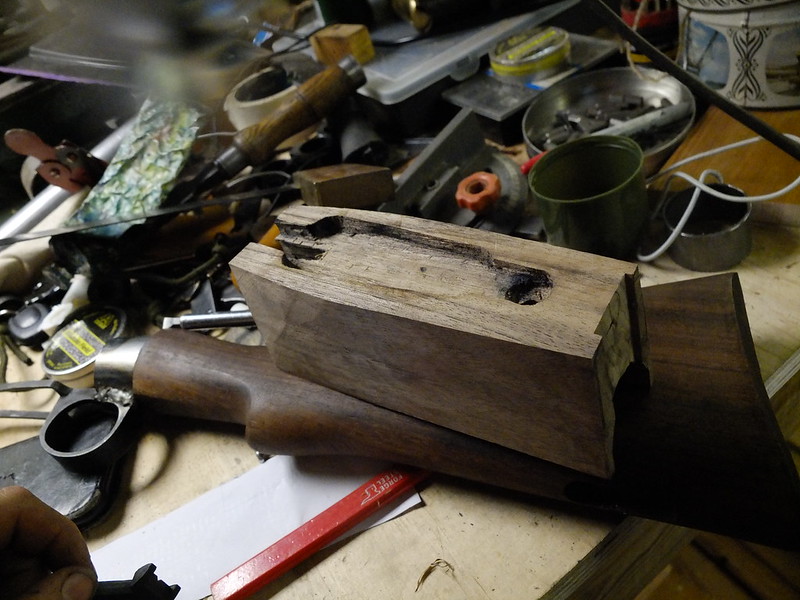
The top hand guard was a bit of a puzzle. The wood of the original stock was a mystery, certainly not like anything I’ve worked on before, it has the appearance of beech but is much easier to work. I’ve decided it must be something tropical, given the French had Colonies in Africa and the Far East it’s not beyond the pail to think they may have shipped in some durable, rot-resistant timber that would be perfect for gunstocks.
The timber I have used is also a mystery wood. Given to me by a friend its previous life was as some window frames, but this use is much better. Nothing else matched the original wood quite as well in grain structure and once stained or oiled to match it should blend in nicely.
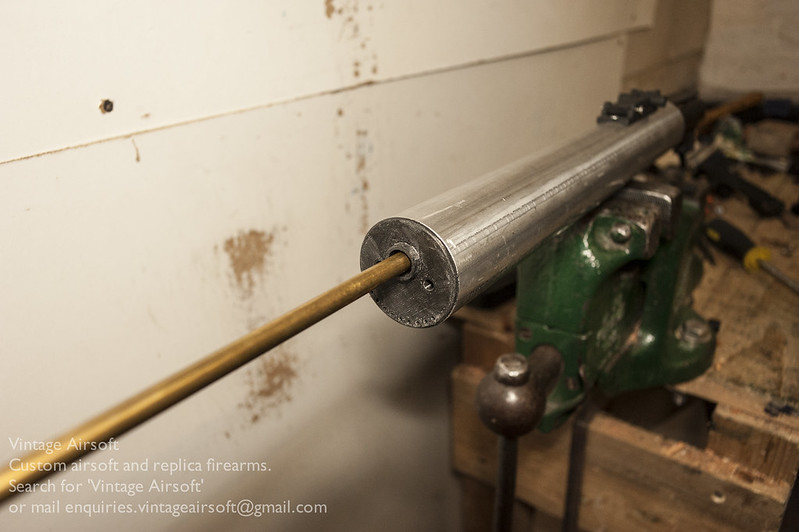
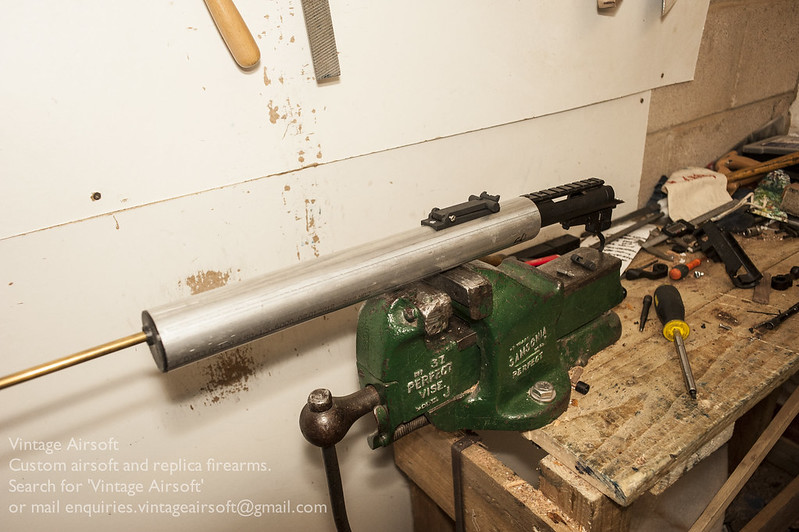
Unfortunately due to having to house the VSR I couldn’t be completely true to the original shape of the rifle. Once the middle band is in position it should break up that slight slope quite nicely though.
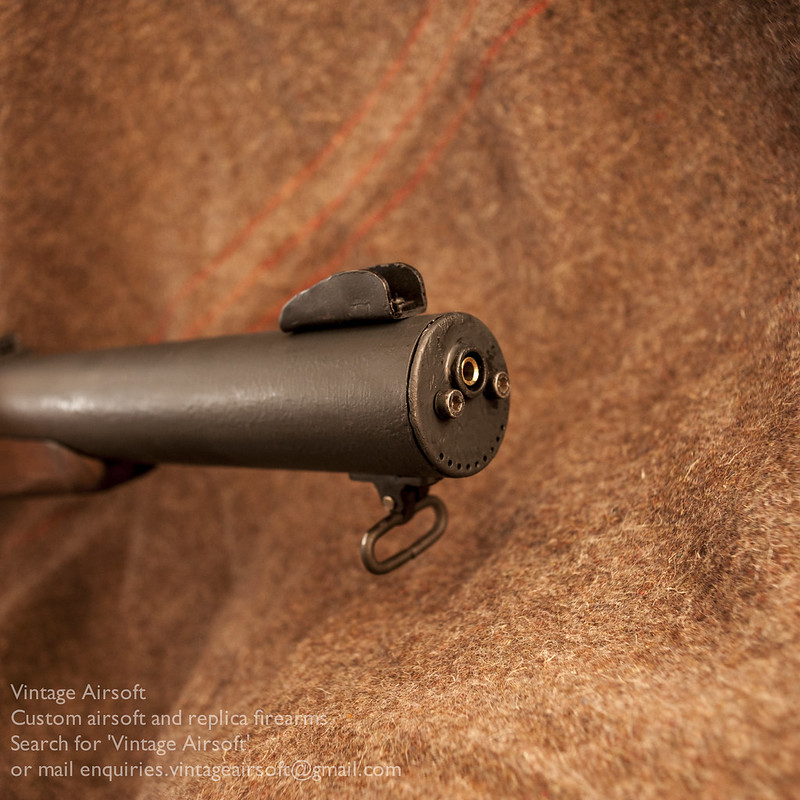
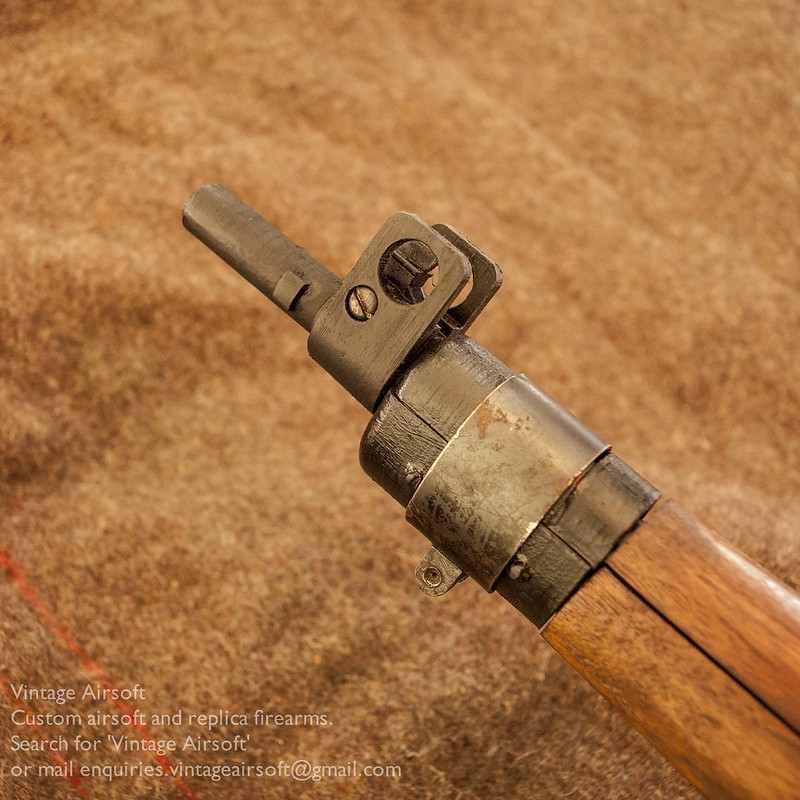
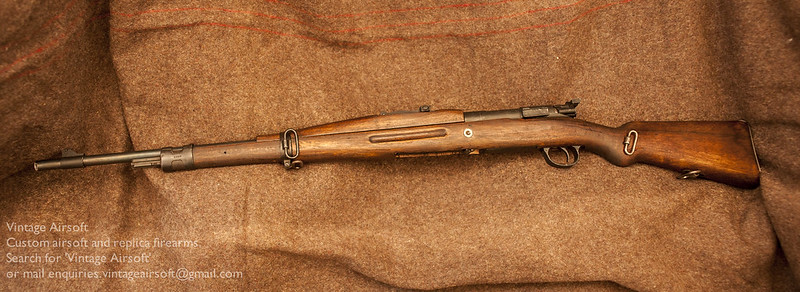
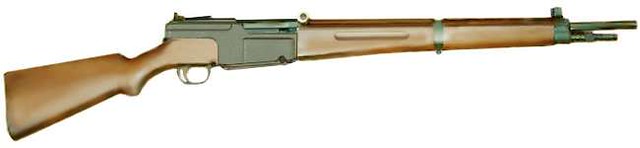
And the nose cap or, as the French call it: Mouthpiece. This is the late type as the early type (when they are available) are about £50 at the time of writing. Understandable as they were only used on the first two/three batches of guns or so compared to the six or seven runs that came later. I’ll be modifying it to look correct for this early model.
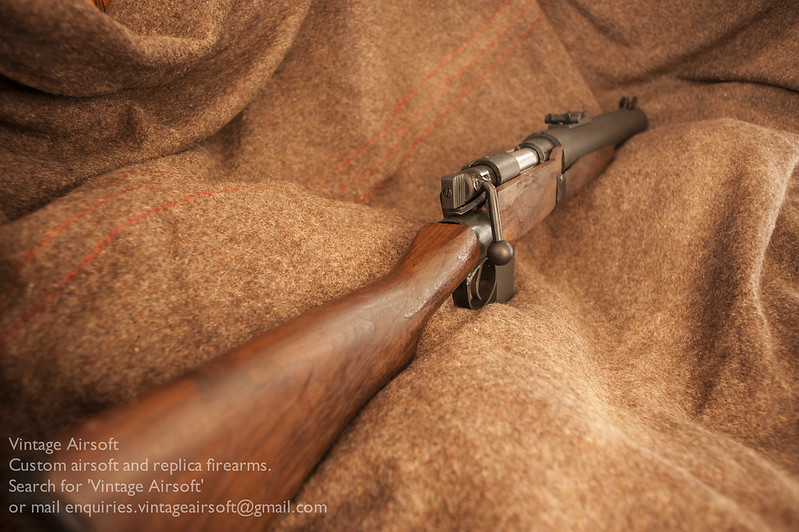
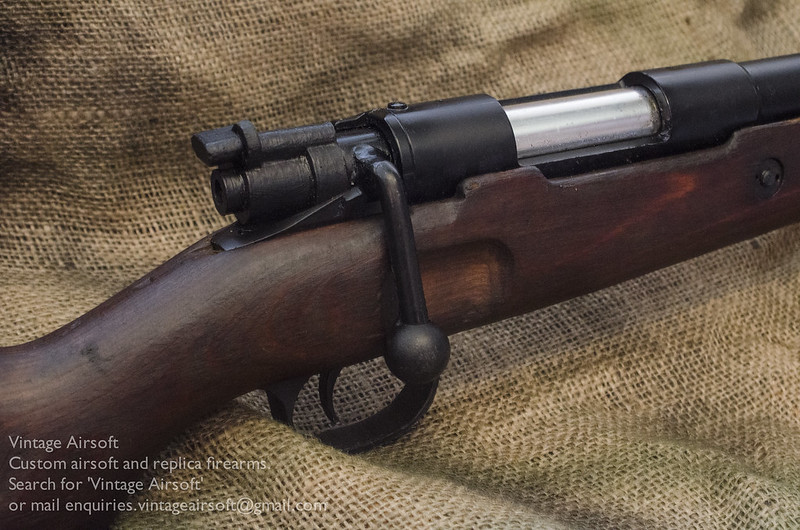
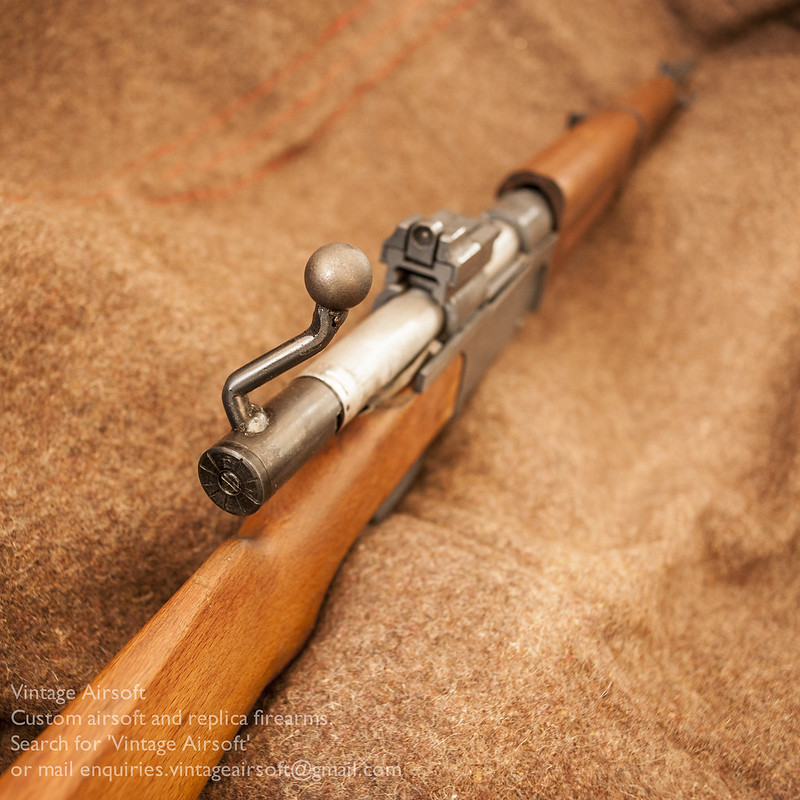
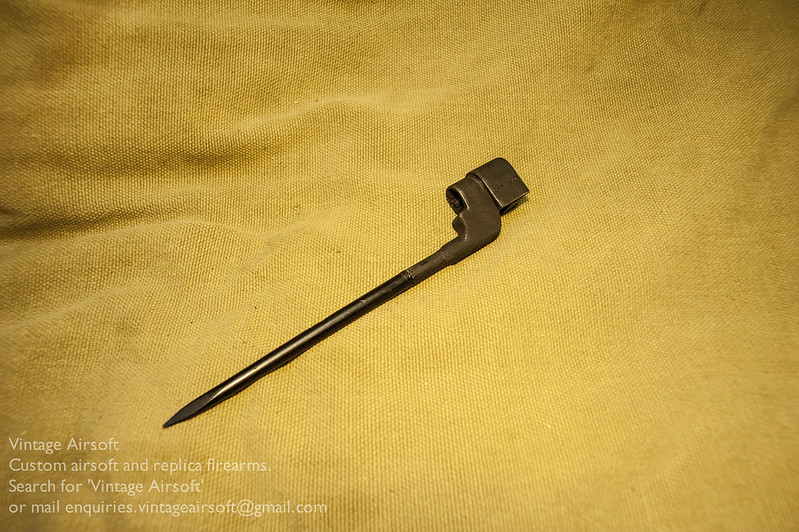
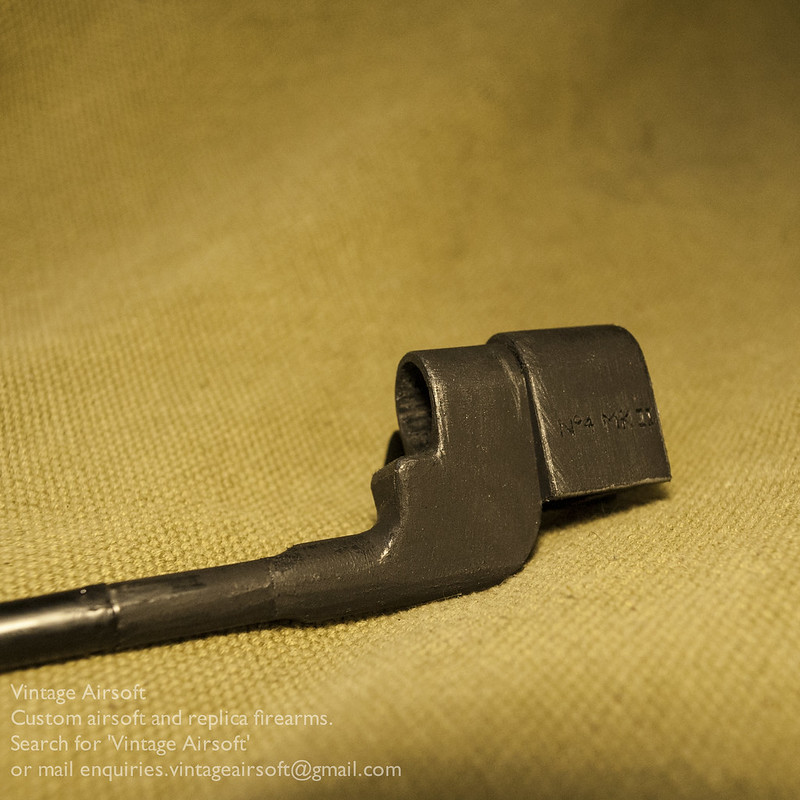
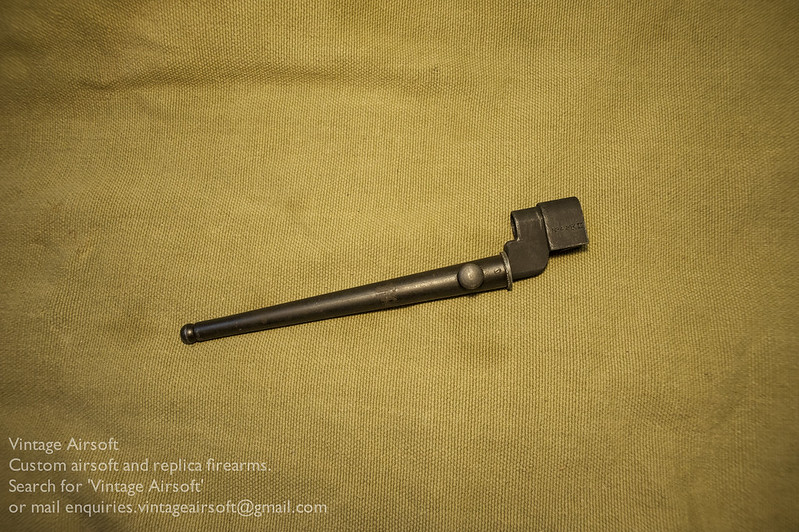
The next step was the bolt handle, as I was making a batch of Enfield bolts already I added this to the parts list. The main shank was turned on the lathe, left just a smidgen longer than an Enfield bolt. The haft is 8mm steel bar bent to the correct shape.
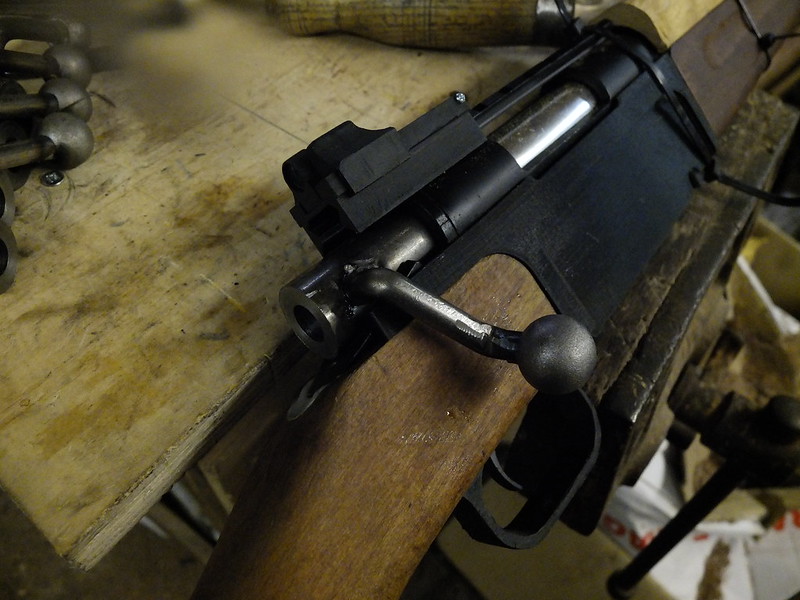
This was a really tricky one to do, most bent bolt handles have one bend in them and are then straight down or slanted back. This one is not only slanted forward, but has a kink outwards from the rifle as well, this with bolt operating speed in mind as the rifle was designed at a time where the replacement of bolt actions with self-loading rifles was imminent.

From this angle you can see the outwards kink. I feel I’ve got this pretty darn close to the original though I say so myself.

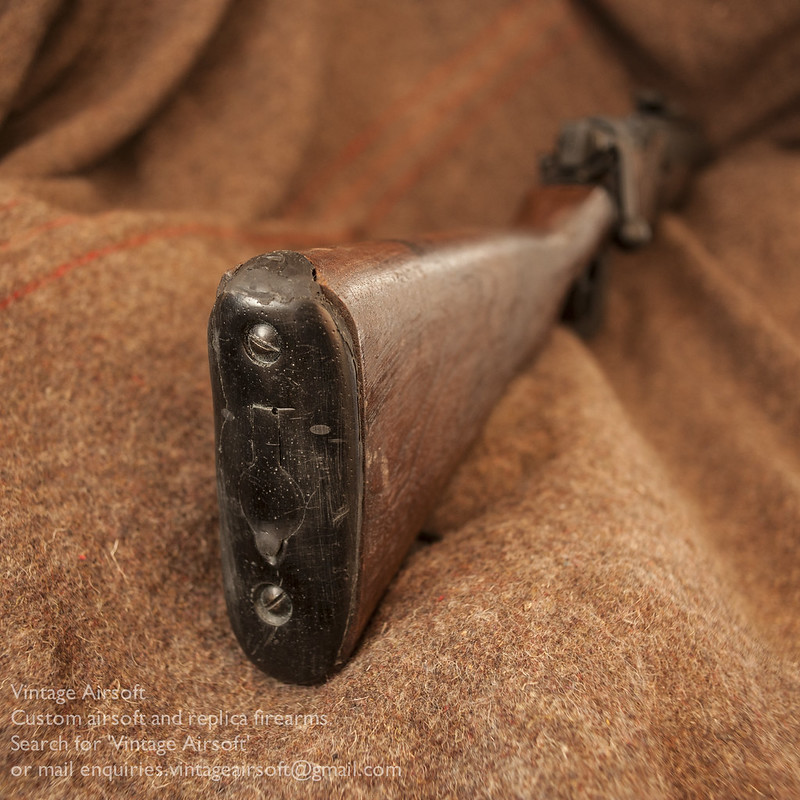
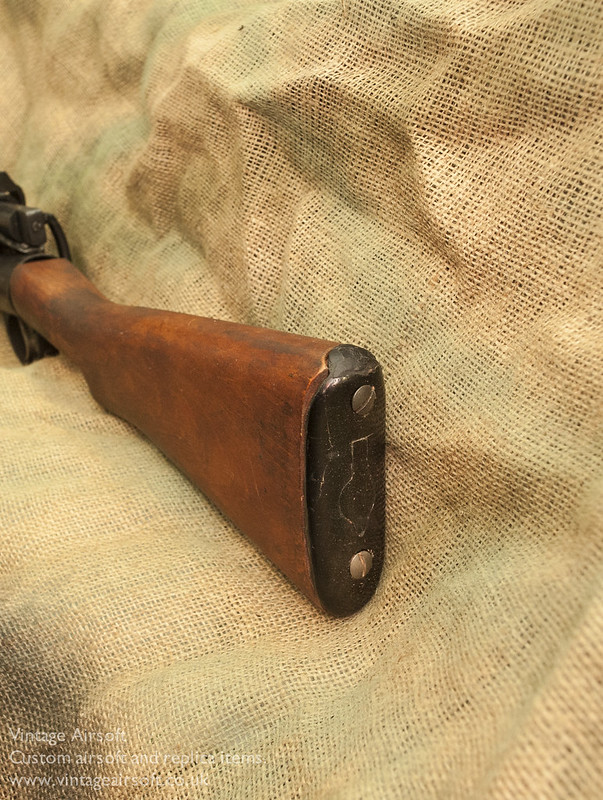
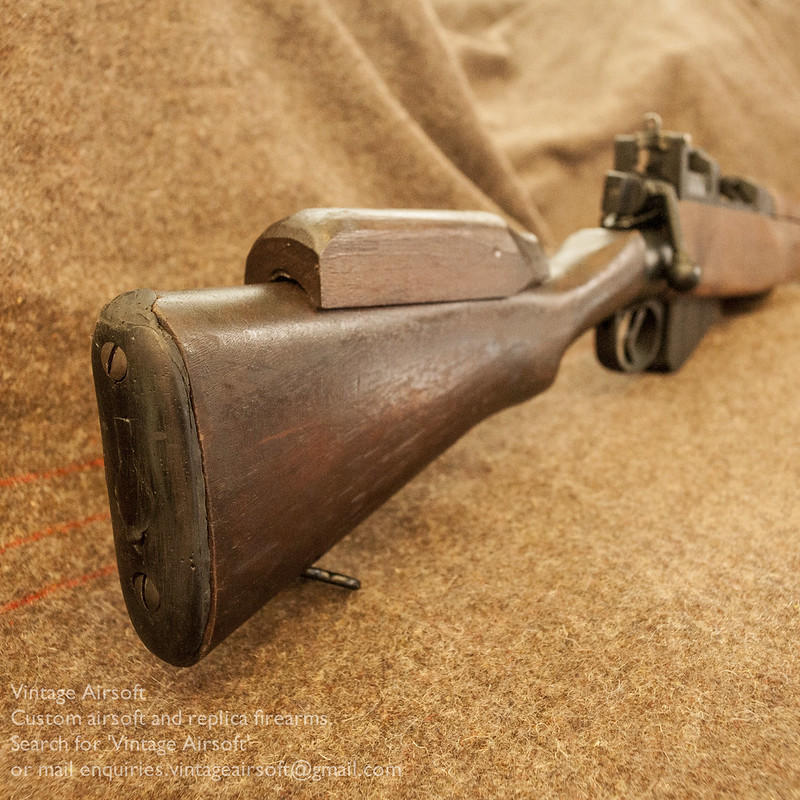
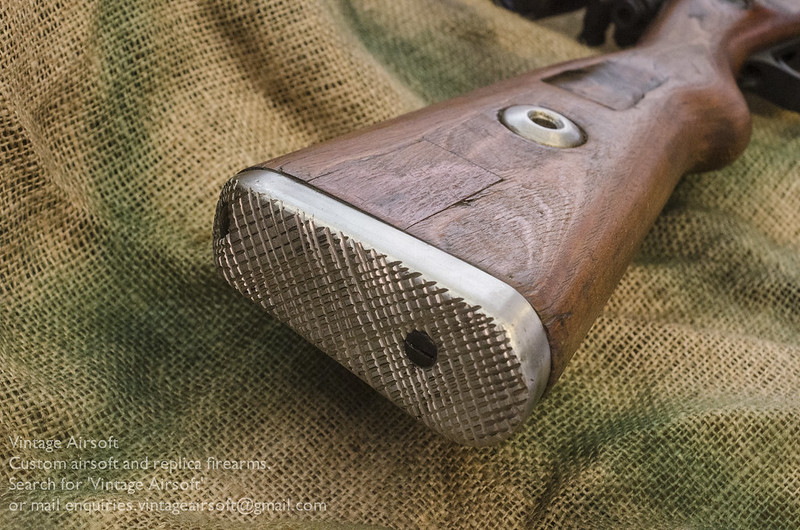
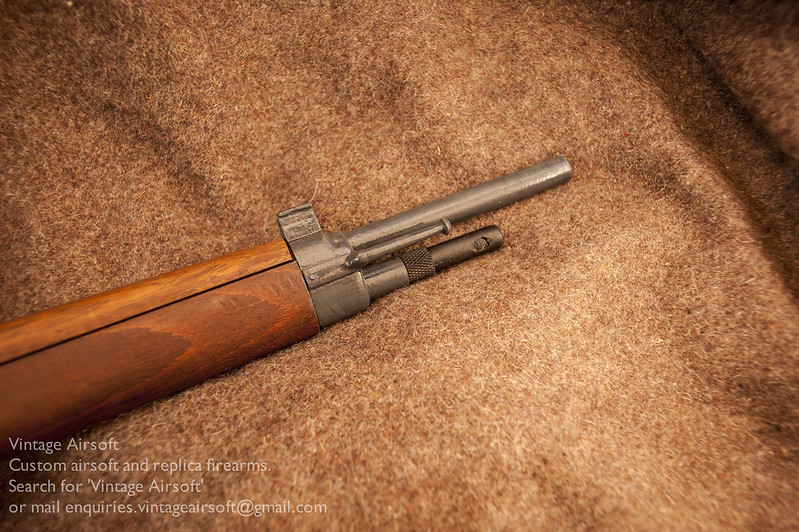
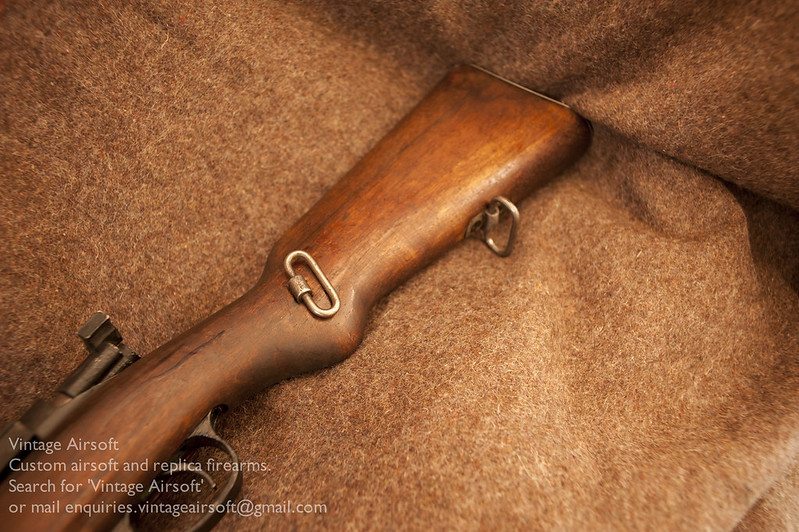
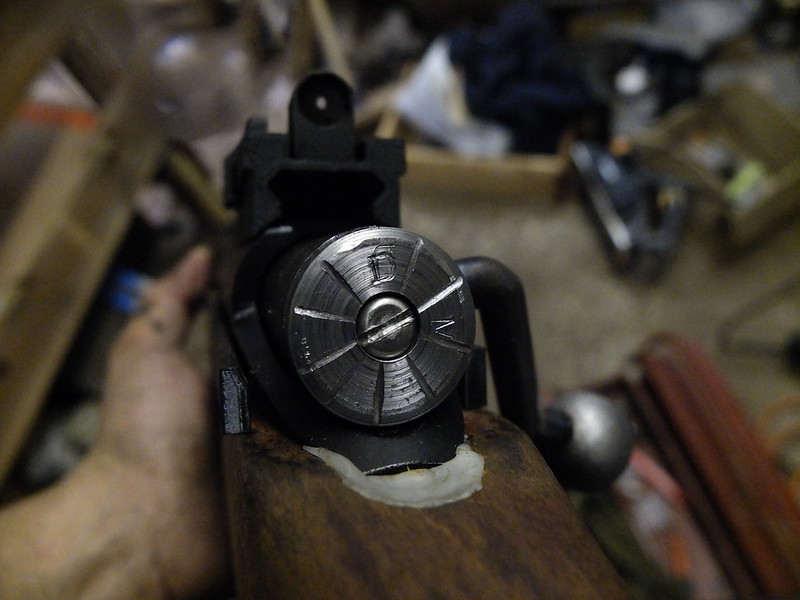
The back cap made, I’m going to have to add some detailing to this to make it look right.
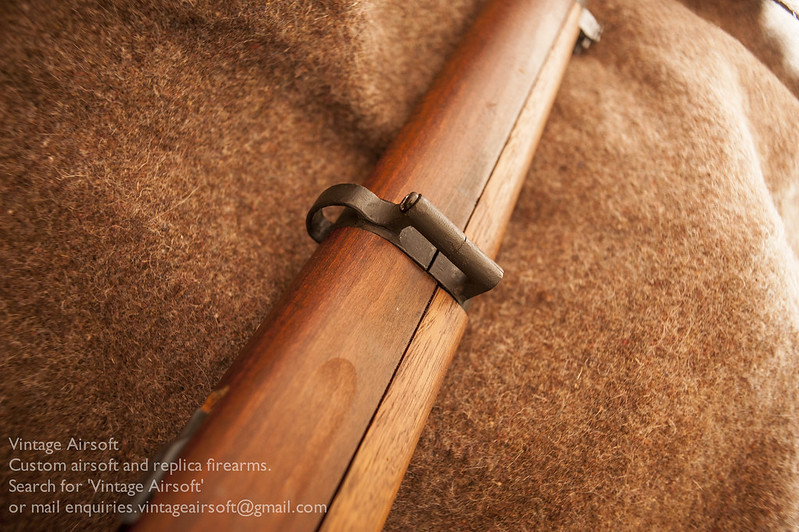
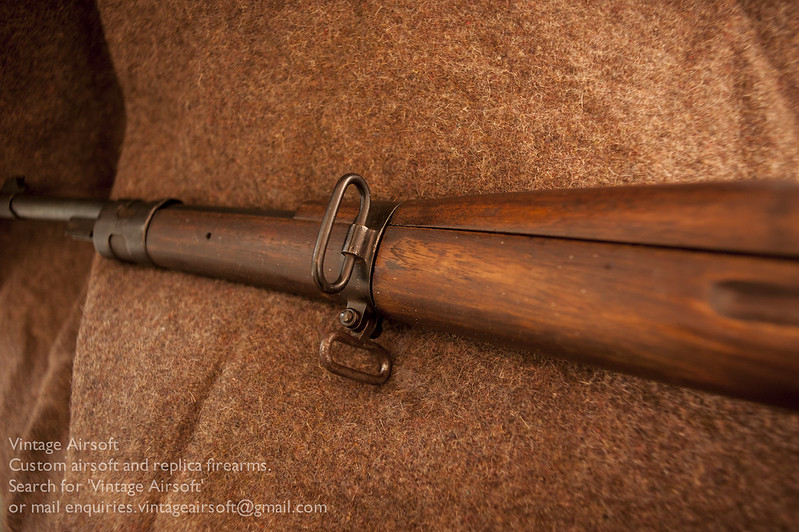
The new middle band/sling swivel arrangement. This had to be 3D printed as there were absolutely none to be found.

The mouthpiece and front sight guard has finally been modified. I cut the top of the hood off, straightened the steel and added the lips to the wings with the MIG welder.
The back cap details added, I put the straight lines in with the hacksaw, the letters with stamps. If I did this again I’d probably soften the metal before doing these as it turned out to be a little harder than expected resulting in stampings that weren’t as deep as I’d like.
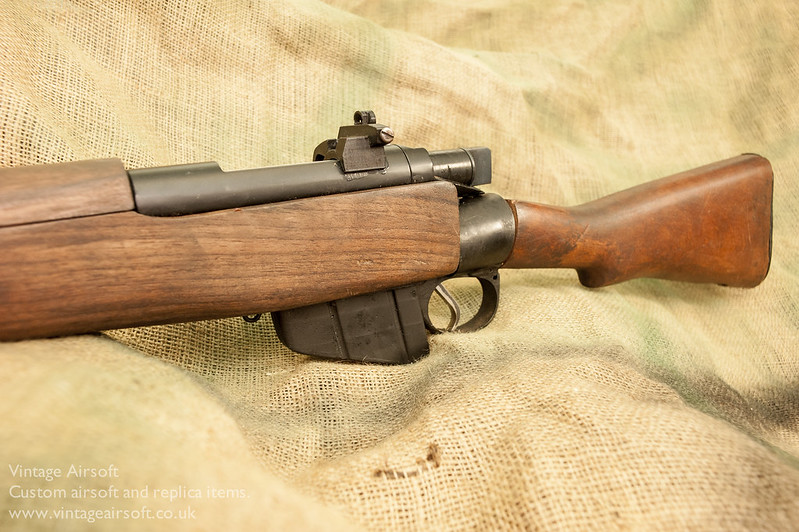
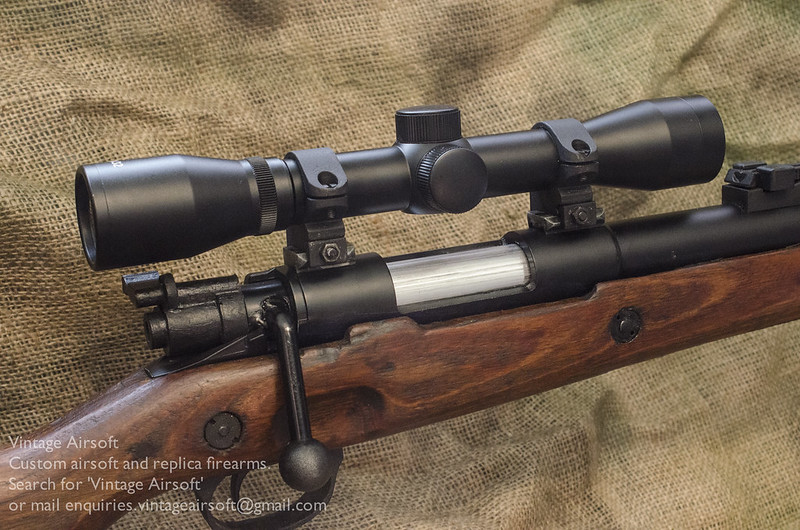
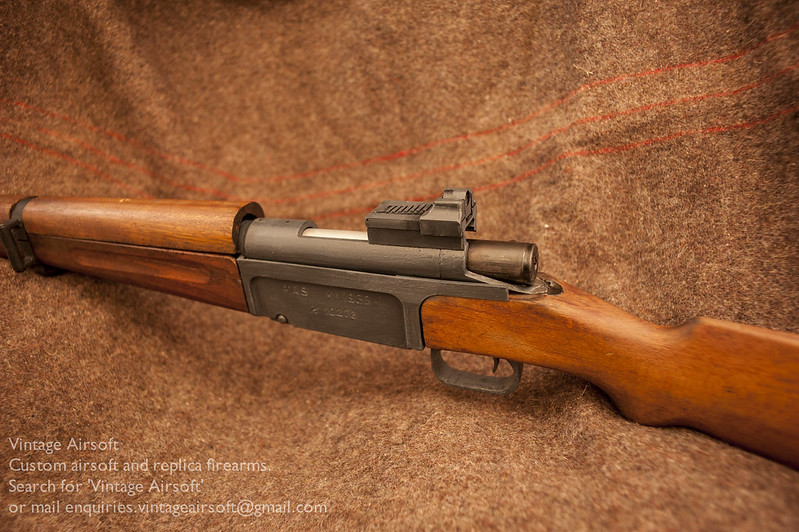
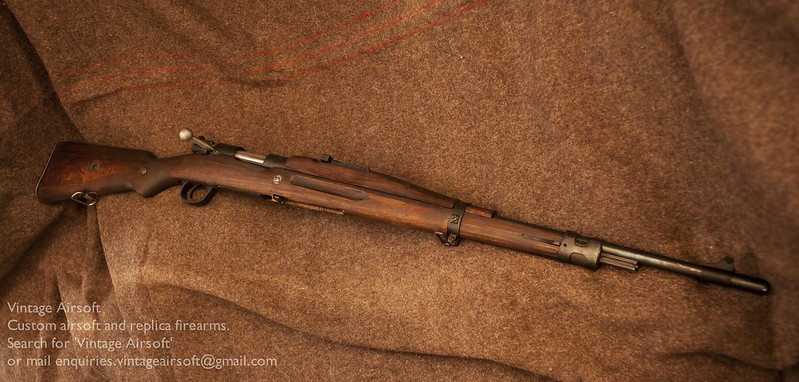
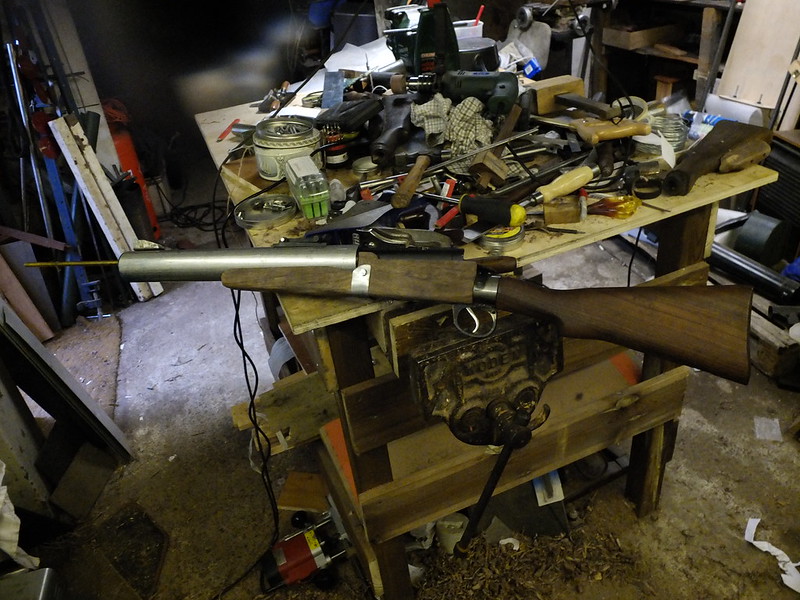
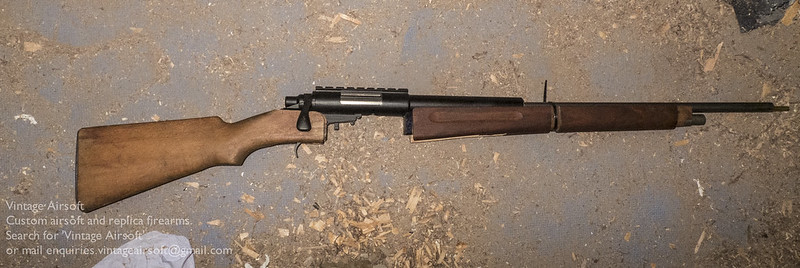
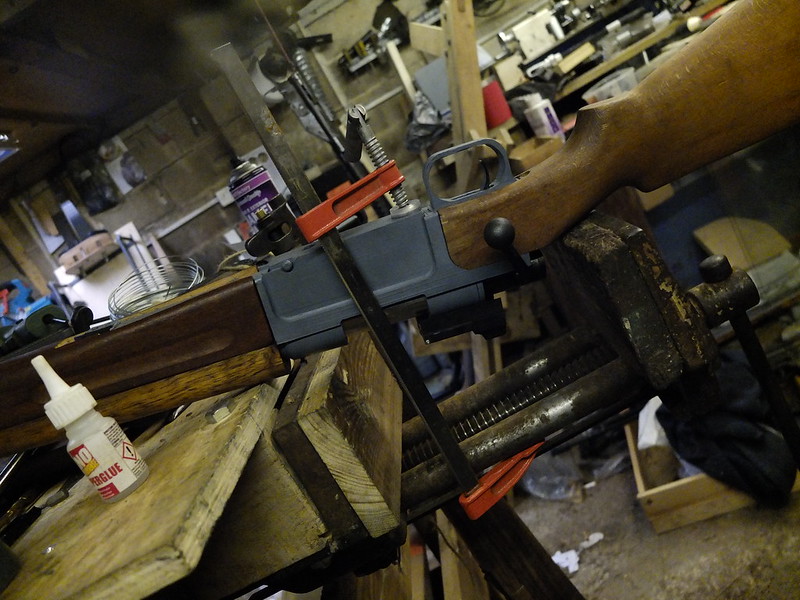
Fitting the trigger guard permanently in place. You may also notice I’ve done the first paint coat on the receiver, oil finished the bolt and added a finish to the top guard.
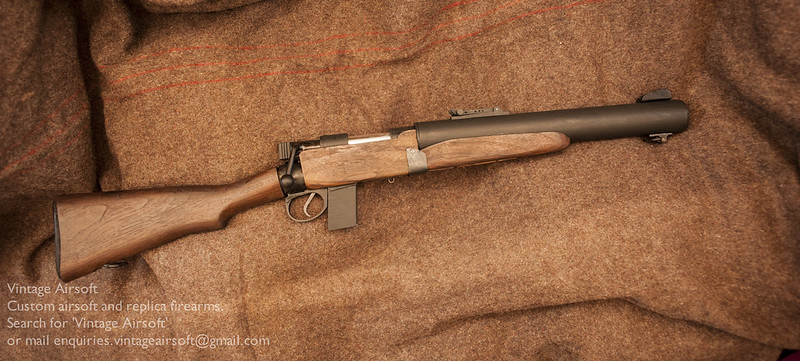
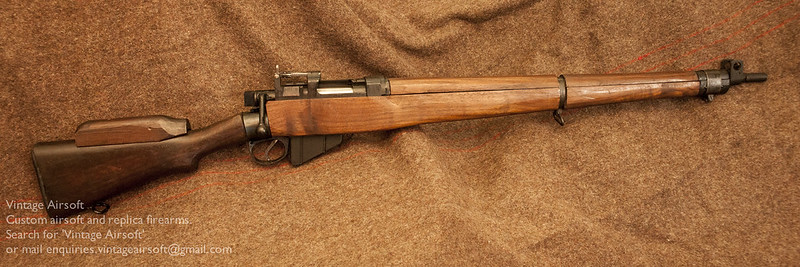
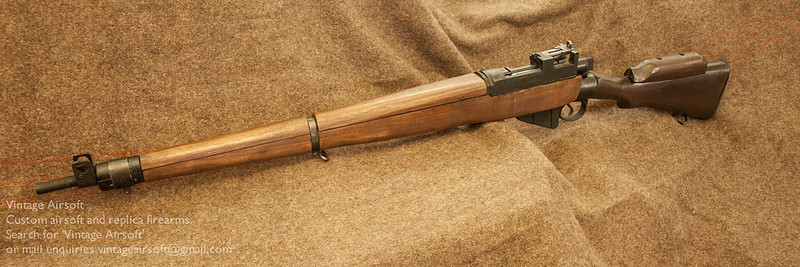
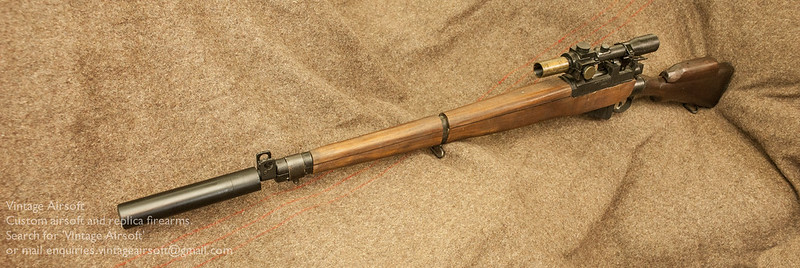
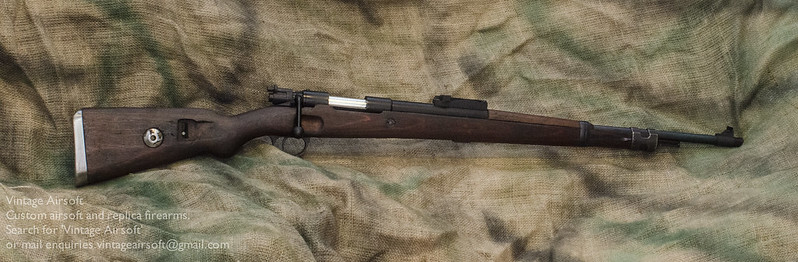
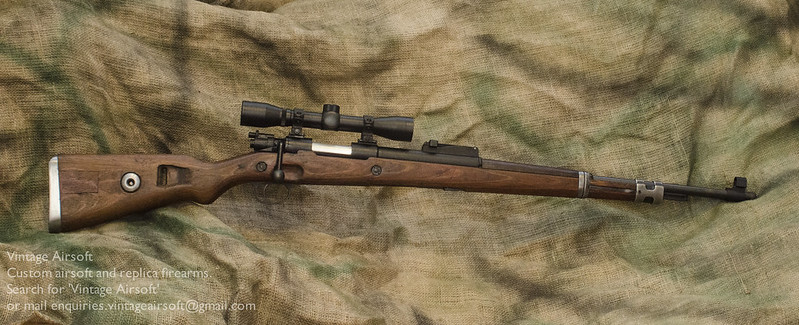
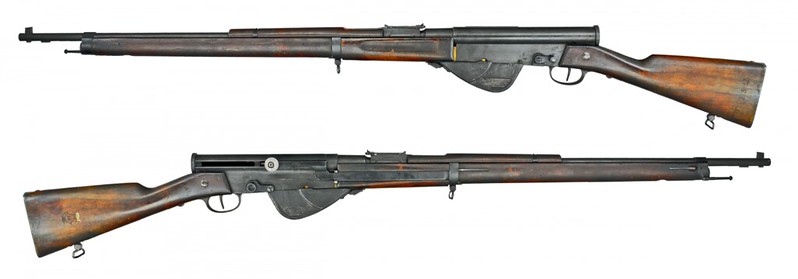
This is pretty much the job done. There are a few bits of detailing and last touches to complete the rifle but I’ll let you enjoy the overall effect of the finished item.
If you want to see the finished item, you can see it here when it’s posted.
Don’t forget you can buy many of our smaller items via Etsy. Our larger items can be found here.
If you have an idea of your own, drop us a line on enquiries.vintageairsoft@gmail.com to discuss. ‘Like’ our Facebook page or follow the blog to get regular updates on projects and interesting videos and articles.