The DeLisle Commando Carbine: Introduction

Cold War, Delisle, History, Rifles, Suppressed, Weapons, WWII

The DeLisle carbine was born of a need, usually by special forces units, to dispatch enemy soldiers quietly. This came from the rise of raiding tactics used by British forces against Fortress Europe, the only way that precision strikes could be made against German targets.

Although large-scale raids did occur, many were smaller scale and undertaken by the newly formed Commandos and Parachute units. Taking out one or two sentries discretely before moving up to the target would allow soldiers to get much closer to their objective before the main, noisy assault. 3-1

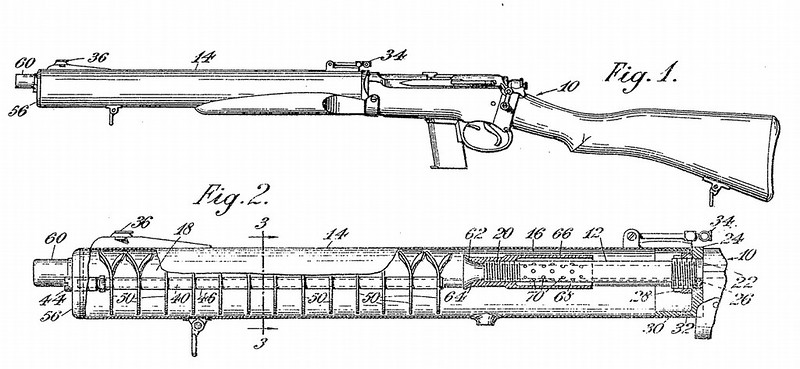
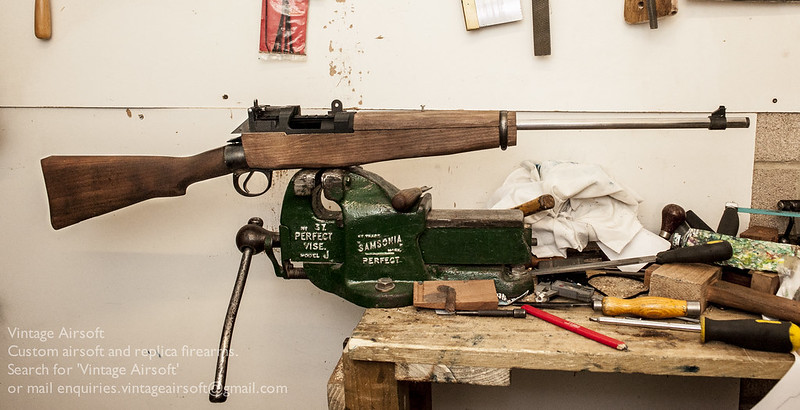
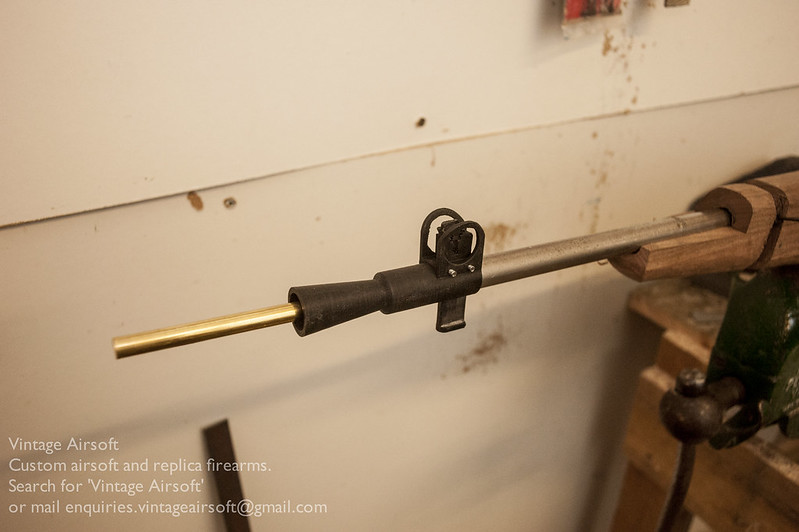
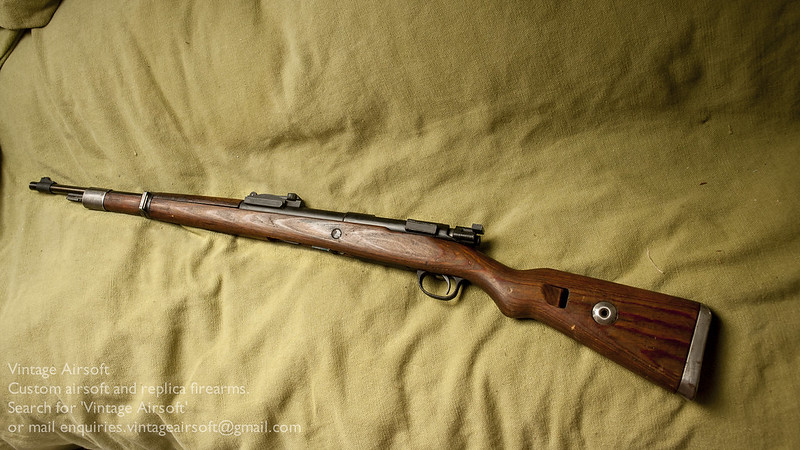
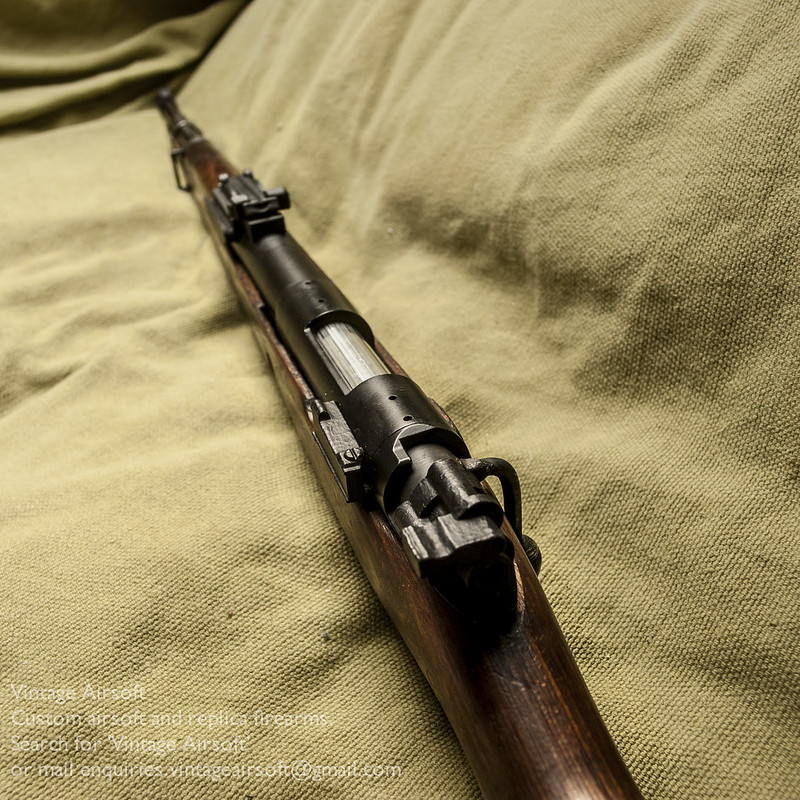
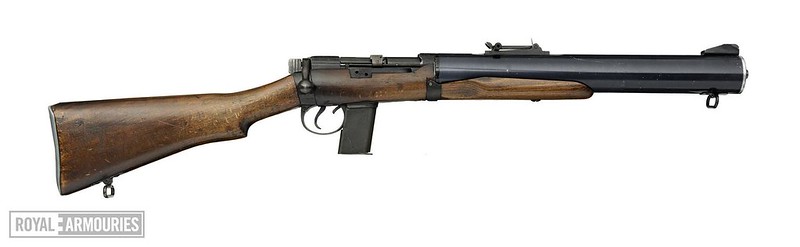
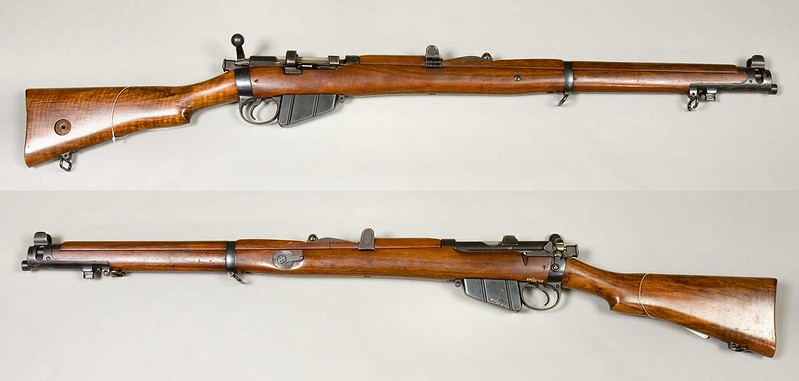
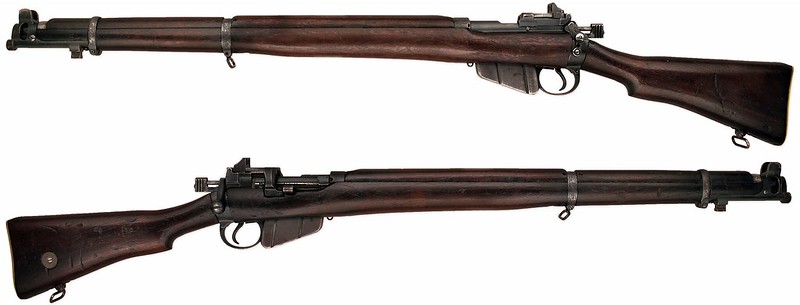
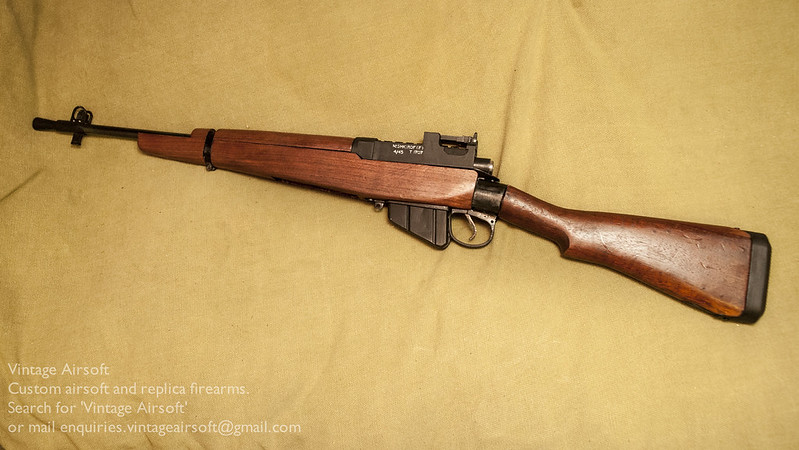
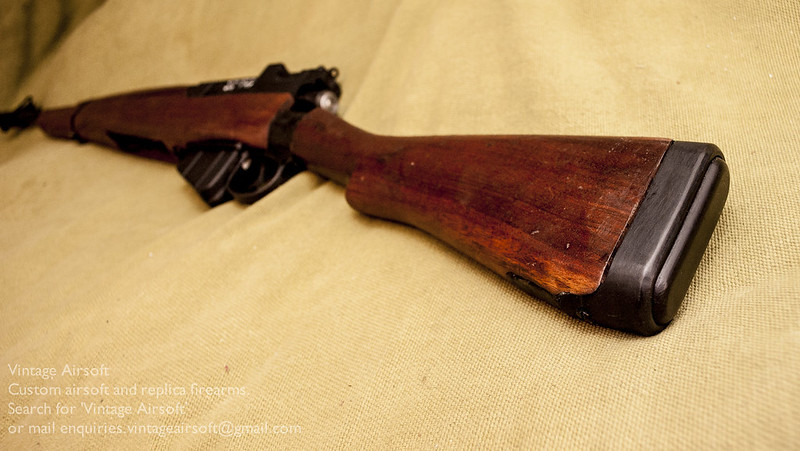
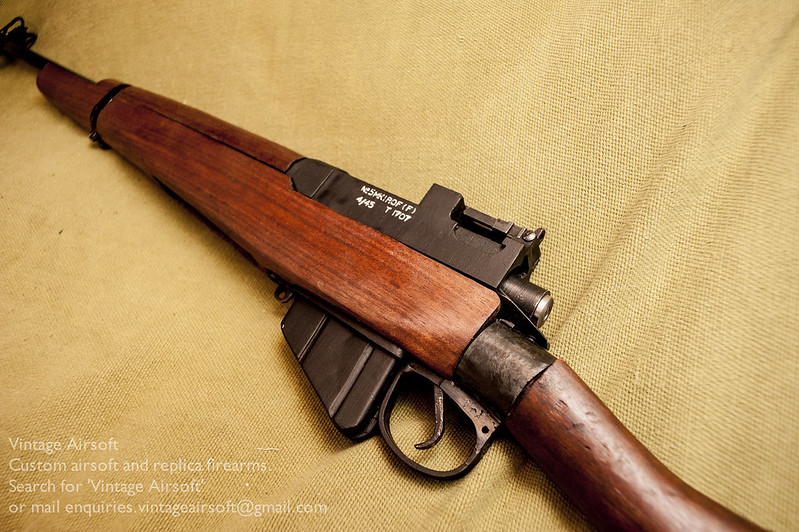
The carbine itself was the lovechild of an SMLE, (receiver and furniture) a 1911 (magazine) and a Maxim style suppressor. The reason for its near legendary status as one of the quietest arms ever made is that every aspect of it was either chosen for its quietness or modified to achieve it:

  1. The ammunition: .45ACP is a subsonic cartridge. This means that, never breaking the sound barrier, it does not have a sonic ‘crack’. A quiet ‘whizz’ is easily drowned out by ambient noise.
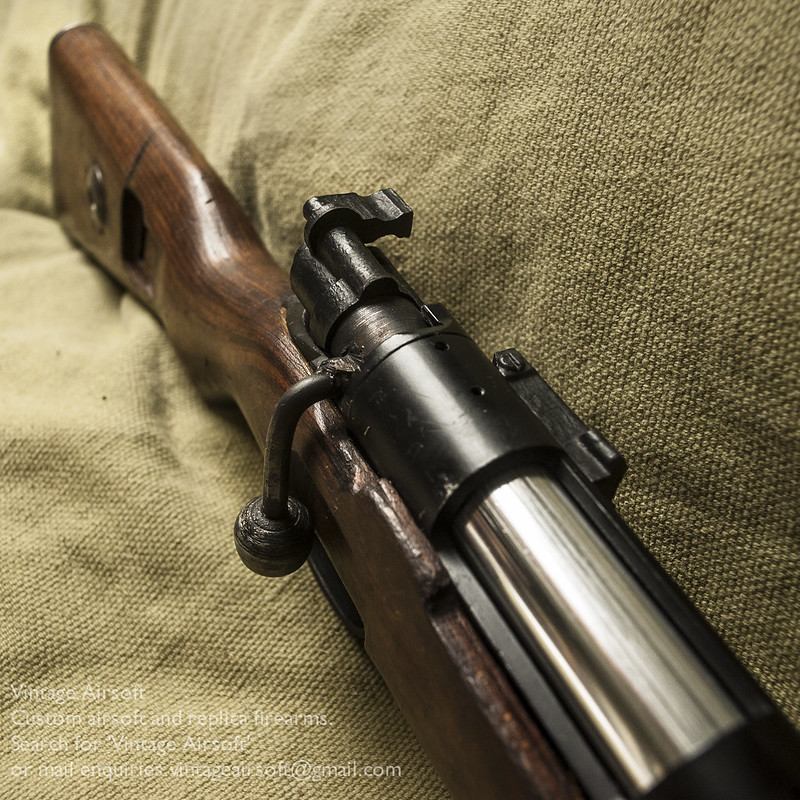
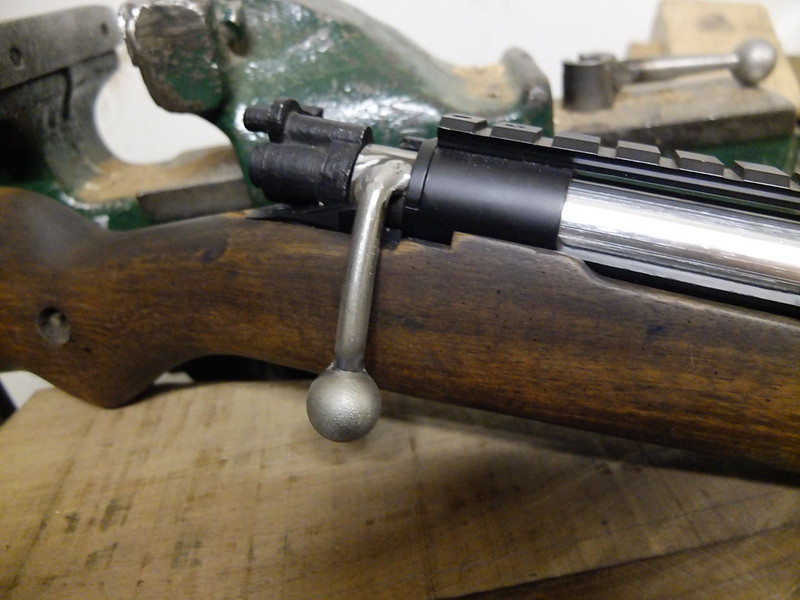
  2. The SMLE has very few ‘clicky’ parts already. The safety is already silent, the cock on close action means there is a fairly quiet slide into battery. The bolt was baffled so that when opened it would not make a loud clack. For when it was being closed the bolt handle had a baffle so it wouldn’t clack against the receiver band.
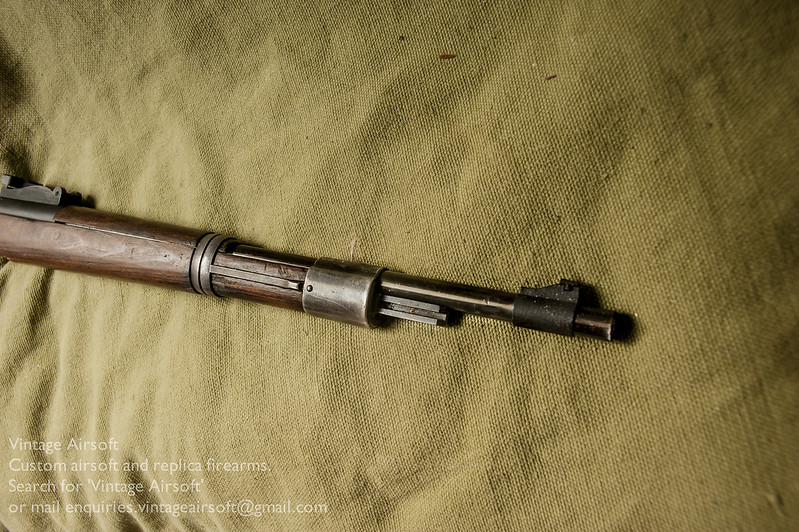
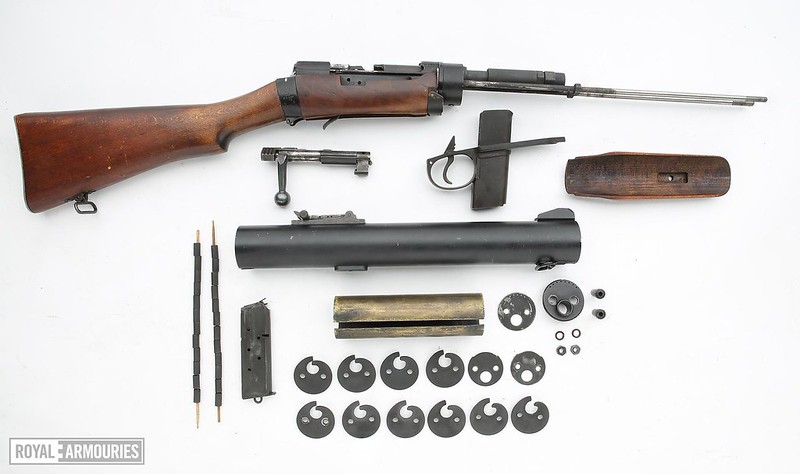
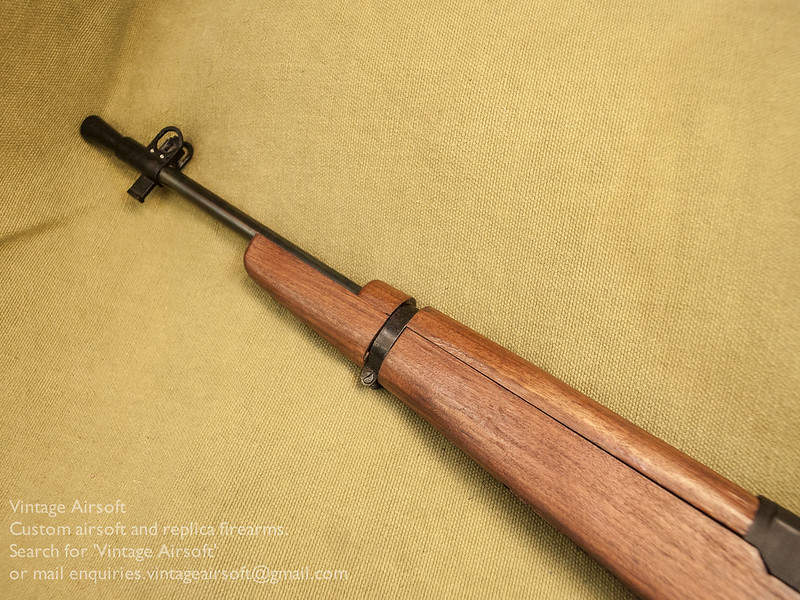
  3. The suppressor is huge. Much, much bigger than you could reasonably carry on a pistol. It also proved very effective at catching and slowing gasses down before getting rid of them at a low enough pressure to reduce the noise massively.

large_DI_2014_3626

It is known that the DeLisle was issued to and tested by Combined Operations (who ran the Commando type raids) in the field, but finding solid accounts of their use during WWII in Europe is pretty tricky. The only account I have found so far is one by a Jedburgh Commander who says that one was used to successfully dispatch two German officers (1944). D1-4

Other more substantial accounts outlining more specific details of their use have been recorded in the Far East against the Japanese and during the Malayan Emergency. They point to it being used very much as a psychological weapon, taking out individuals during ambushes at night or on roads during the day, killing one or two men in a lorry. Being almost silent, the Japanese involved struggled to know they had been fired upon and even more-so where from.

 http://ww2db.com/

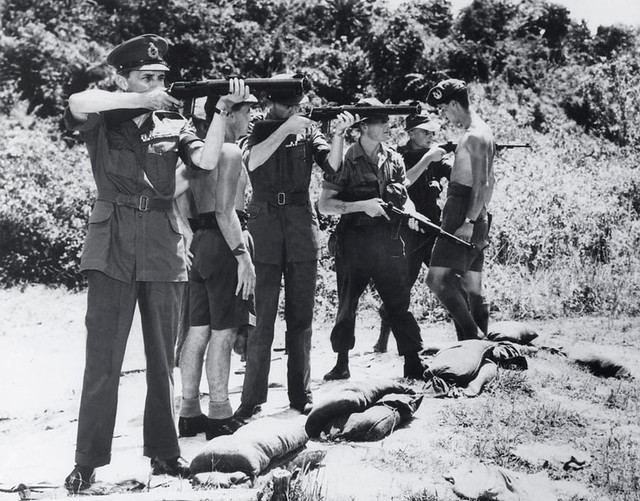
Similarly it was deployed against bandits and terrorists in Malaya, allegedly by plantation operators. One man caught out alone in the fields had a significant advantage when he could fire on a group of hostile enemy without giving his position away. Just a couple of men so armed would have a significant force multiplying effect. 


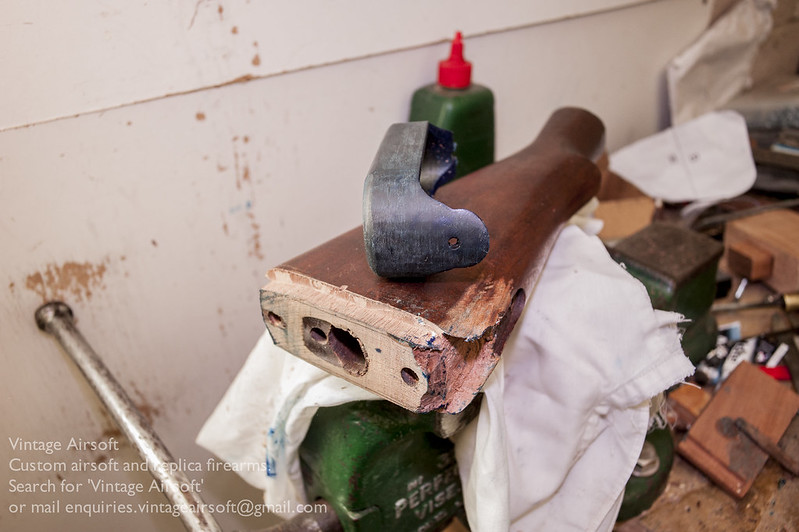
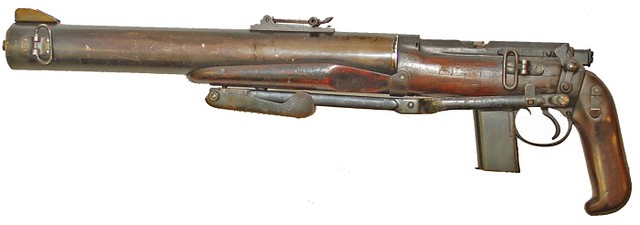
Just before I wrap up, the folding stock ‘Para’ version does deserve a mention. Originally, these were supposed to make up 50 items of the order, but it looks as though they were left until last. As a result, when the order was cancelled there was only this sample produced as far as we know.

zLXKNzG


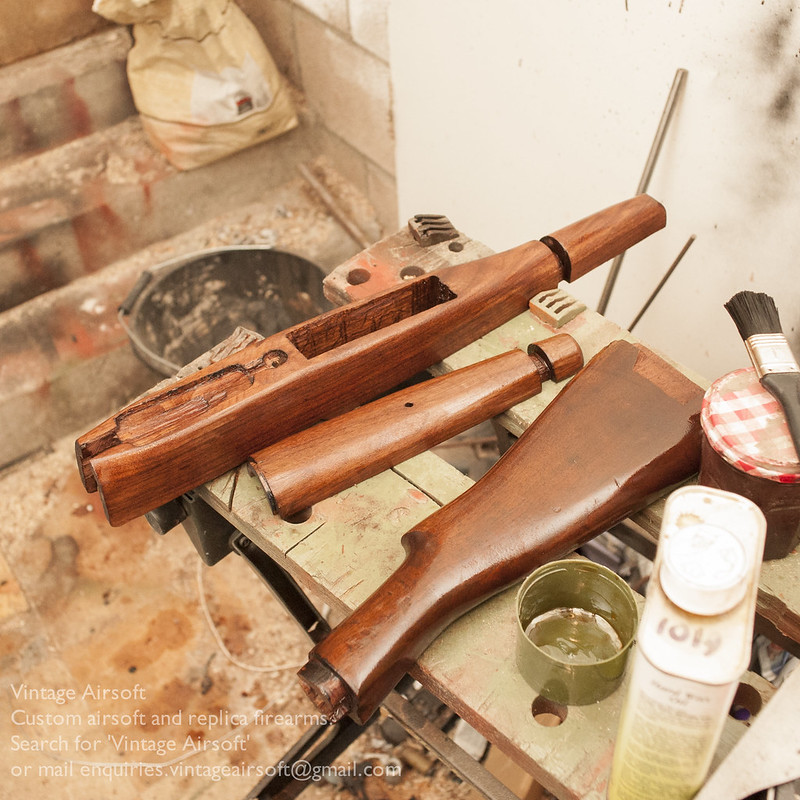
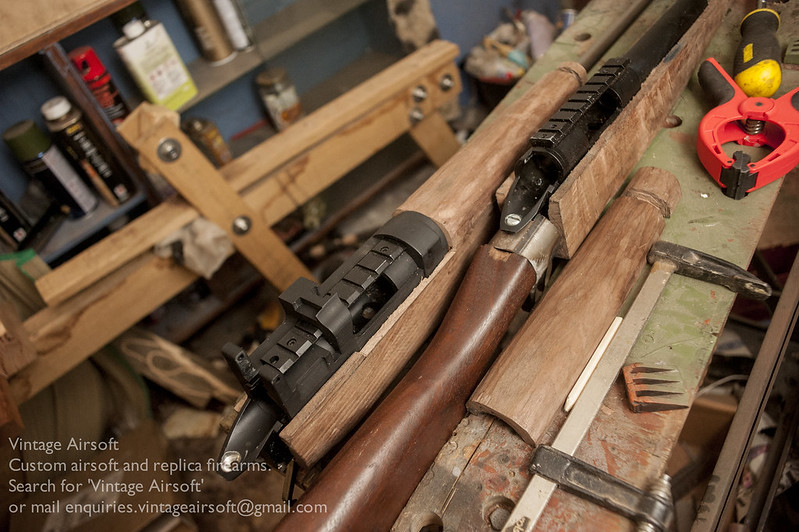
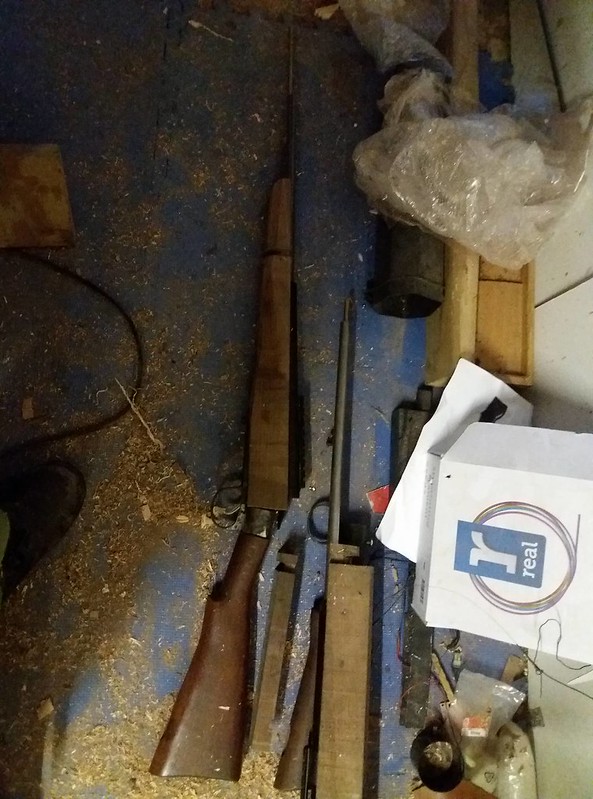
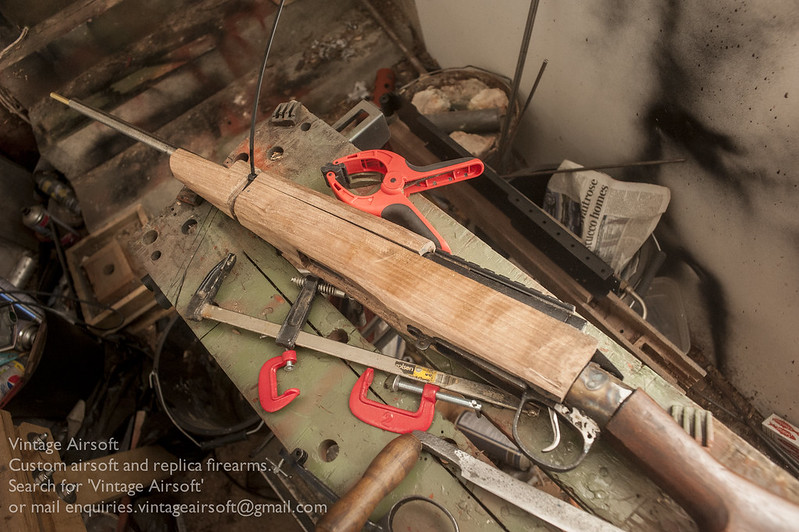
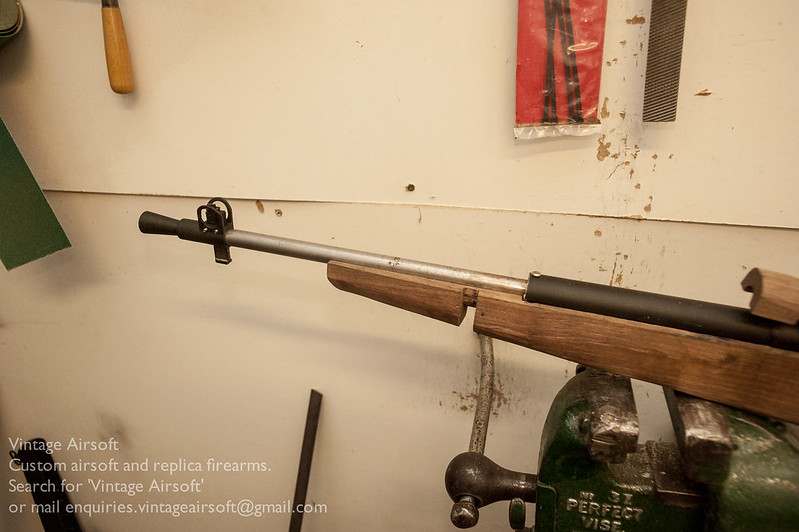
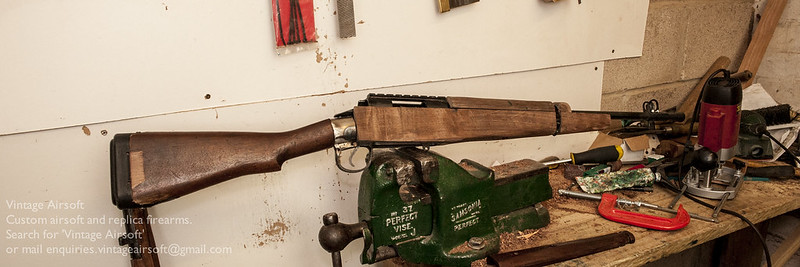
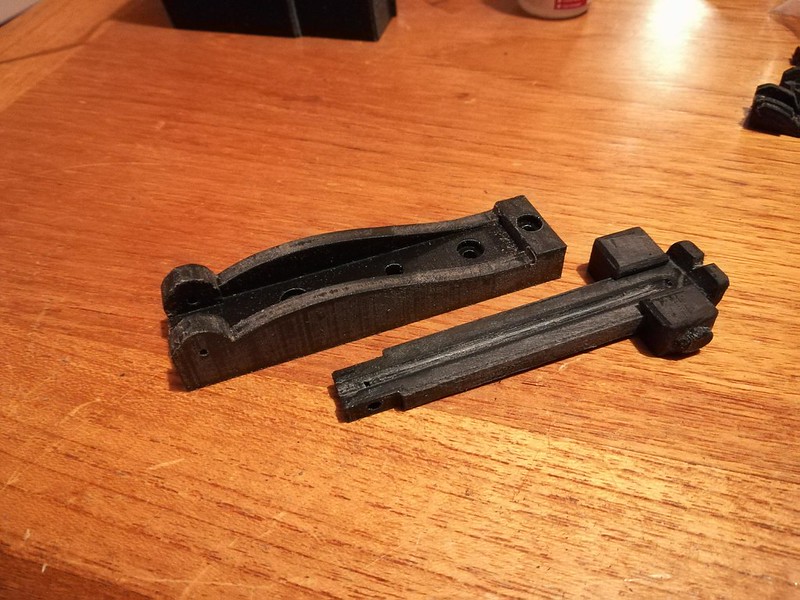
And in case you are not familiar with the Vintage Airsoft format by now… I will be building a De Lisle carbine! This build will be VSR based, using my new MkII magwell and almost certainly making use of my lovely ‘new’ mill (more to follow on that when it arrives!).

large_DI_2012_0727


You will be able to follow the build progress here as it is published.

If you are interested in this project or have an idea of your own, drop us a line on enquiries.vintageairsoft@gmail.com to discuss. ‘Like’ our Facebook page or follow the blog to get regular updates on projects and interesting videos and articles.


Don’t forget you can buy our smaller items via Etsy. Our larger items can be found here.

Enfield No.4: Introduction

Cold War, History, Lee-Enfield, No. 4 L-E, Rifles, Weapons, WWII

The British had been looking at replacing the Short, Magazine Lee-Enfield No.1 MkIII for some time. In fact from the adoption of the Lee-Metford, the general design had been replaced in general service at least twice and with dozens of minor modifications to boot.

Lee-Enfield_Mk_III_(No_1_Mk_3)_-_AM.032056

Trials had even taken place to find its complete replacement before 1914, though the outbreak of the Great War (along with some problems with the .276 Enfield cartridge) prevented the Pattern 1913 Rifle from being adopted and issued. For those not familiar with the P13, it was very much a departure from the Lee design.

DJC85-S-F1W-L

  • It used a Mauser type bolt, front locking rather than rear locking (greater potential for accuracy)
  • It had a rear-mounted aperture sight, rather than a notch mounted halfway down the barrel. This longer sight radius improved accuracy potential and the aperture is a much more natural sight for acquiring mobile targets
  • A 5-round built-in magazine well rather than 10 round detachable. Given the Lee design was put up against Mausers of the 5 round built in magazine type during the Boer Wars and been found drastically wanting it clearly wasn’t seen as much of a disadvantage

These concepts did see some use in the form of the P14 rifle which was almost a .303 version of the P13 and later in the M1917, a version produced by the US in .30-06.

After the end of the Great War, once armies had begun their conversion back to a peacetime footing it was clear that there would be more SMLEs and P14 rifles than they had any use for and the idea of replacing such a plentiful inventory with yet another rifle built from scratch did not hold much water with the Brass. Doing so would also require political motivation and this was lacking in a war-weary country, member of the disarmament-prone League of Nations.

Lee-Enfield-Mk.V-sides


There were some attempts to bring in the valuable aperture sight, with the added benefit of cheaper manufacturing (the SMLE is an expensive design to produce), though the No.1 MkV of the 1920s proved to actually be more expensive than its predecessor with the rear mounted aperture being quite fragile, though the No.1 MkVI of the 1930s is the predecessor of the No.4, even though it wasn’t adopted (well, sort-of).

As a result, Great Britain and the Empire began WWII with exactly the same rifle as they began WWI. Not an alteration, updated or refined version. Exactly the same. They had even put the magazine cutoff back in place to spite that bit of efficiency saving made during the last war.

However as before, the rifle was still expensive to manufacture and a replacement had to be found. While there were some reserves of SMLEs and P14s (and the US shipping over their unloved M1917s for use with the Home Guard) after the fall of France, Britain needed lots of rifles, fast.


Lee-Enfield_No_4_Mk_I_(1943)_-_AM.032027

The No.4 MkI was the answer. Adopted in 1941, this design ditched a lot of unnecessary machining on the left side of the receiver and charger bridge and had a simpler stock design. The barrel was heavier and free-floating, meaning greater potential accuracy and last but not least: the aperture sight was mounted on the receiver and was here to stay.

Savage Enfield No. 4 Mk I


Further modifications were made during the war for efficiency resulting in the MkI* and postwar the No.4 Mk2 (note the change from Roman Numerals to Arabic in 1944) made improvements to the trigger by attaching it to the action itself rather than suspending it from the trigger guard. A number of MkIs and MkI*s were modernised in this way and the buttplates swapped back to brass after the war efficiency saving of zinc alloy models.


The No.4 didn’t make it to the Far East during the War. India and Australia just kept making the SMLE and these were used throughout the campaigns against the Japanese. Postwar No.4s were used in Korea, but by the Malayan Emergency in the late 50s British soldiers were at worst carrying the No.5 Mk1 and much more likely to be seen with the SLR L1A1.


This was a long introduction, but the Rifle No.4 was a long time in coming and it seemed a shame to not cover its long and rich design history. If you want to see the very sexy No.1 MkVI trials rifles you can see them here at Forgotten Weapons.


I am currently building a No.4 MkI from a VSR for a customer, you will be able to follow the build progress here as it is published.

If you are interested in this project or have an idea of your own, drop us a line on enquiries.vintageairsoft@gmail.com to discuss. ‘Like’ our Facebook page or follow the blog to get regular updates on projects and interesting videos and articles.


Don’t forget you can buy our smaller items via Etsy. Our larger items can be found here.

Vz.24: Introduction

Inter-War (1918-1939), Rifles, Vz.24, Weapons, WWII

The Vz.24 rifle was produced from 1924 and was part of the generation of universal short rifles that followed the Great War, where long rifles proved unnecessary at best and an inconvenience or danger at worst. The hassle of issuing different arms to different unit types was more hassle than it was worth: the short rifle format as used by the British and US proved its worth up to any expected combat range in the way warfare turned out to be fought, with the extra length of the long rifle no longer needed for fighting in line. 

Czechs1939

Czech soldiers on exercise in 1939.

The Czechs had been using a domestically produced version of the G98 previously with a few of their own preferred tweaks, but presumably wanted something handier and lighter.

The Vz.24 was originally produced in 7.92 Mauser (8mm Mauser to most people), but were also produced in calibers to suit users other than just the Czech military (it was originally manufactured for) which were many: China, Spain, nearly a dozen Latin American countries, Iran, Romania and even Germany.

photo ecuador officers 1924

Ecuadorian Officers in the 1920s with their pristine Vz.24s. Ecuador was one of many Latin American countries to adopt this rifle.

After Germany’s invasion of Czechoslovakia, Brno’s production was turned to German use. A version of the Vz.24 was produced for the occupiers (renamed the G24(t)) with some small modifications, until the production line was turned over to K98k production.

SS Vz 24 in training

SS training with a Vz24. These rifles were mainly second line use but the SS, being outside of the normal military procurement system, seem to have ended up with them. 

The G24(t), the Germanised version of the Vz.24, features some nods to the K98k; including the disassembly tool in the butt and the alternate sling arrangement, with the deletion of the wrist-mounted swivel.
 

G24t-tiltI have a VSR-based Vz.24 in the works at the moment for a customer. It’s using an original stock and as many original parts as possible.


You will be able to see the build process here as it is published.

If you are interested in this project or have an idea of your own, drop us a line on enquiries.vintageairsoft@gmail.com to discuss. ‘Like’ our Facebook page or follow the blog to get regular updates on projects and interesting videos and articles.


Don’t forget you can buy our smaller items via Etsy. Our larger items can be found here.

Vz. 24: Build 1

Inter-War (1918-1939), Rifles, Vz.24, Weapons, WWII

The printed parts for this arrived first. The design is based on the K98k I produced previously. 27710779_10156349726138623_307322835_o

The main difference is in the back of the sight, different in shape and in the profile of the notch. The sight base is less the scope mount on the K98k.

27707730_10156349726248623_433414192_o

The bolt back cap is the same as the other Mausers. Shown here is a bent bolt handle, though I’ll be fitting this rifle with a straight one as per the early Vz24s.

_DSF9895

At the front end, I’m using a short section of tube as a place holder for the full length barrel I’ll be putting in later. The top guard has to be custom made to accommodate the VSR and will be quite thin when finished to try and keep the shape as close as possible.

28207631_10213953497264310_31947542_o

The rear sight base screws into place and should be reasonably solid, given its being surrounded by wood.

_DSC8177

The wood around it had to be lowered slightly to give access to the sight. I’ll shape the wood around it.

_DSC8179

The foresight, 3D printed and then cast in resin from a silicone mould. The barrel crown holds the front of the inner barrel.

_DSC8180

With the addition of the faux cleaning rod this build is coming together very nicely!

_DSC8182

The next step is to make modifications to the receiver to make it look right, plus a few details like the wrist sling mount and buttplate.

If you are interested in this project you can see the introduction here. If you have an idea of your own, drop us a line on enquiries.vintageairsoft@gmail.com to discuss. ‘Like’ our Facebook page or follow the blog to get regular updates on projects and interesting videos and articles.


Don’t forget you can buy our smaller items via Etsy. Our larger items can be found here.


Enfield No.5 Mk 1: Complete

Cold War, Complete builds, Custom builds, Lee-Enfield, No. 5 Enfield, Rifles, Weapons, WWII

Well, the No.5 Enfield is complete! And she ain’t a bad looker though I say so myself. Not to mention as far as I know the world’s first Airsoft Enfield No.5.

Let’s talk through her from back to front.

_DSC7471

The buttpad is hard rubber, in an ABS 3D printed cage re-enforced with Polymorph.

_DSC7475

The 3D printed receiver covers the VSR internals for the most part. The trigger is a little square, I’ll probably round it off more for a comfort.

_DSC7476

The rear sight. A bit of tinkering and I may even make it so that I can use the ladder sight for longer range use. For my purposes at present however (a 1 Joule rifle for close, quiet use) the battle sight is just what I need.

_DSC7478

When testing, the windage adjustment in the foresight was very useful. I’ll have to add some elevation adjustment as well as that would come in handy.

_DSC7477

The hop adjustment the most discrete I’ve done on an Enfield yet. That little hole in the top guard is the TDC hop adjustment.

_DSC7479

The magazine well is my standard VSR quick-load magwell. Ideal for the close work I intend to use it for.

_DSC7568

Last but not least, the rear sling bracket. Distinct and unique to the No.5 carbine, this makes an odd pairing with the conventional forward sling swivel. That said I have found it quite comfortable in use, with the gun swinging around less than with conventional swivels.

_DSC7566


If you have enjoyed this project or have an idea of your own, drop us a line on enquiries.vintageairsoft@gmail.com to discuss. ‘Like’ our Facebook page or follow the blog to get regular updates on projects and interesting videos and articles.

You can see the build for this rifle here.

Don’t forget you can buy our smaller items via Etsy. Our larger items can be found here.


Enfield No.5 Mk 1 Build: Part 2

Cold War, Custom builds, No. 5 Enfield, Weapons, WWII

Part two starts with the receiver which has been 3D printed. I’m very pleased with the way the markings have come out on this, especially after painting up.

_DSC7433 
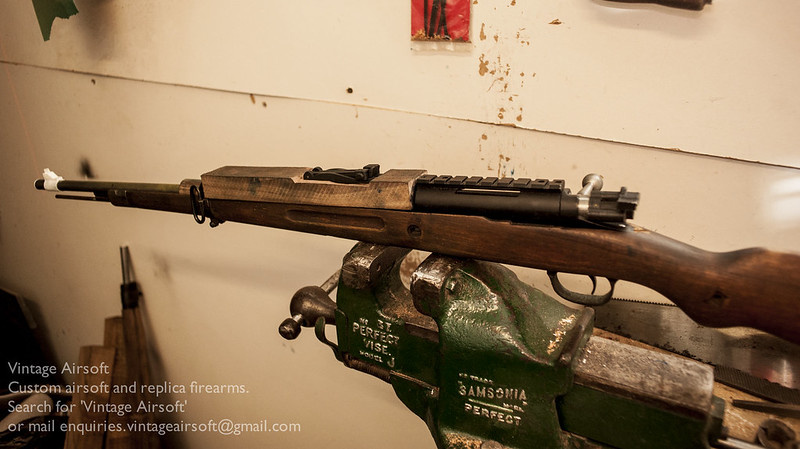
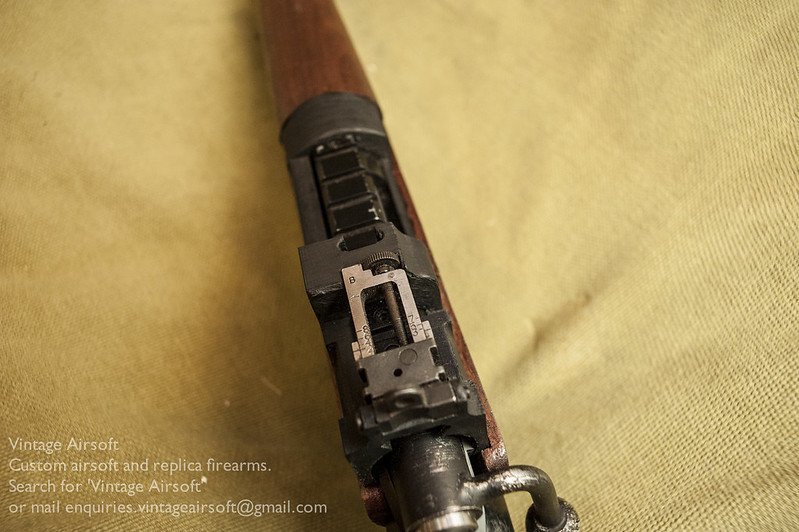
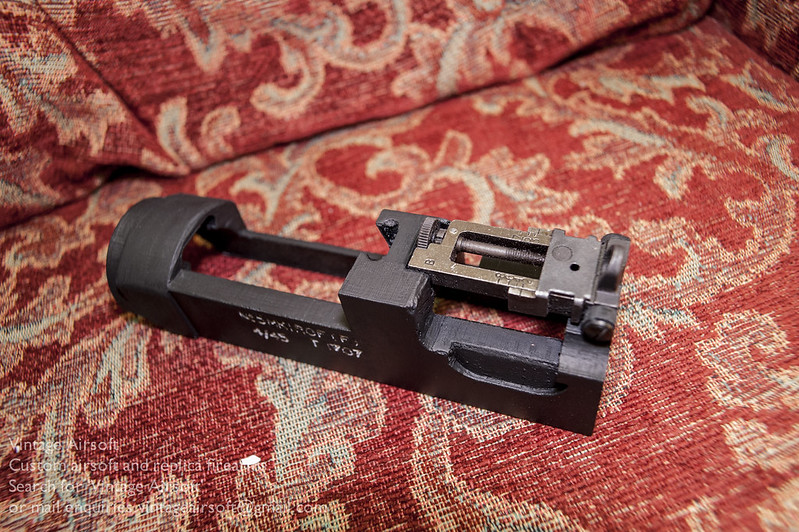
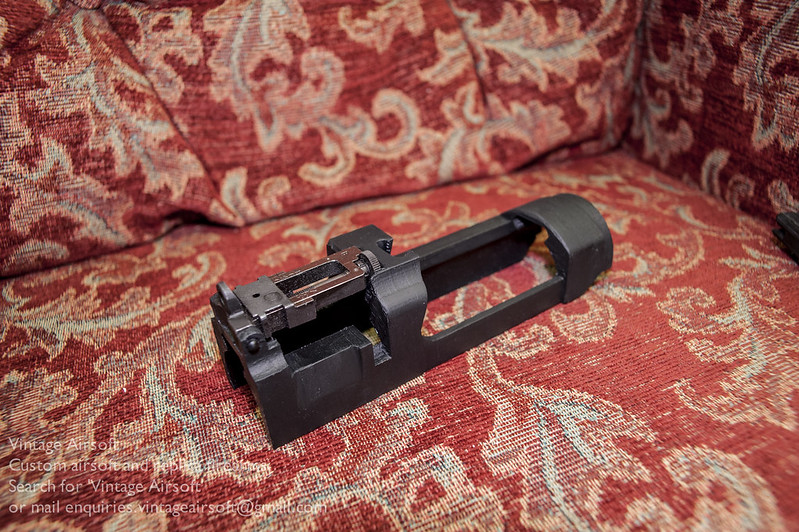
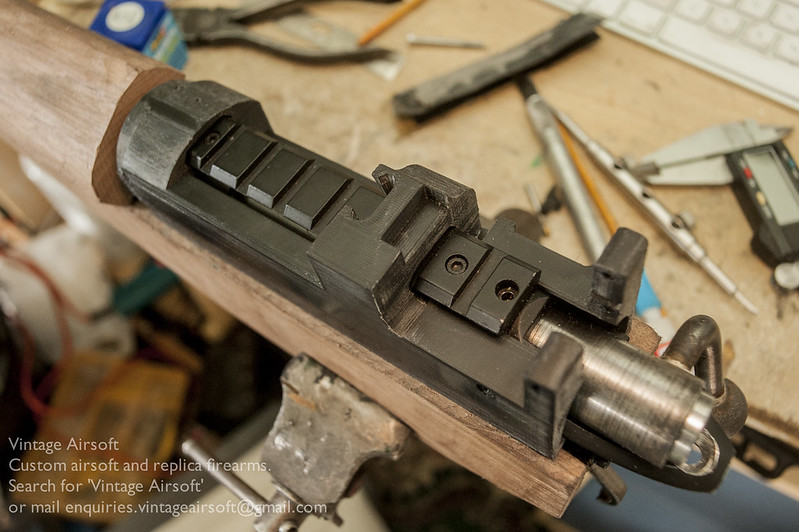
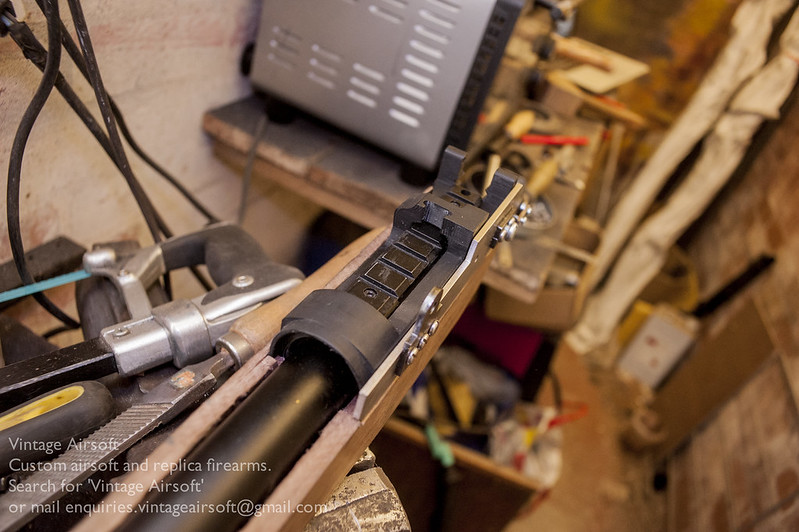
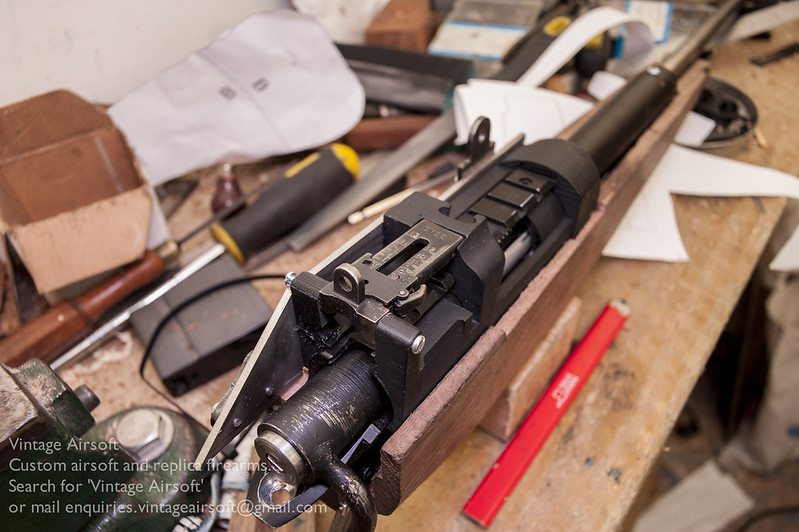
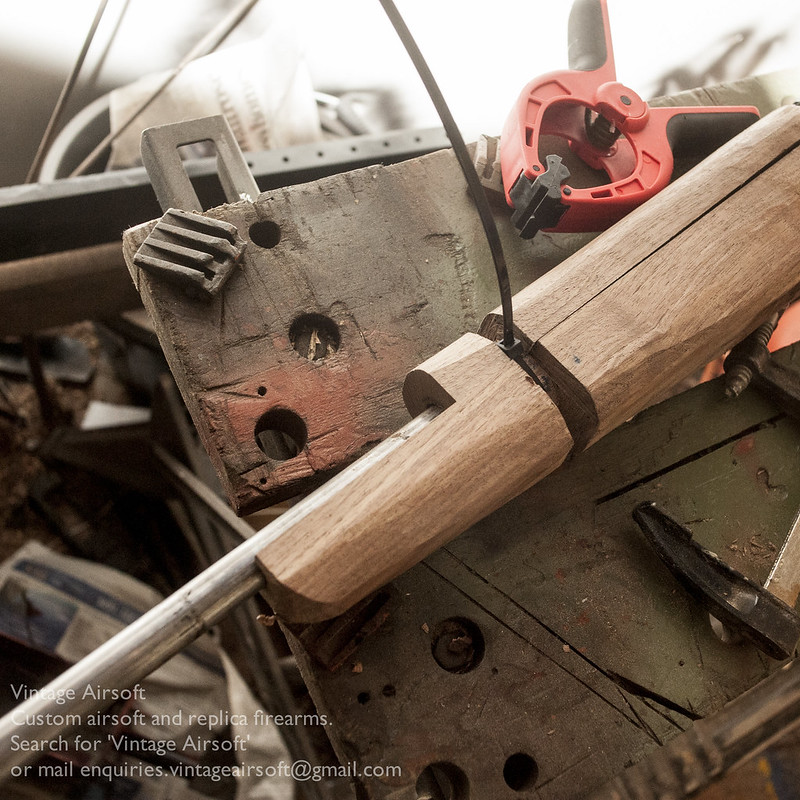
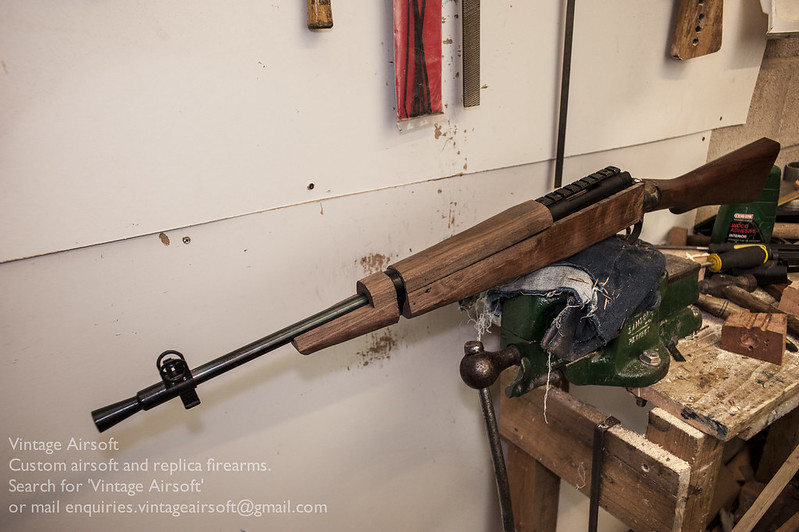
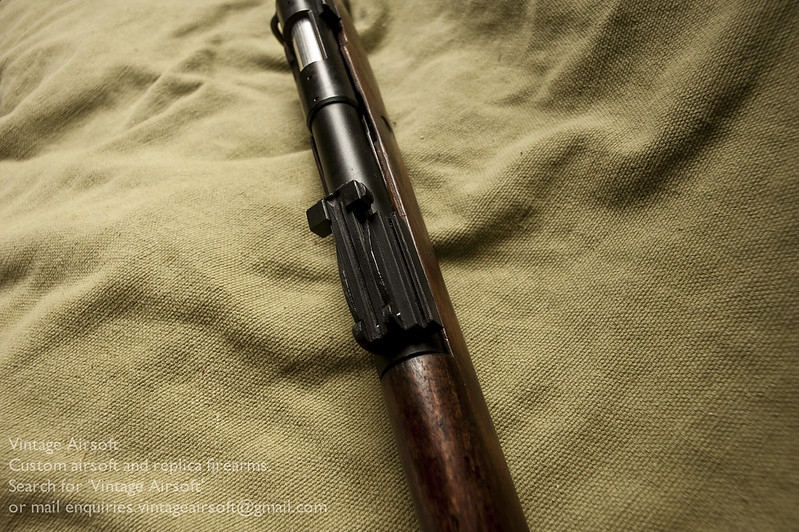
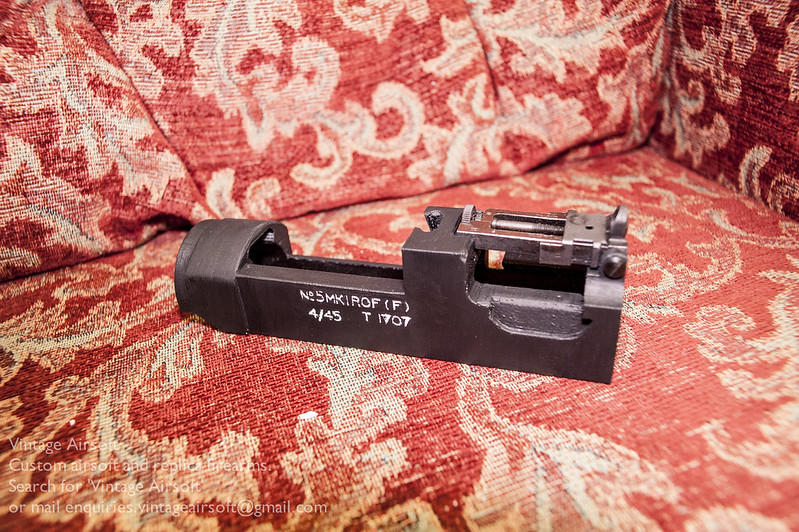
The rear sight fits in quite well, just needing a little filing down in the mountings for a snug fit.

_DSC7434   _DSC7435  

Fitted in the stock, the receiver sits in a cutout on the left, the right is concealed in the stock itself.

_DSC7451

It took a little tinkering to get the top guard to fit, but it is now secured under the front of the receiver and at the front by the front band.

_DSC7453

Once I checked all the parts fitted well, I stripped the wood away. I applied my red-brown stain blend that I use for my Sten Mk5 kits. 

_DSC7455

Once this had settled in, I applied a coat of slightly thinned hardwax oil, for a fairly hardwearing semi-gloss finish. 

_DSC7458

Finally, the resin faux magazine is expoxied into place. Once set, I’ll paint it up and she’ll basically be done!

_DSC7467


Pics of the completed rifle to follow soon.


If you are interested in this project or have an idea of your own, drop us a line on enquiries.vintageairsoft@gmail.com to discuss. ‘Like’ our Facebook page or follow the blog to get regular updates on projects and interesting videos and articles. 

Don’t forget you can buy our smaller items via Etsy. Our larger items can be found here.


L42A1: Build 4

Cold War, Custom builds, L42A1/Enfield Enforcer, Rifles, Weapons

It has been quite a while since my last L42 post, which I finished with the famous last words: “There’s really not much more to do on this now.”

Well, there wasn’t on that one, it was alright when finished and I used it a few times in games but there were a few ways it could be improved, so I’ll share the improvements here taking over from the last build with my second model.


Most of the build so far has been very similar to the last L42 model. Where it differs mainly is around the receiver area. Previous models have been quite skinny and lightweight, but I’ve found them a little unsatisfactory so have beefed up the latest design and built it around the rail that is mounted on the standard VSR I use. This should help to pin it down and keep it solidly mounted, which will improve accuracy with iron sights and provide a more solid mounting for scopes.

_DSC7326

The side plate in place, this will need permanently affixing.

_DSC7333

The side plate protrudes slightly further forward than the rest of the faux receiver, a minor mistake I will correct in a future version of this.

_DSC7334

The top guard now slots in under a securing bracket that is part of the receiver. I’m hoping to do away with the securing screws used in the previous rendition so that the only hole will be for the hop unit adjustment.

_DSC7335

The new rear sight in place. This is a slightly nicer one than my previous sight with some milled parts rather than being entirely pressed steel.

_DSC7389

The inner barrel cut to length and re-crowned on the lathe. I made a barrel support and spacer plug in plastic.

_DSC7390

A dry assembly of nearly everything. I need to get the scope mount finished and fit the foresight guard.

_DSC7392

The receiver isn’t lined up perfectly, this is the sort of thing the dry assembly is to pick up. I can make these tweaks before applying the metal and wood finishes.

_DSC7394


If you are interested in this project or have an idea of your own, drop us a line on enquiries.vintageairsoft@gmail.com to discuss. ‘Like’ our Facebook page or follow the blog to get regular updates on projects and interesting videos and articles. 

Enfield No.5 Mk 1, the ‘Jungle Carbine’: Introduction

Cold War, Lee-Enfield, No. 5 Enfield, Weapons, WWII

Mention the No.5 Lee-Enfield rifle and you will always get a reaction. It is one of the most controversial British small arms, beaten only by the SA80 system and the EM-2.


The idea of the No.5 was to create a shorter, handier and lighter version of the British service rifle, the Enfield No.4. This had already seen some upgrades from its predecessor the No.1 MkIII. Contrary to popular belief, this effort to lighten and shorten the Enfield design was not specifically to aid in jungle fighting (though this was clearly on the Empire’s radar) it was, in fact to provide Airborne troops with a rifle less awkward to carry in the confines of an aircraft.

PARATROOP TRAINING AT NETHERAVON,WILTSHIRE, NOVEMBER 1942

Climbing into a Hotspur glider during training. Although glider design improved on this compact format you can see where the desire for a handier weapon came from.


This it certainly achieved, it is around 2lbs (0.9kg) lighter and nearly 5″ (125mm) shorter. Most of this saving was achieved by shortening the barrel, though also through lightening cuts around the receiver to remove excess material and lightened versions of certain components (such as the bolt handle and trigger guard/magwell).


8dd2fa79152dcedc600b3c9d3c9483c6

As a result of this shortened barrel, a flash hider was added. The length of the standard rifles meant that most of the .303 cartridge load was effectively used and produced only a (relatively) usable muzzle flash. The No.5 however has a significant muzzle flash, which could be blinding to the shooter in low-light conditions. The flash hider is not actually there to hide the flash from the enemy, it’s to hide it from the user.


22500a153a3b835a1ba0e9f29c0e7548--mk--palestine

As a result of the lightening, perceived recoil is also greater. To counteract this, the designers added a rubber butt-pad in place of the traditional brass or steel plate. A good idea, except that they made it very small, a bulging pad missing out a lot of the butt’s surface area. So that increased perceived recoil was forced into an even smaller part of the shoulder. Thank goodness it was comfy, soft rubber right? Err, well concerns around durability meant that a pretty hard rubber compound was used. Not great at the time and 70 years on they have only grown harder.

4282786

The controversy was that these rifles allegedly suffered from a ‘wondering zero’. This means that once sighted in, the rifle would not hit the same aimed point consistently. This was the reason the War Office gave for discontinuation of No.5 production in 1947, only three years after is was introduced. This makes it one of the only military service rifles to be outlived by its predecessor.

Several aspects of the rifle design have been suggested as causes including:

-The lightening cuts causing the receiver to flex when fired. This could cause headspace issues or inconsistency between shots over time

-The flash hider if fitted incorrectly or damaged may cause gas imbalances around the projectile, allowing shots to wonder of their typical course


Modern No.5 MkI owners have been unable to reproduce this wondering zero effect, which makes it look likely that this was only given as an excuse to shift bolt-actions to the rear echelons and give them in aid to allies to speed up introduction of the self-loading rifle that every other major power was adopting or had already.

9db539a5577d0f41031b93101f5b3a92--lee-enfield-commonwealth

Nevertheless, the No.5 saw limited service in Northern Europe, notably during the liberation of Norway, but most of its service life was post WWII, in Korea and Malaya, where they were not only used by British troops but also local forces.

malayan-emergency-no-5-jungle-commando-short-magazine-lee-enfield-smle-dayak-tracker

For an outline on the No.5 MkI, see Ian’s video at Forgotten Weapons.

For some in-depth information, see C&Rsenal’s article on the rifle, including how to spot the many fakes available.

When the build posts go up, you can see the progress here.

8ff67f7d5e1b5af4c1ae461625c83b0f--malayan-emergency-british-soldier


If enjoyed this piece or have an idea of your own, drop us a line on enquiries.vintageairsoft@gmail.com to discuss. ‘Like’ our Facebook page or follow the blog to get regular updates on projects and interesting videos and articles.

Don’t forget you can buy some of our complete products via Etsy

Enfield No.5 Mk 1 Build: Part 1

Cold War, Lee-Enfield, No. 5 Enfield, Rifles, Weapons, WWII

The buttstock I am using for the No.5 is a damaged SMLE stock, as a result I don’t feel guilty about the chopping I’ll be doing to it!

I make the rear band unit in the same way as in all the other Enfield builds: ERW beaten to shape and welded to the trigger guard.

_DSF9810
 

The No.5 trigger guard/magwell housing is slightly different to the other Enfields, being thinner and lighter. This makes it an even more awkward shape to cut out!


_DSF9811
 

The VSR gets its special parts added. The standard Vintage Airsoft quick-load VSR magazine well and the Enfield trigger that takes the trigger back into the correct location. I’ll also be using the TDC mod for this rifle of course, along with the Enfield bolt mod.


22496956_10155993089243623_536568108_o

In place in the roughed out stock, the gun already starts to take shape.

22555839_10212957125275633_589420679_o

I smooth out the shape and improve it a little. I still have to finish the back end where the receiver fits and around the rear band.

_DSC7308

At the front I need to create space around the outer barrel as it is free floating on the original. The top guard also needs rounding off at the front.

_DSC7309

Working on the receiver now, no standard typeface is quite right for the markings. I find some clear images to work from and create a file I can work from and tidy up in Qcad.

Screen Shot 2017-10-19 at 18.13.21

Once the basics of the typeface have been finished up, I transfer them onto the side of the receiver to be 3D printed.

Screen Shot 2017-10-19 at 20.20.00

I got the muzzle brake/foresight unit 3D printed. As well as looking the part it also holds the inner barrel centred nicely. It’s held in place with two screws that lock it in place through grooves in the top of the barrel.

_DSC7320

The outer barrel is secured in the ‘traditional’ way for my VSR builds.

_DSC7322

I’ll have to spin up the barrel on the lathe to clean it and get a consistent polish, then I can oil finish it which will be nice and wear-resistant.

_DSC7324

Polished up and oil finished, the only problem is the muzzle brake doesn’t look as good now! You will also notice that the inner barrel has been cut down and re-crowned on the lathe by this point.

_DSC7372

At the back end, I start the modifications to the butt.

_DSC7386

The buttpad and cage have been 3D printed and are fitted by hand to the wood.

_DSC7387

I’m fairly pleased with the standard of the fit. The buttpad cage is a little more fragile than I would ideally like so some tinkering may be needed.

_DSC7388

I carved out the recess needed for the sling loop in the buttstock. 

_DSC7429

The assembly so far. The receiver needs fitting, plus there are some finishing bits to do. Inevitably there will be a bunch more things that I can’t think of right now. I am very excited to finish this build and get her in the field!

_DSC7426


If you are interested in this project or have an idea of your own, drop us a line on enquiries.vintageairsoft@gmail.com to discuss. ‘Like’ our Facebook page or follow the blog to get regular updates on projects and interesting videos and articles. 


K98k: Complete

Complete builds, Custom builds, K98k, Weapons, WWII

The VSR K98k is now finished, and she is a pretty one.

_DSC7255

From the outside, the only major giveaway that this is not a real K98k is the VSR magwell in the belly. The eagle-eyed may notice the bolt handle being set back a little (alas unavoidable). 

_DSC7261

The oil blued barrel fits in with the existing metalwork and furniture nicely. As it dulls with age it will fit in better.

_DSC7256

The 3D printed rear sight, which is part of the kit I will be offering people who want to do their own K98k conversion

_DSC7257

The back cap looks the part, even if it doesn’t function. It is certainly an improvement on the original VSR cap!

_DSC7258

Likewise the bolt stop, has no function on this but really adds to the replica. For the uninitiated to the Mauser system, this catch holds and releases the bolt during use and disassembly respectively.

_DSC7260


If you are interested in the history of the K98k, you can check out the introduction article here, or see the whole build process here.

If you like this project or have an idea of your own, drop us a line on enquiries.vintageairsoft@gmail.com to discuss. ‘Like’ our Facebook page or follow the blog to get regular updates on projects and interesting videos and articles.

Don’t forget you can buy many of our complete products via Etsy.