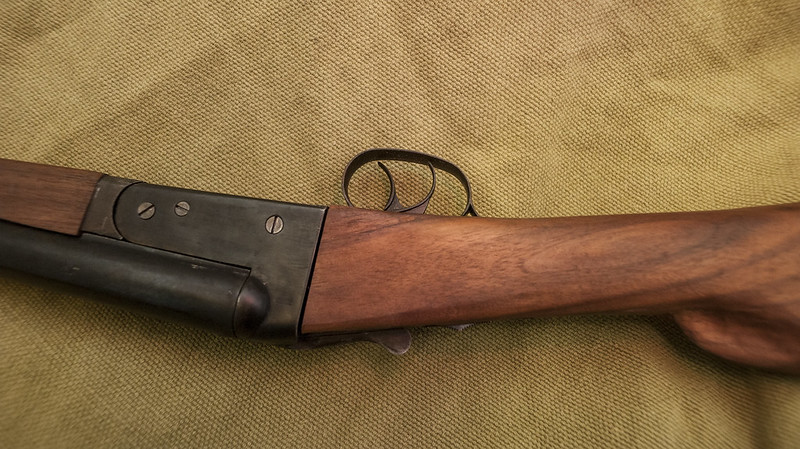
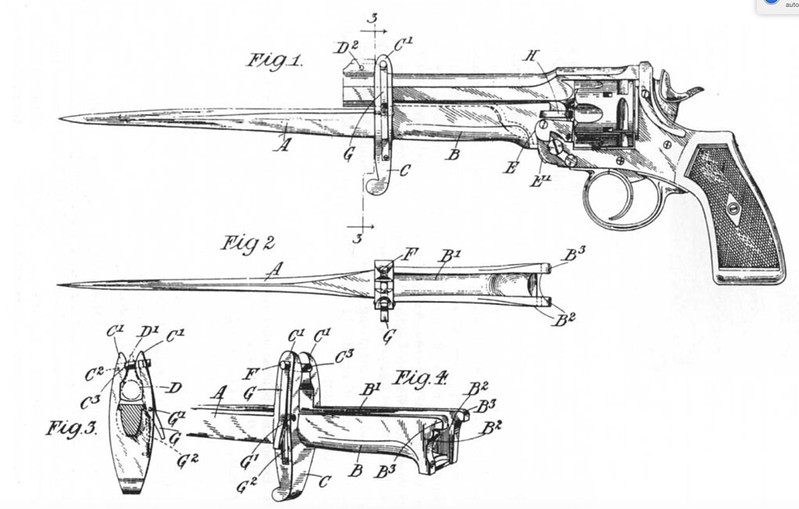
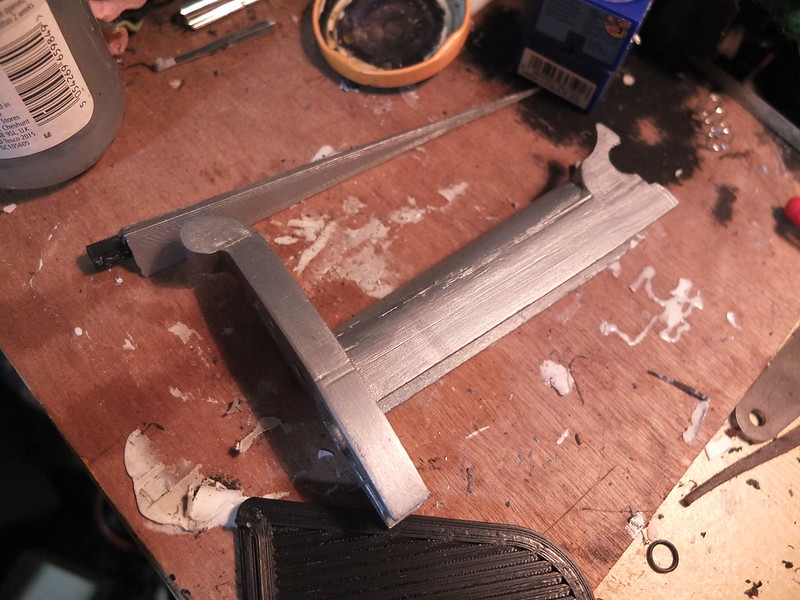
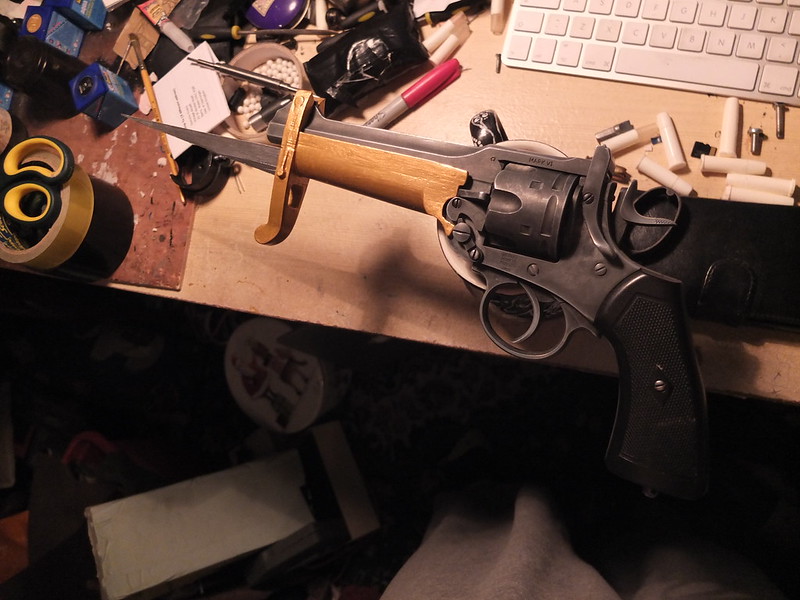
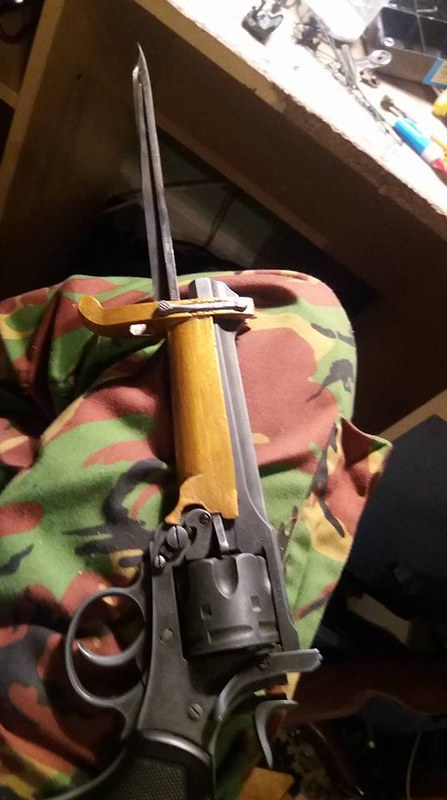
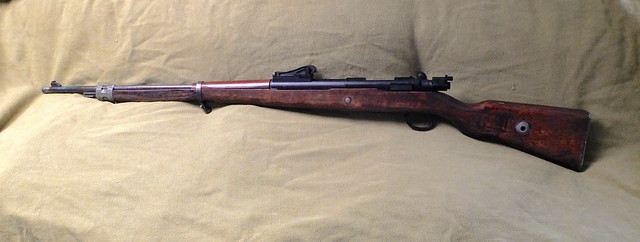
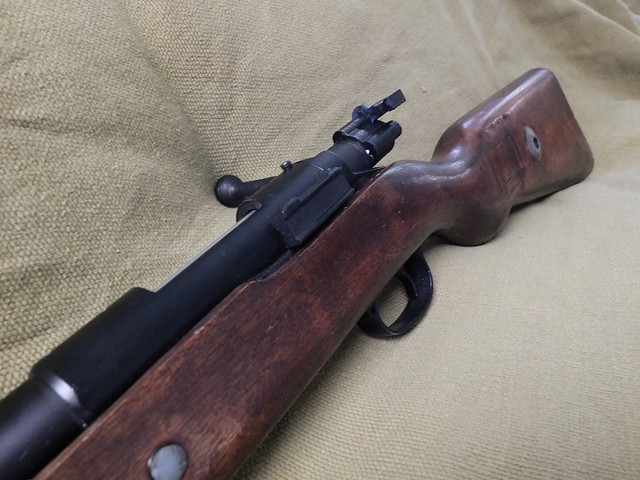
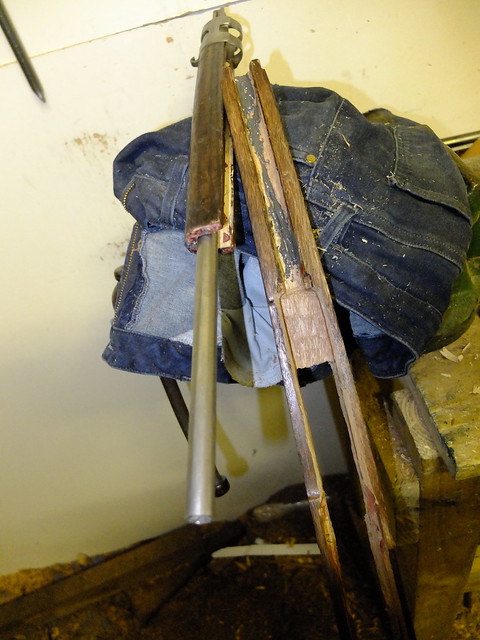
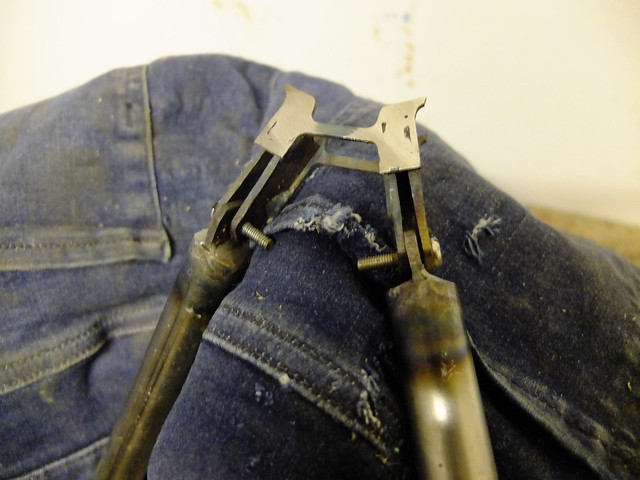
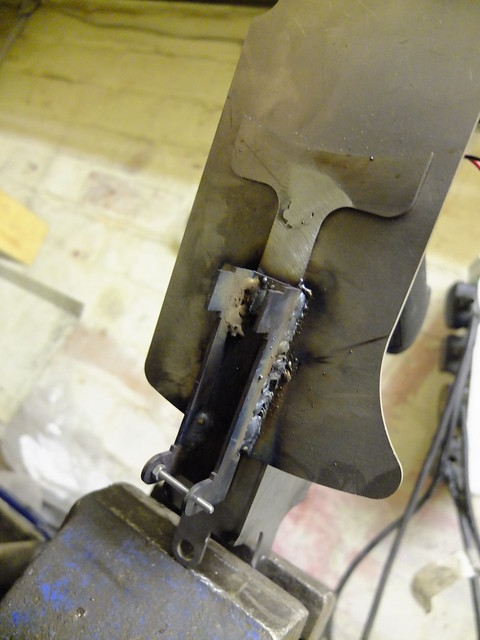
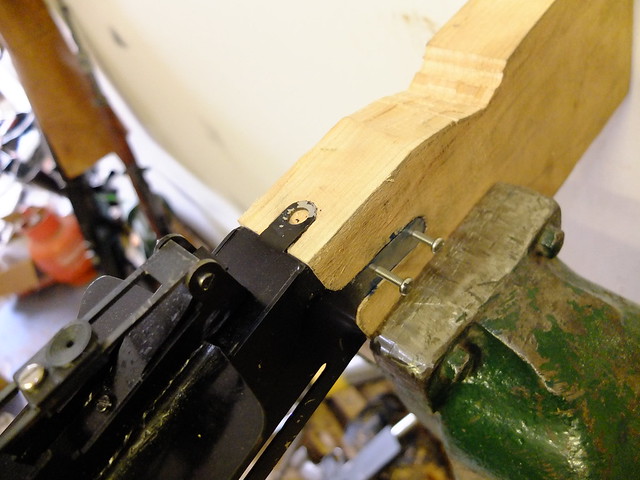
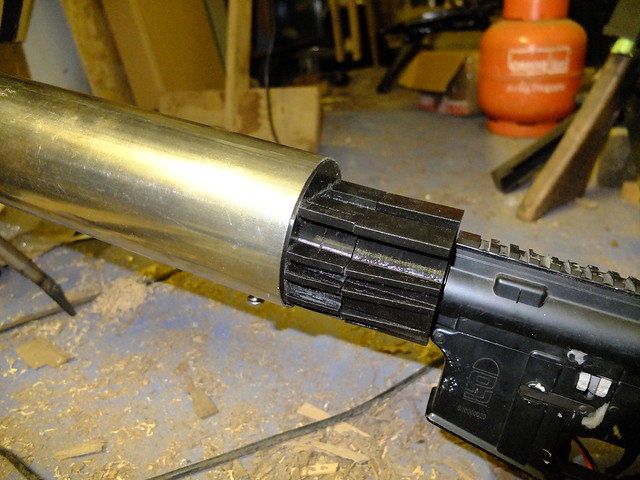
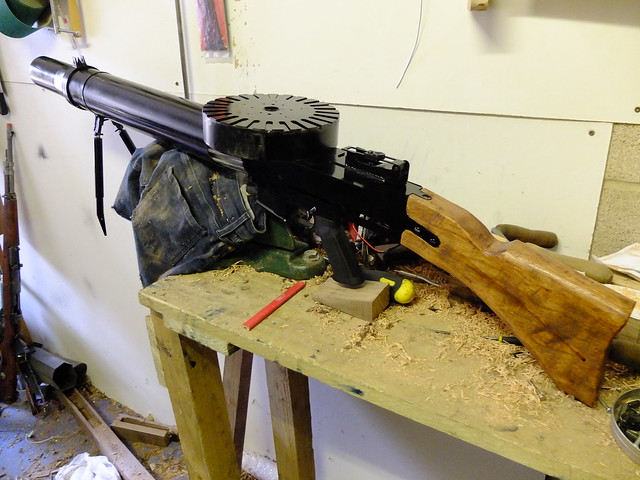
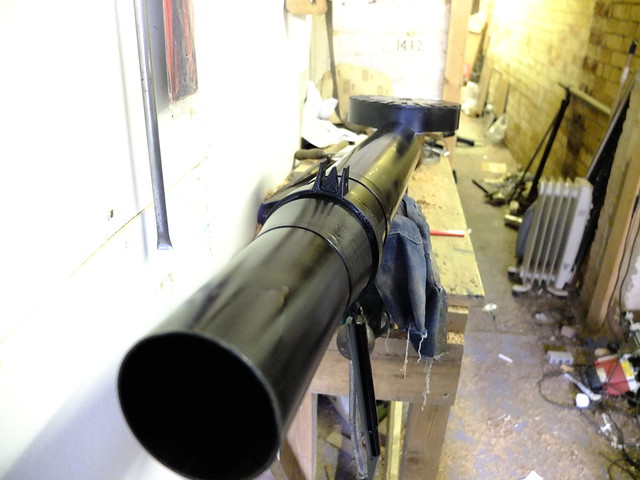
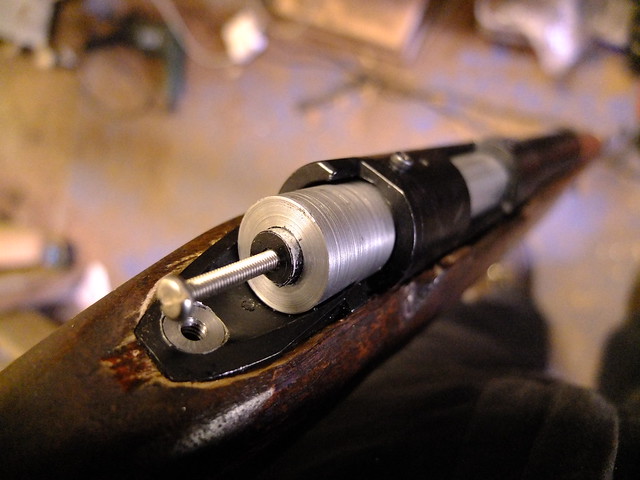
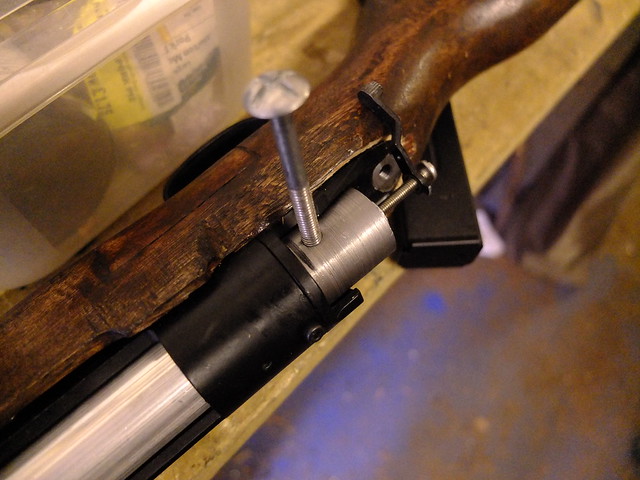
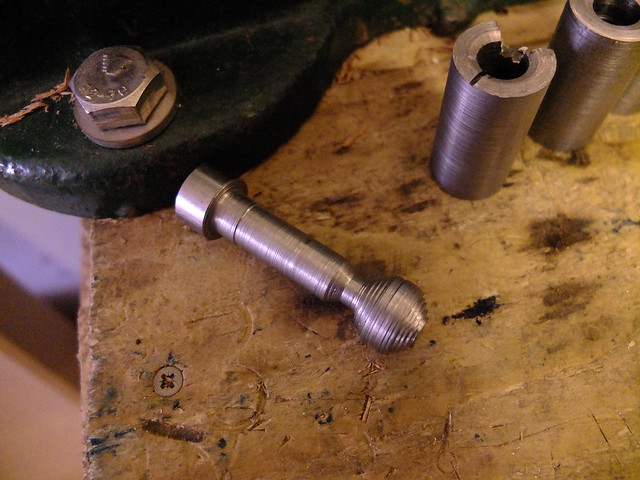
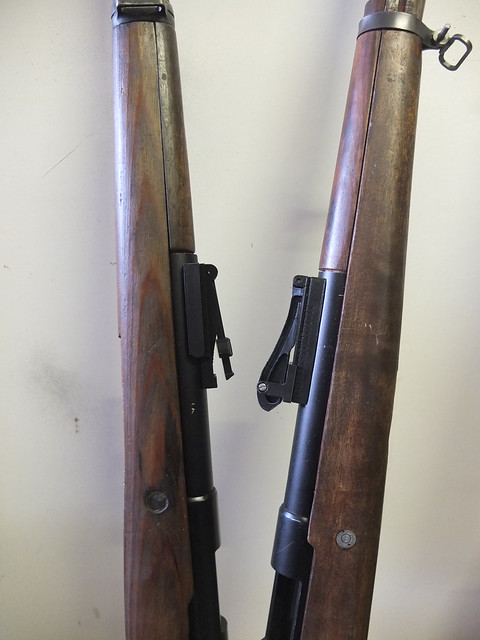
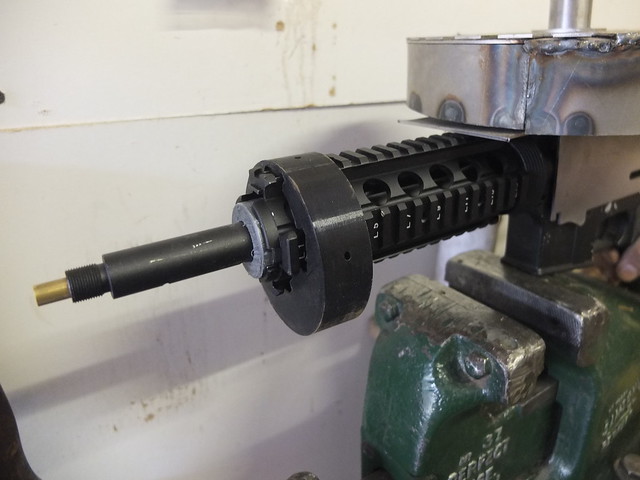
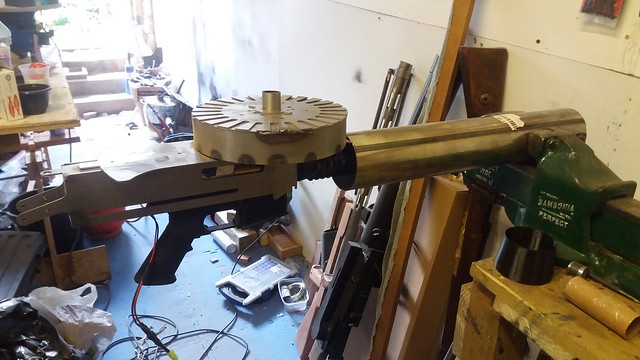
The forestock fitted in place is a little bit longer than the original but is fastened in the same way.
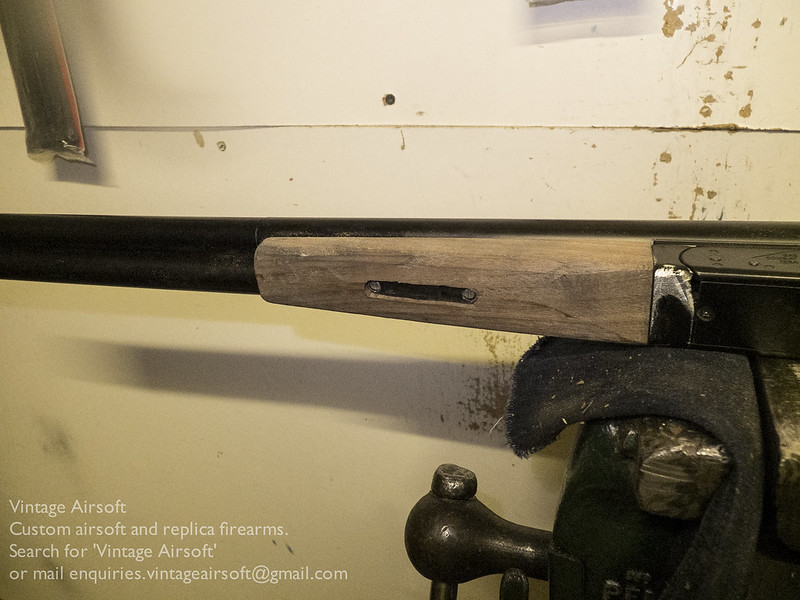
This definitely improves the overall shape of the rifle.
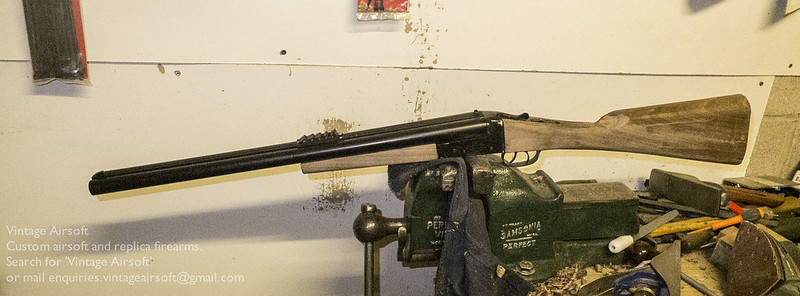
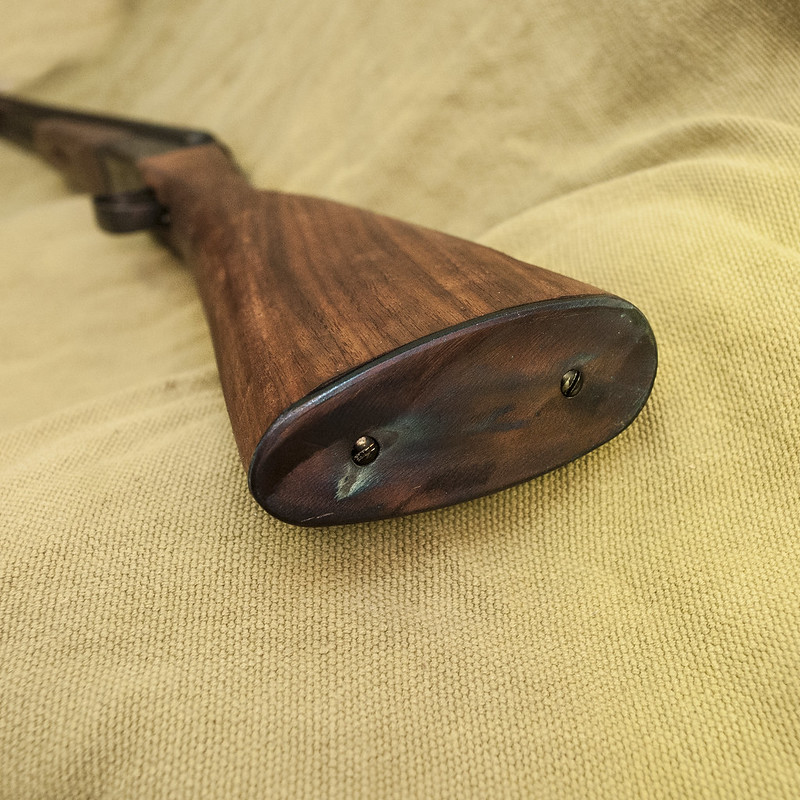
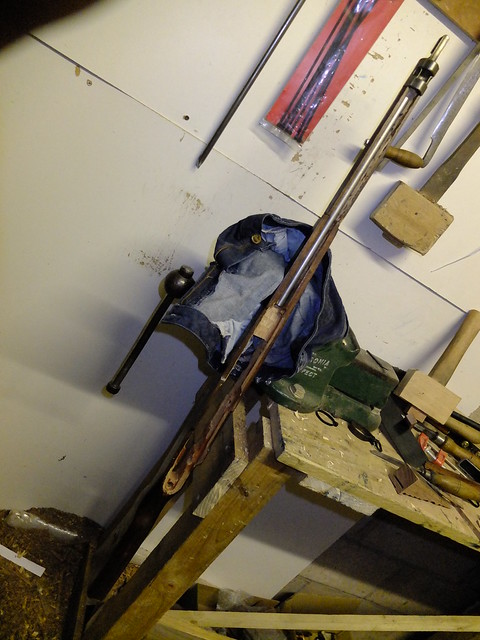
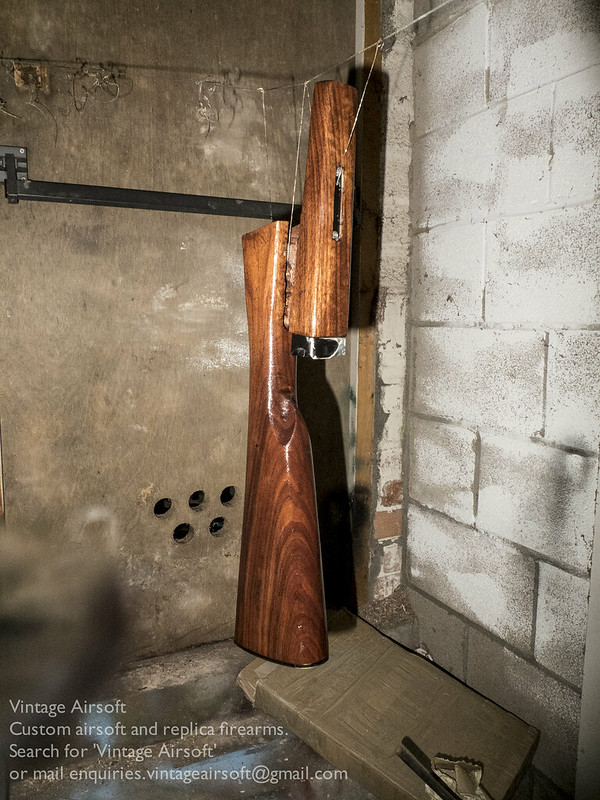
With the woodwork shaped and the buttplate fitted I applied a few layers of finish, leaving it to dry.
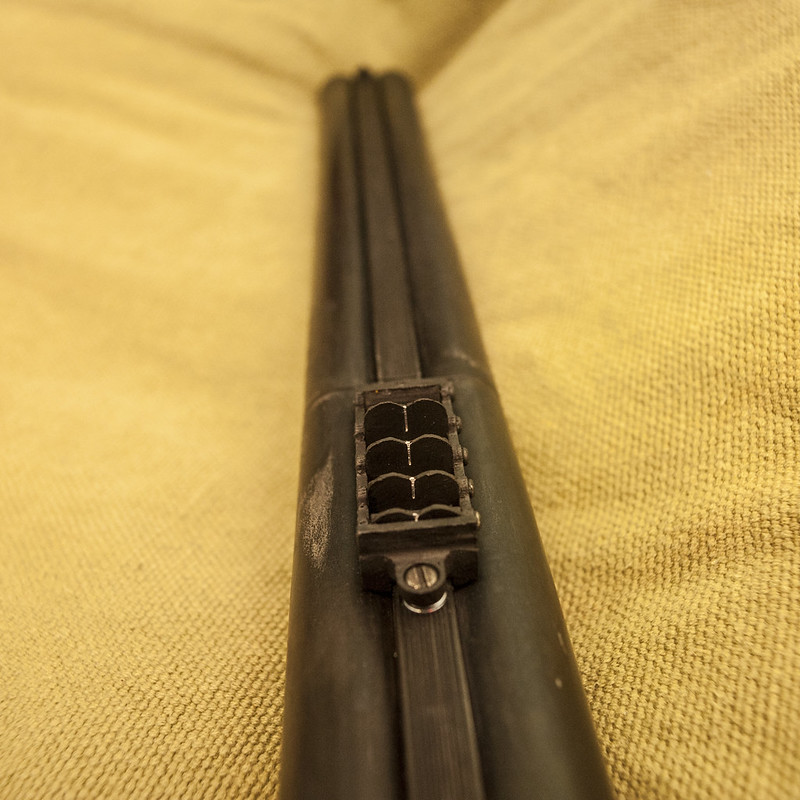
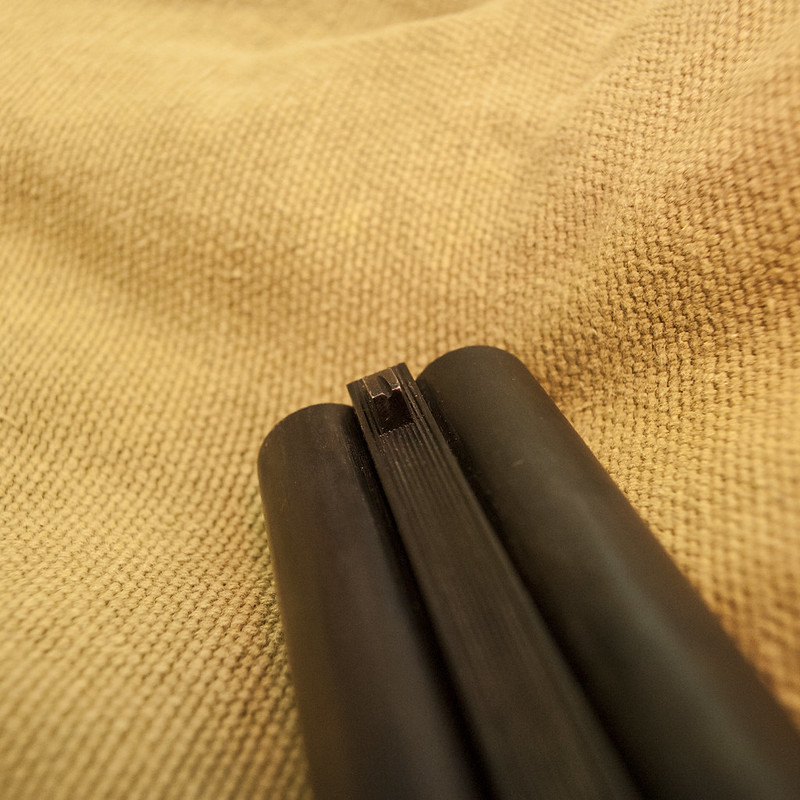
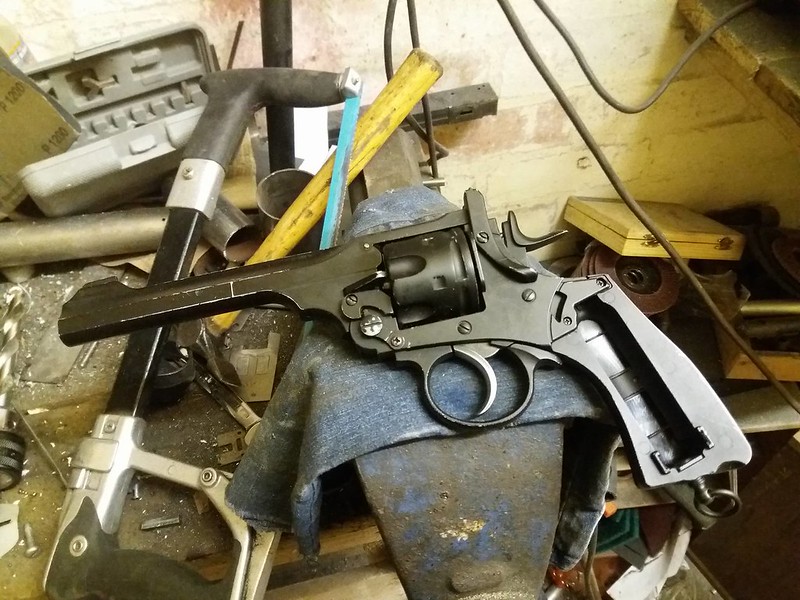
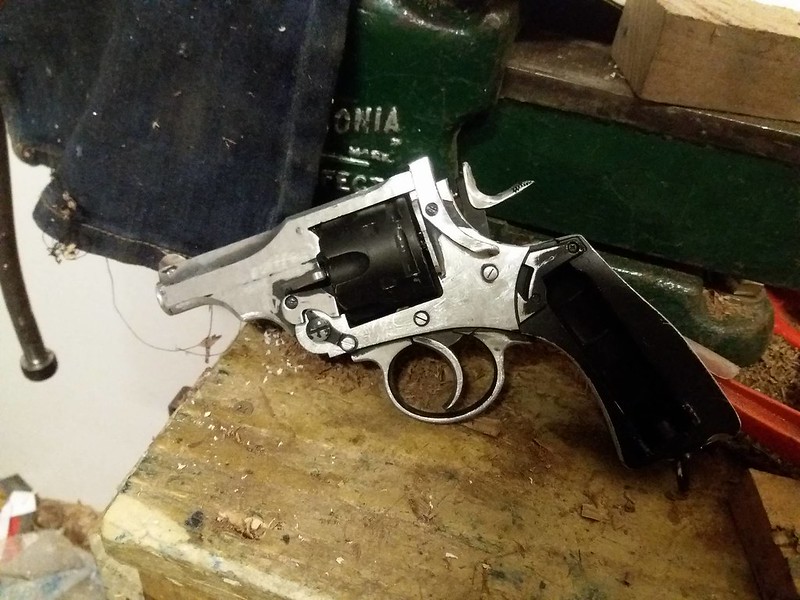
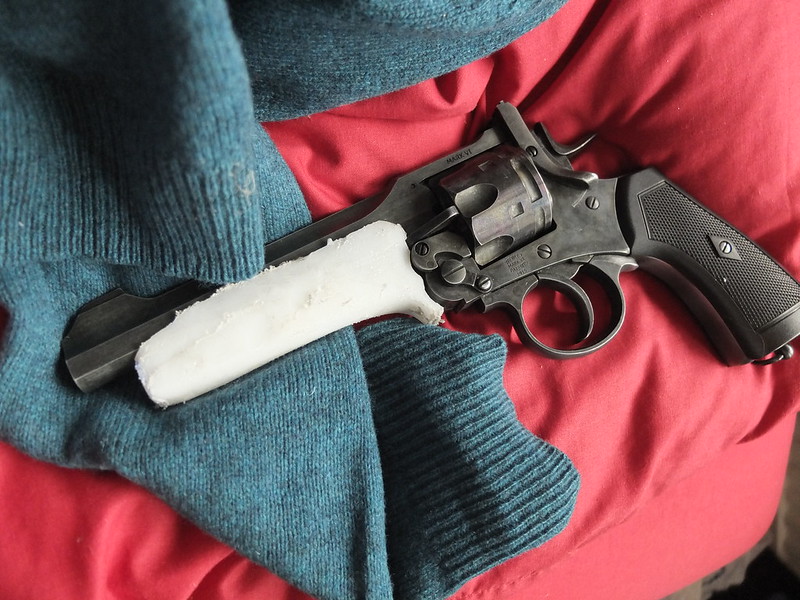
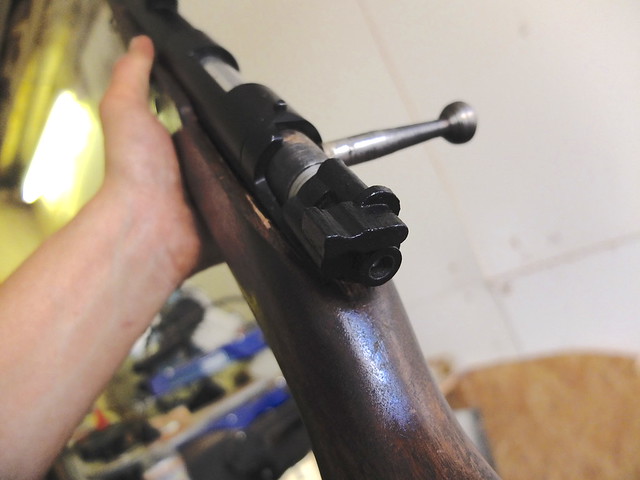
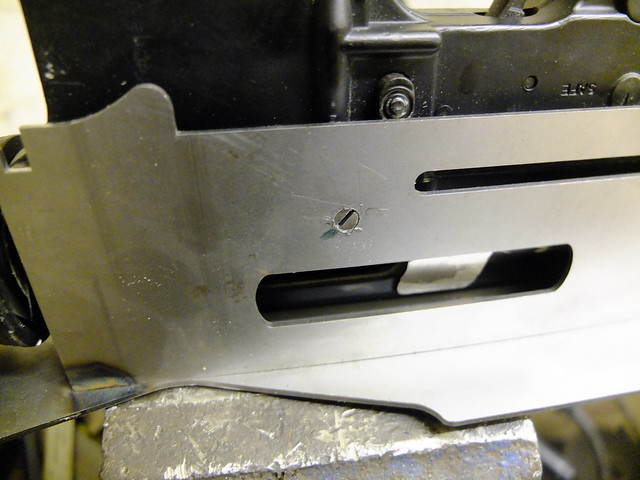
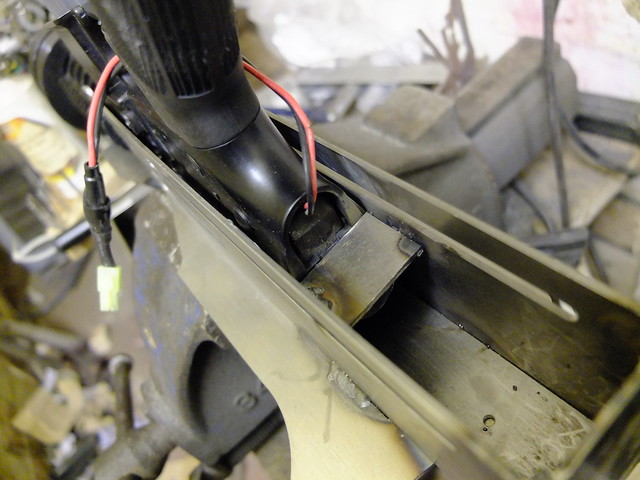
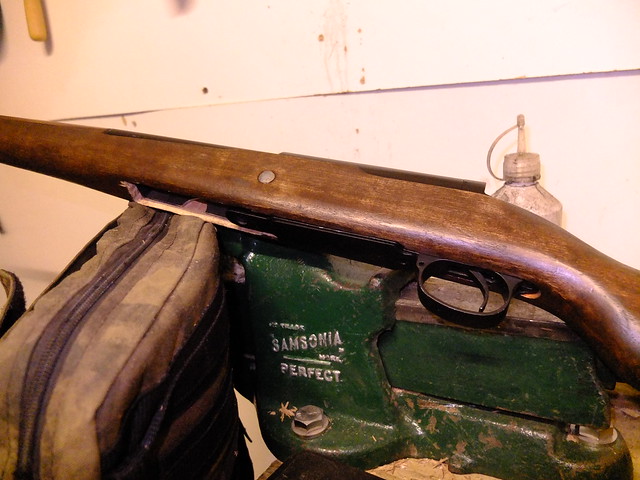
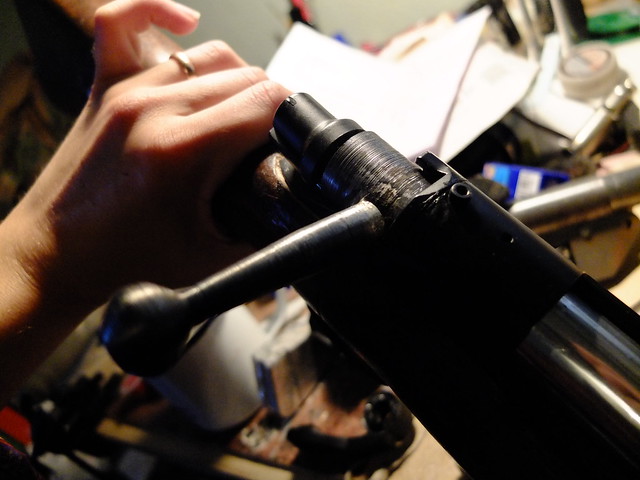
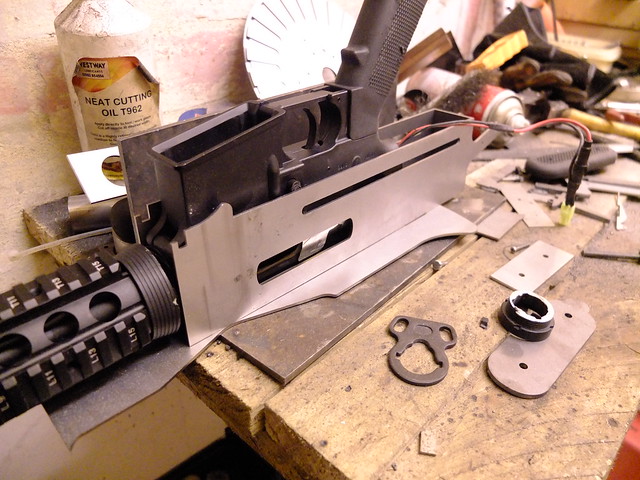
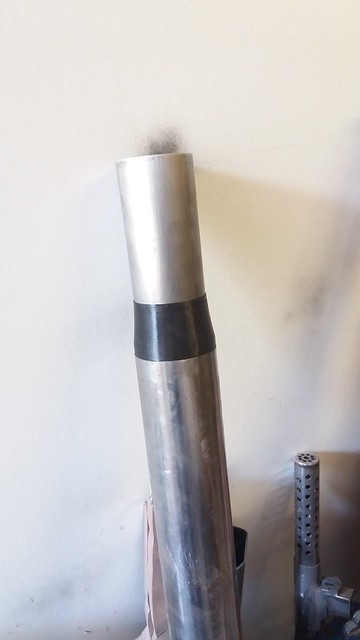
In the metalwork department, I stripped the original paintwork from it. Underneath is aluminium of some kind, though some parts are an odd coppery colour.
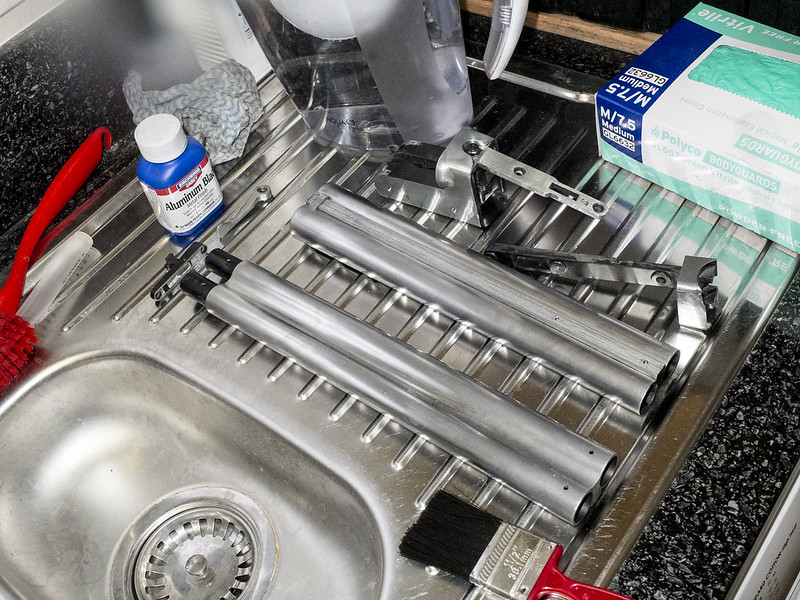
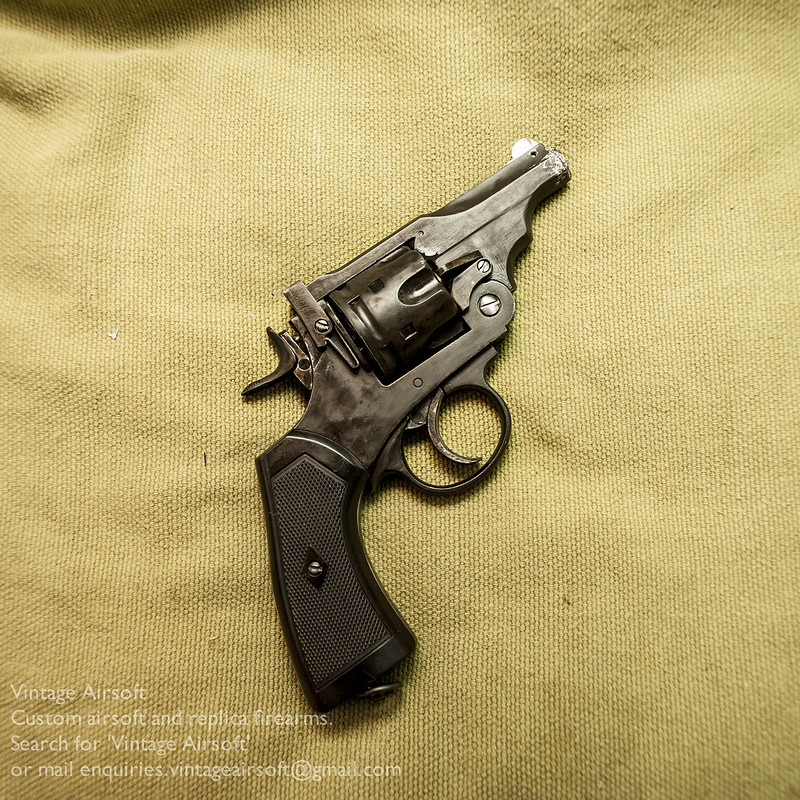
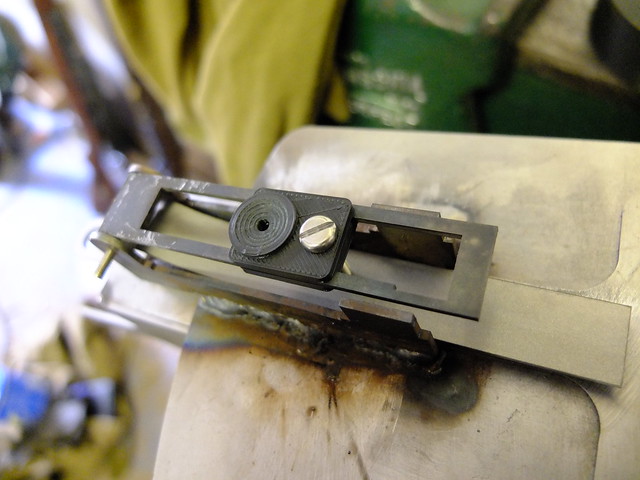
I applied Birchwood and Casey’s aluminium black. A couple of coats later and I have a nice dappled finish across the surface.

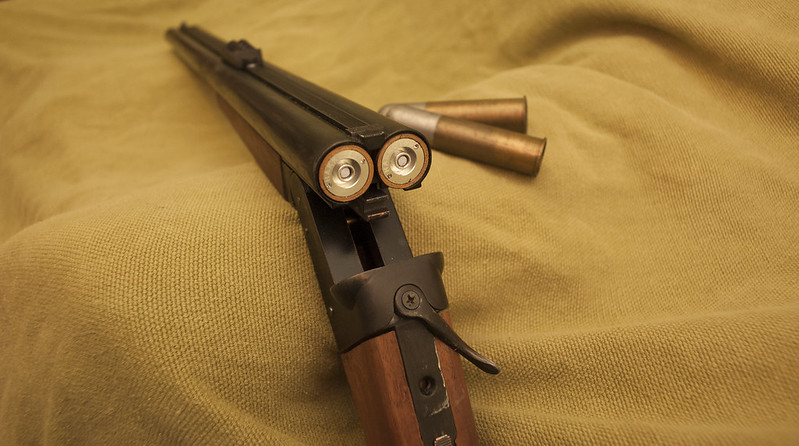
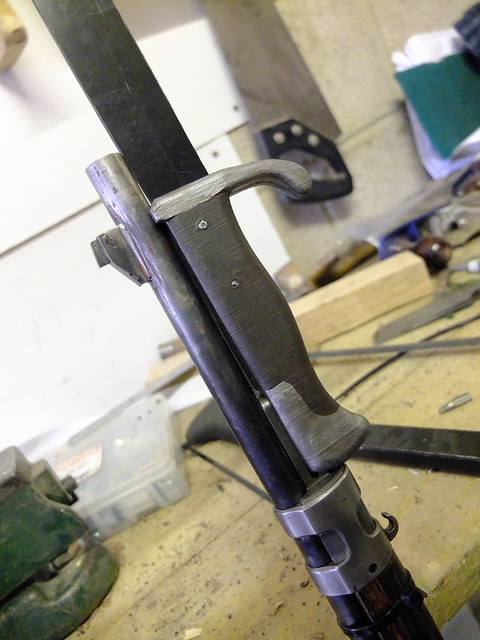
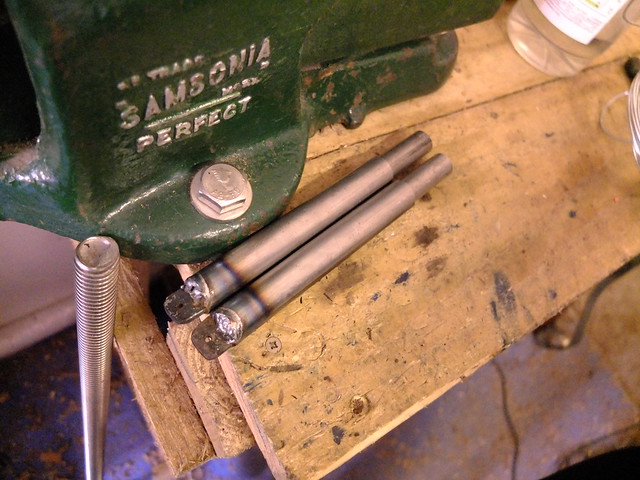
The buttplate, being steel, is brushed smooth (though with a swirling pattern of sorts left on for some semblance of grip) and heated to a dull red before being quenched in oil. This leaves a rather pleasing mixed-colour finish varying from straw to light blue.
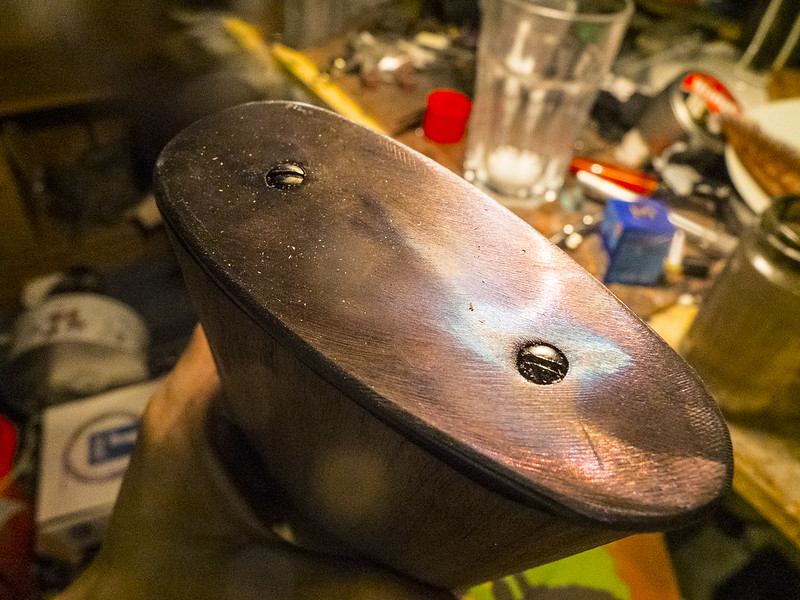
The screws are blacked to fit in.

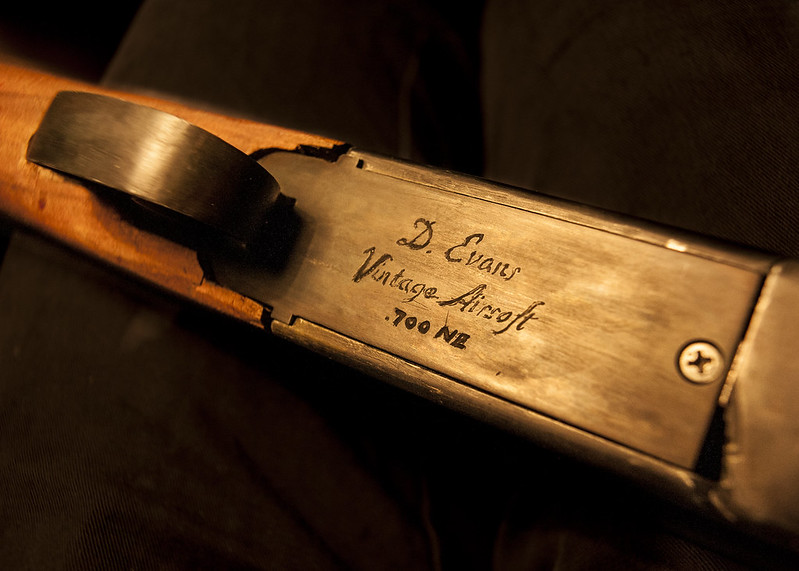
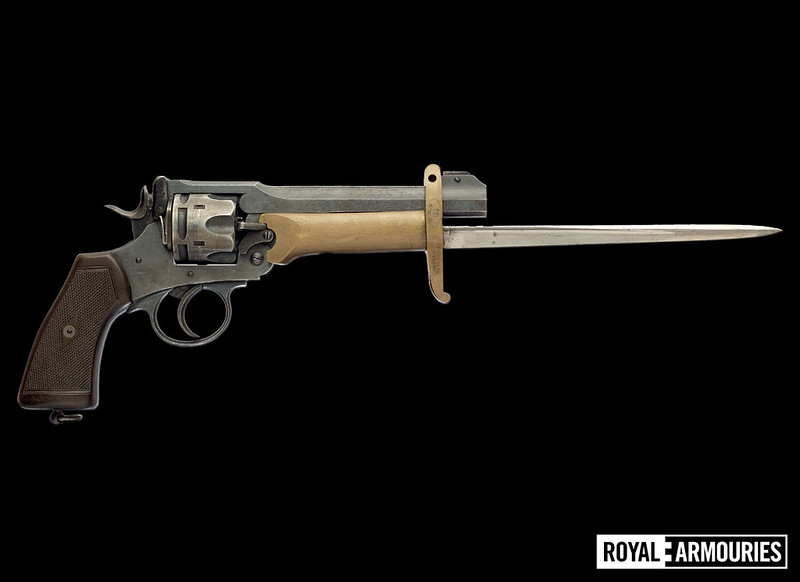
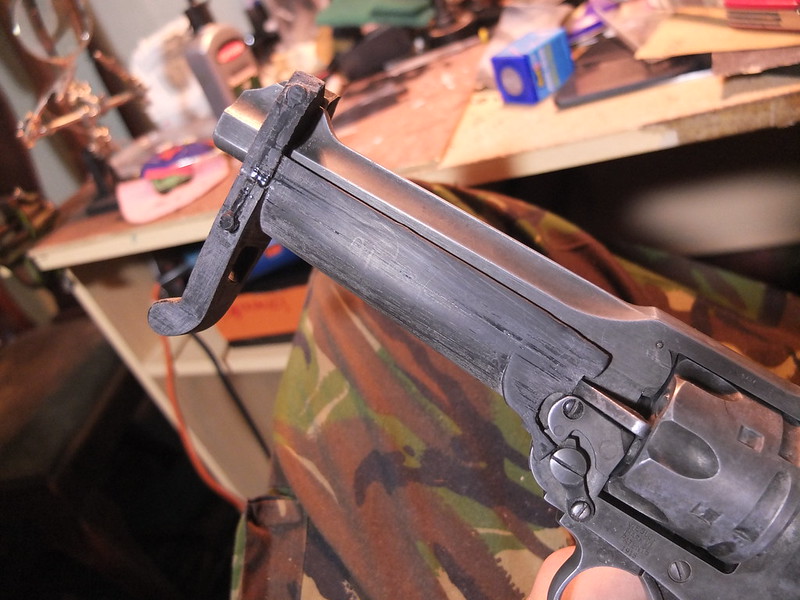
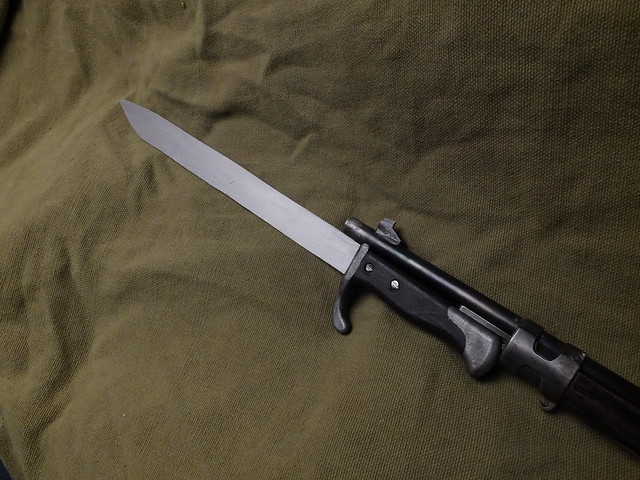
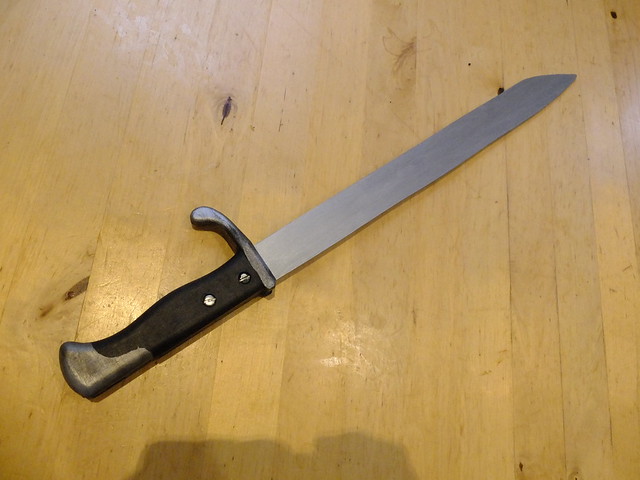
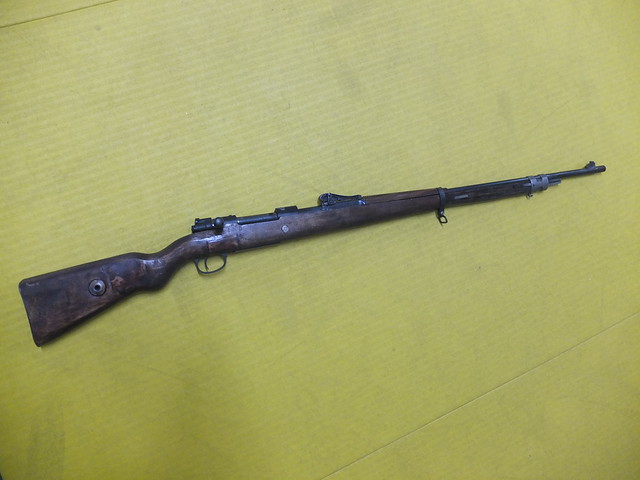
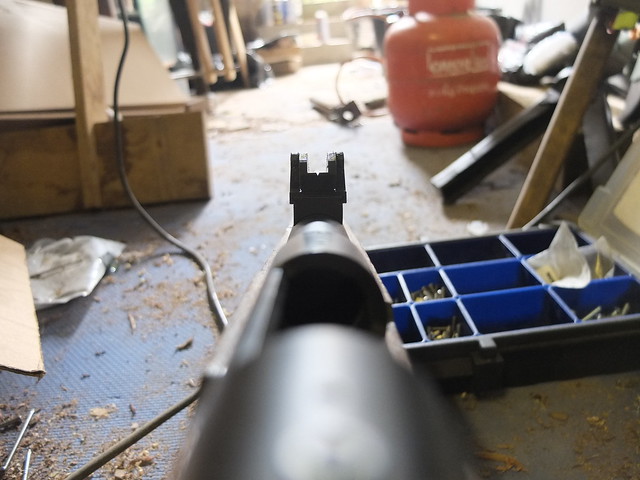
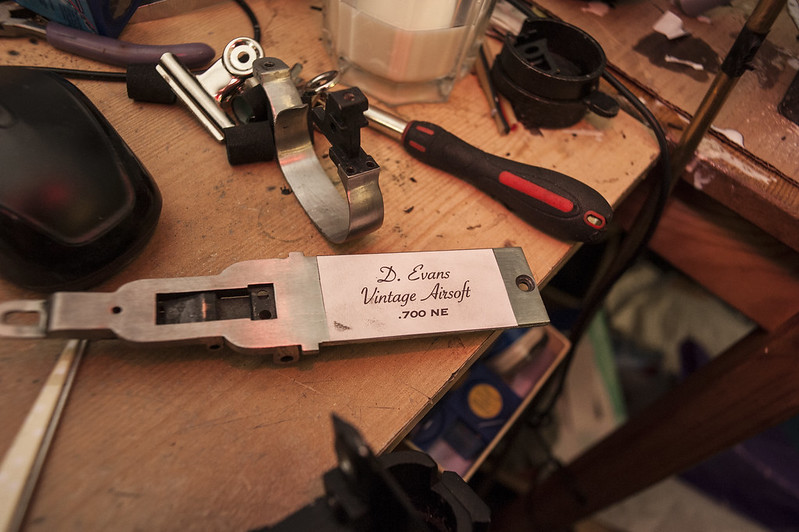
The last bit is to mark up the rifle appropriately. On the bottom plate I’m marking the gun with my details and the ‘calibre’. Though it’s not technically .700 NE, the shells are actually very close.
The first step is a quick going over of the script to give a shallow etch to follow. One can then lift the paper to check the etch is deep enough in a few places before removing the whole lot.
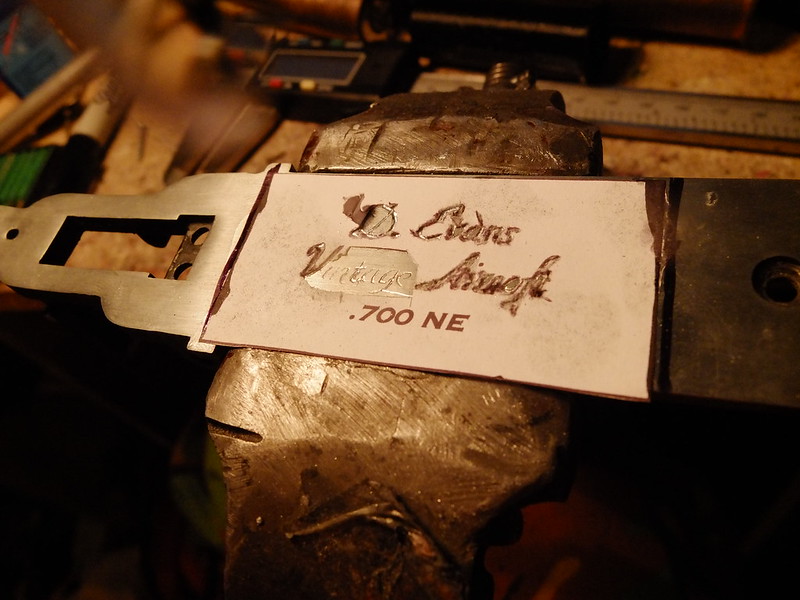
With the paper removed, I add depth and boldness to the capitals and detailing in the few places I have the skill to add it.

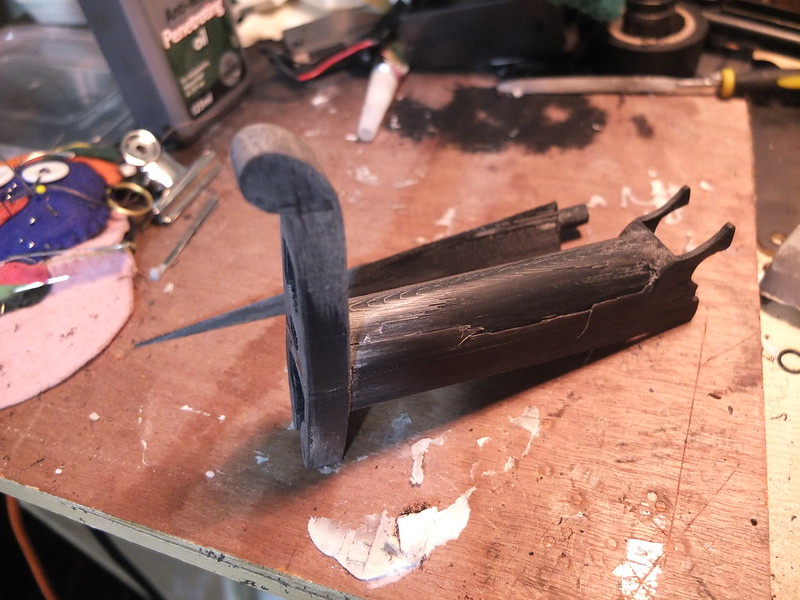
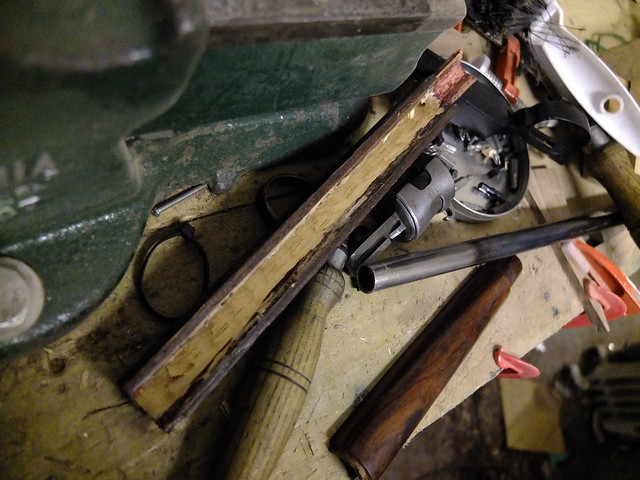
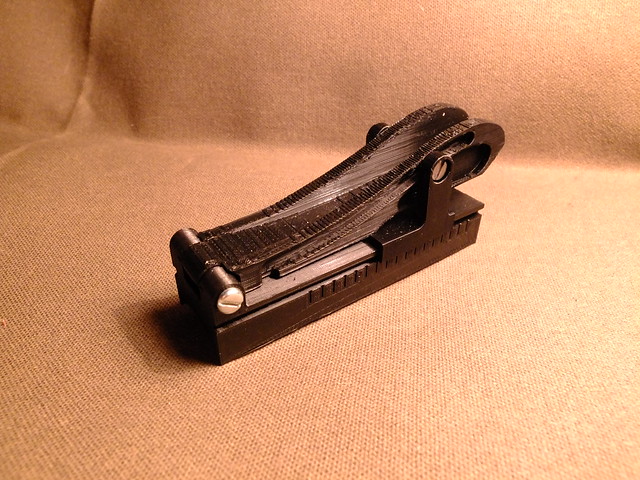
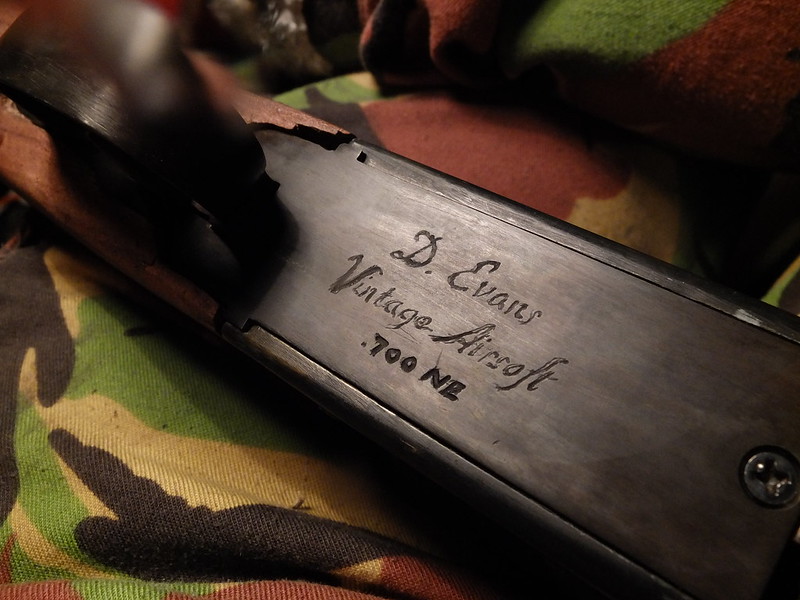
Once all the text is to depth, I used Birchwood Casey’s aluminium black as per the rest of the gun. In the picture below you can see where the back of the foregrip assembly had an argument with my planer, which was a sad event. That being said, I hope to make a replacement in the near future.

I’m pretty pleased with how the script came out. This is only my second attempt at engraving work and I feel it is quite an improvement over the first. I’m not 100% happy with the calibre, but the script typeface isn’t too bad.
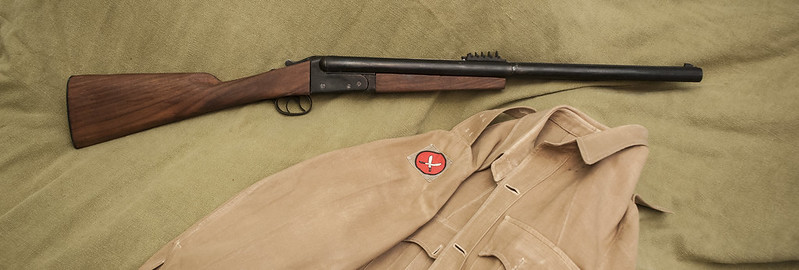
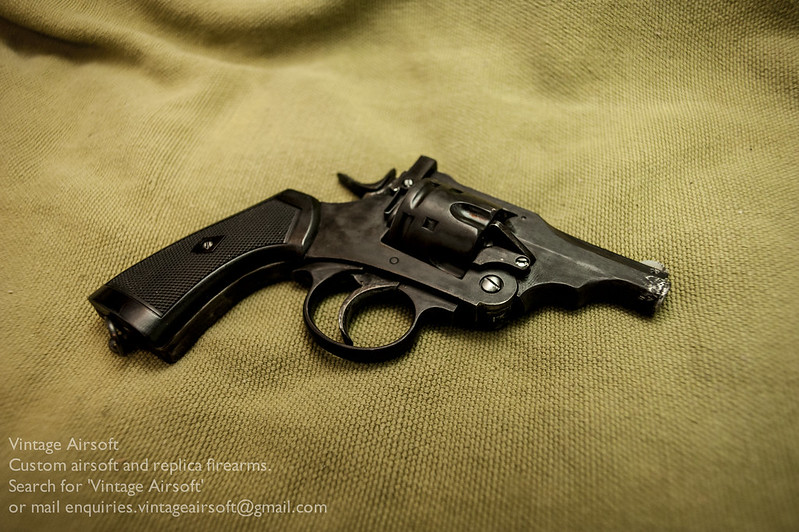
This is basically finished now, so photographs of the complete item to follow!
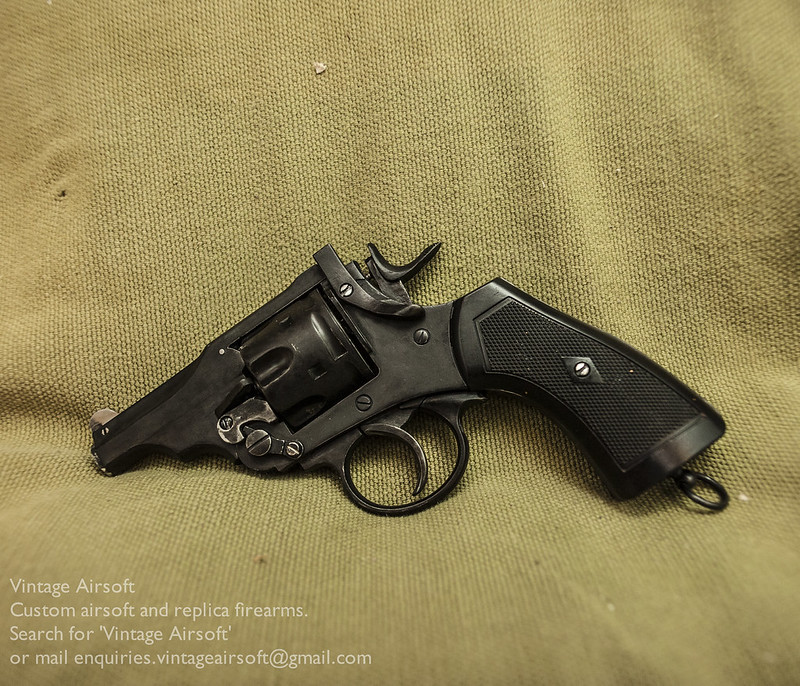
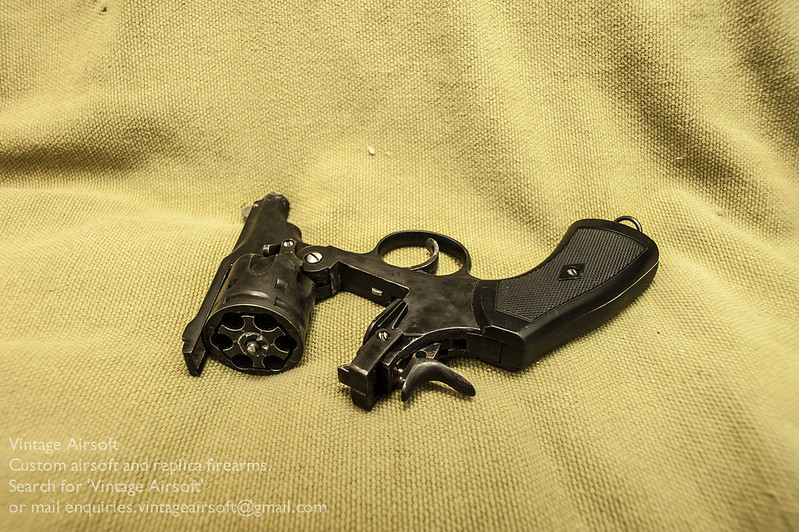
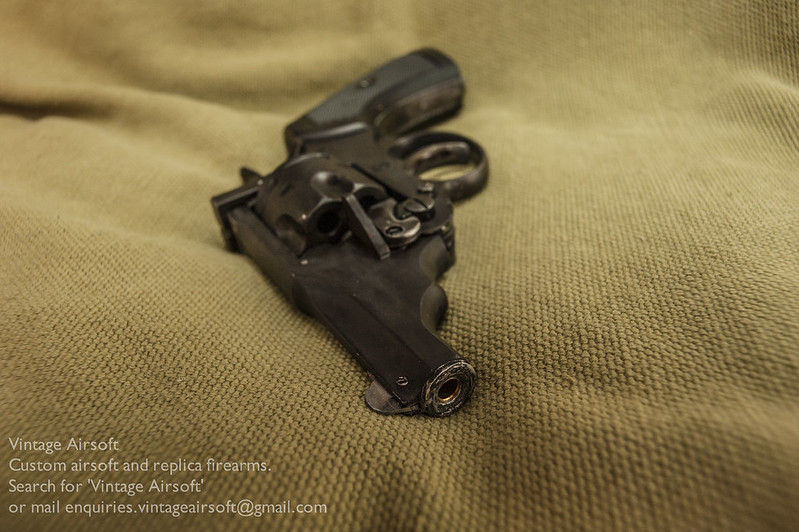
If you are interested in this project you can see the rest of the project here. If you have an idea of your own, drop us a line on enquiries.vintageairsoft@gmail.com to discuss. ‘Like’ our Facebook page or follow the blog to get regular updates on projects and interesting videos and articles.
Don’t forget you can buy our smaller items via Etsy. Our larger items can be found here.