G98 VSR: Complete

Complete builds, Custom builds, G98, G98 VSR, Inter-War (1918-1939), Rifles, Weapons, WWI, WWII

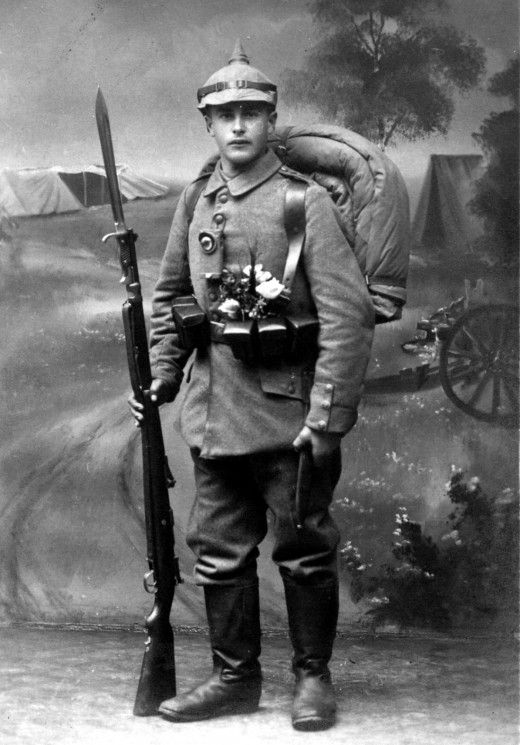
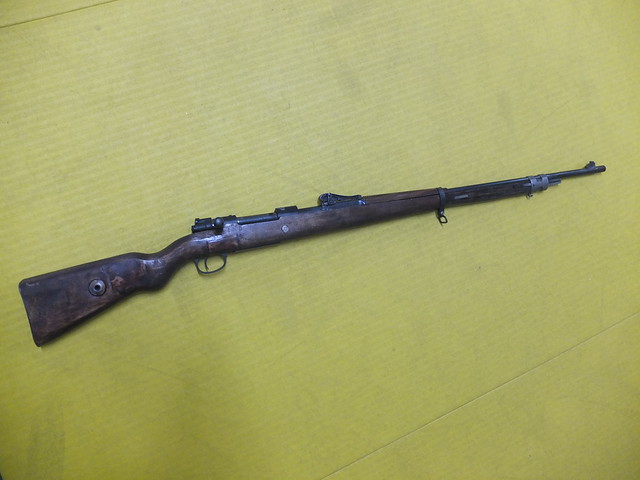
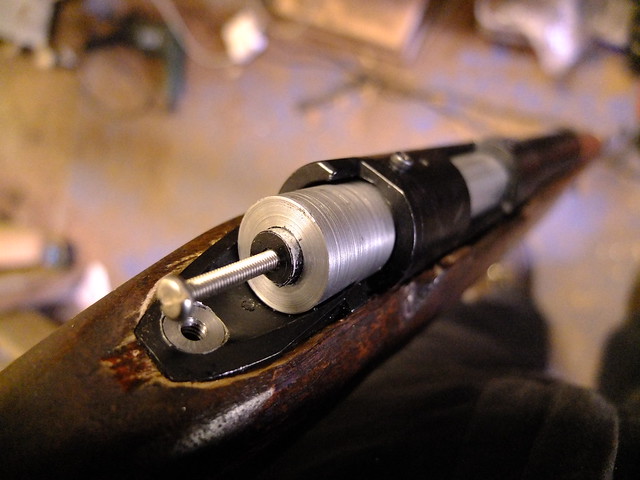
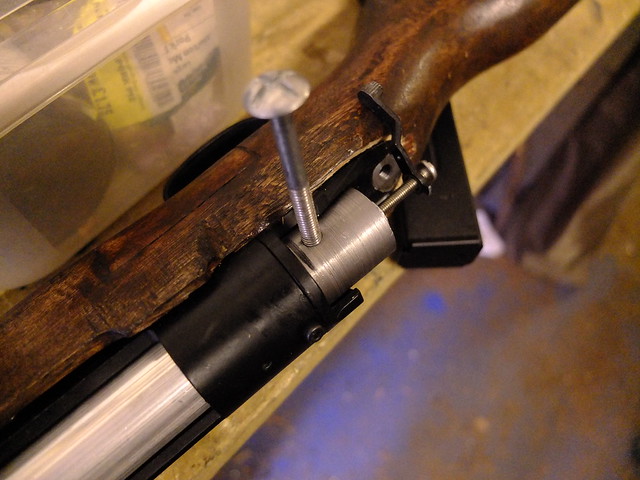
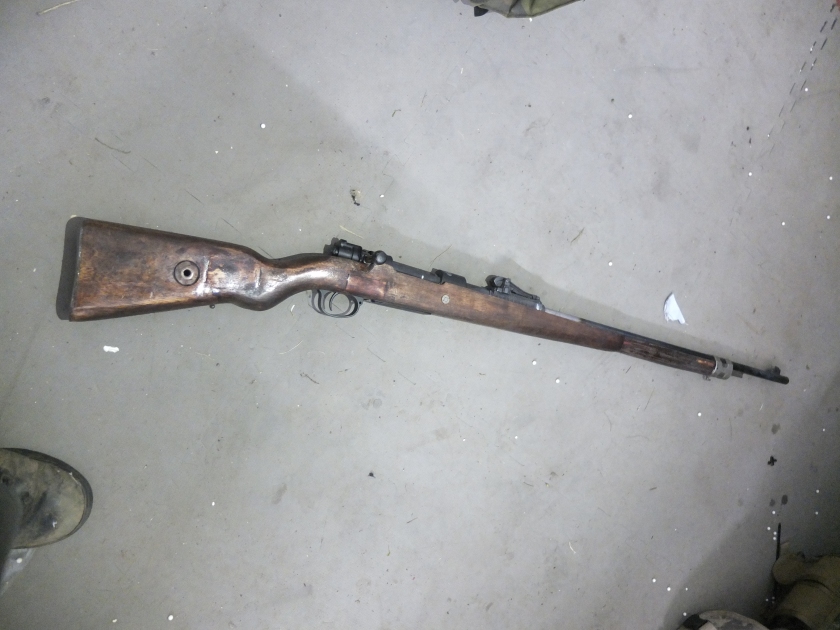
After the last build post, the G98 is finished! Time to take a look at those last details.

_DSF9746

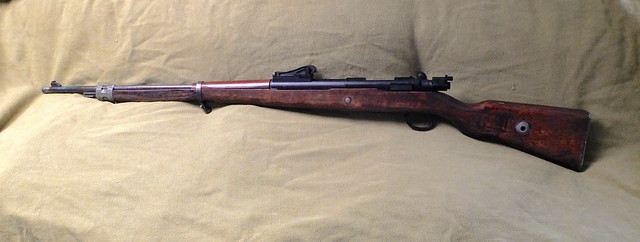
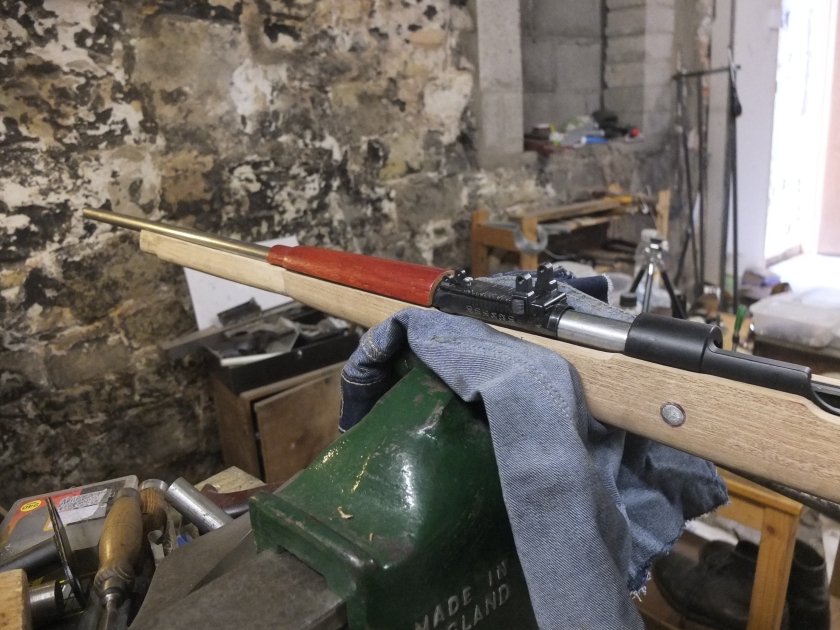
The fore-end is pretty much unchanged externally.

_DSF9747

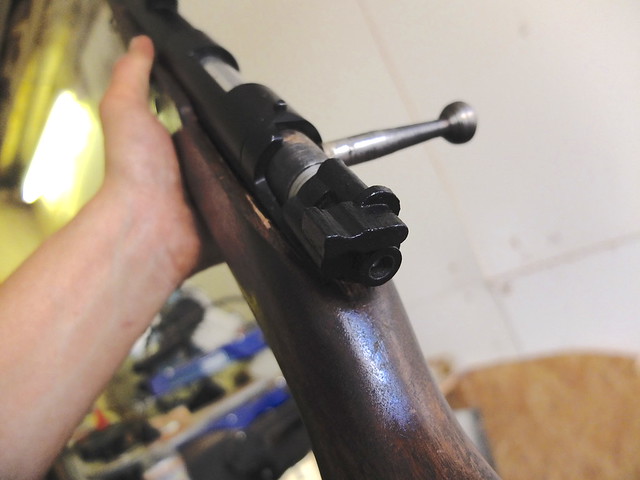
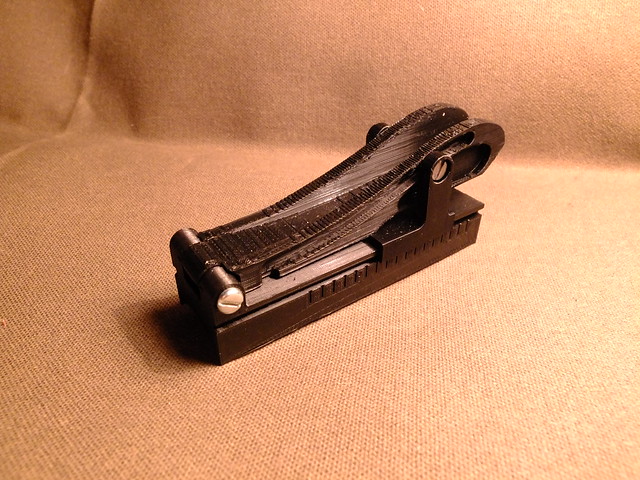
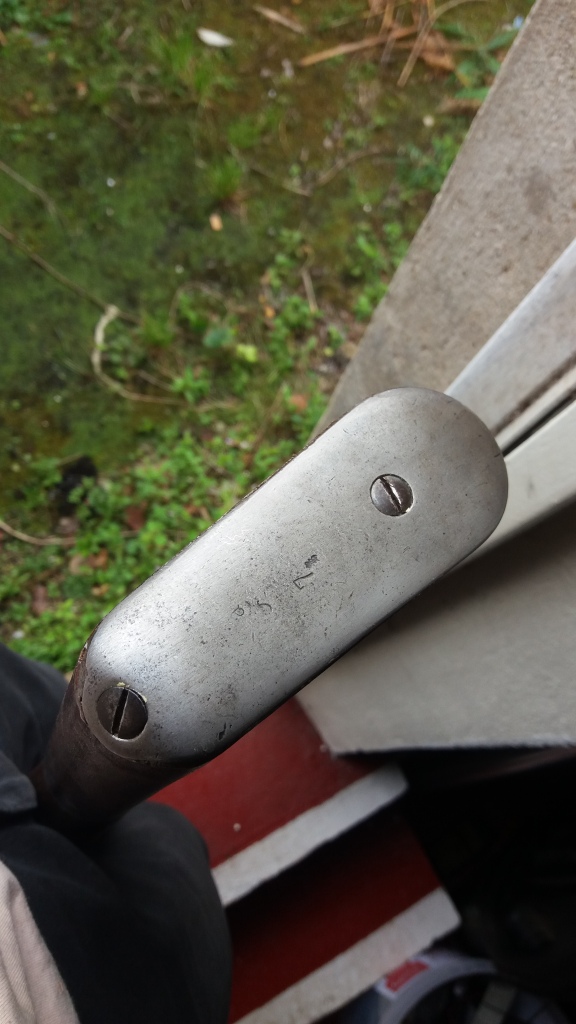
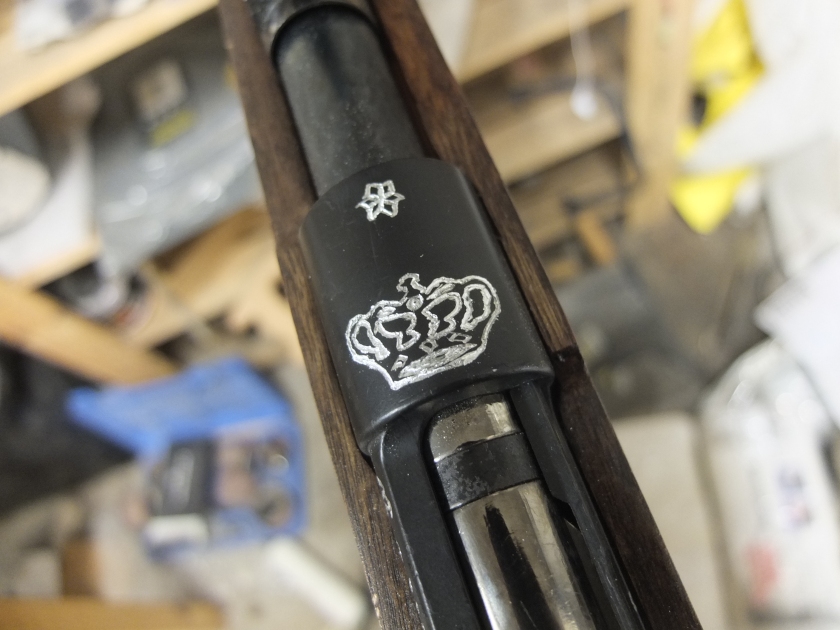
At the back, the new back cap crowns the rear of the bolt. Although entirely decorative, it does make a difference to the look of the thing.

_DSF9748

There is also a faux bolt release, used on the real thing for disassembly.

_DSF9749

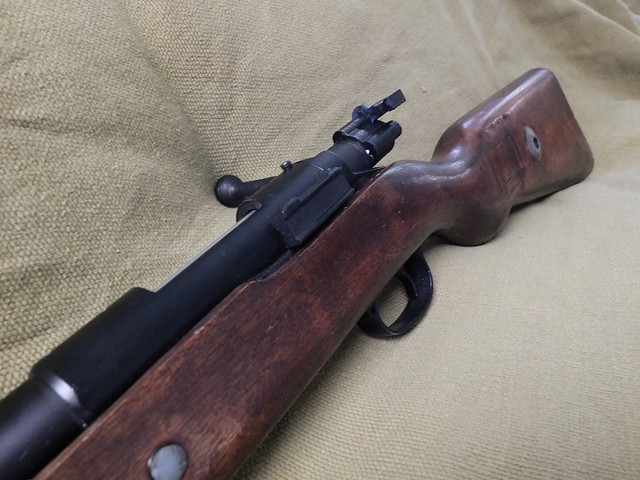
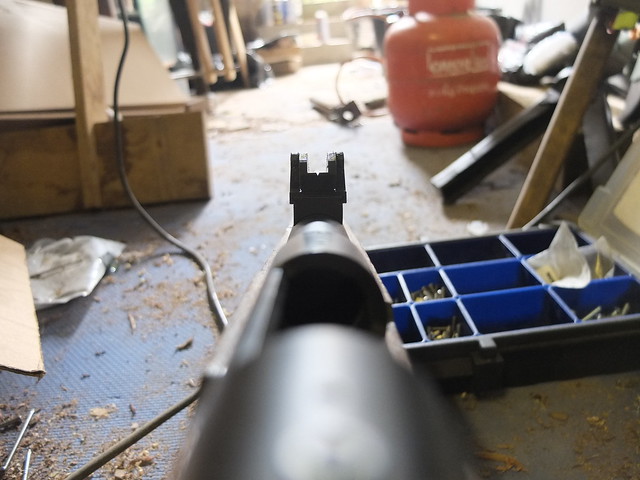
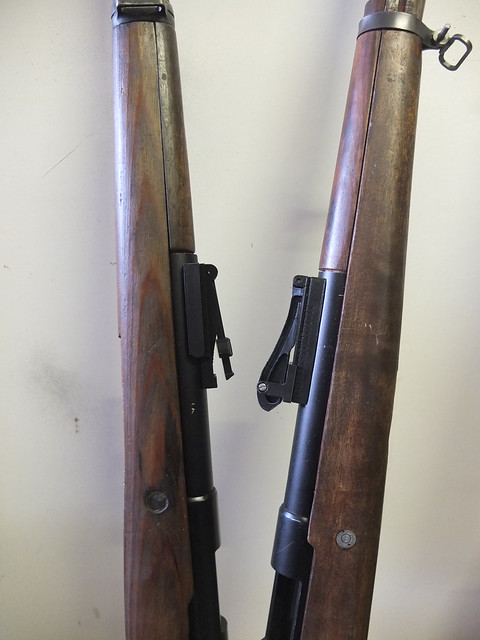
The Vizier rear sight.

_DSF9750

Which is capable of full elevation adjustment.

_DSF9751


_DSF9752

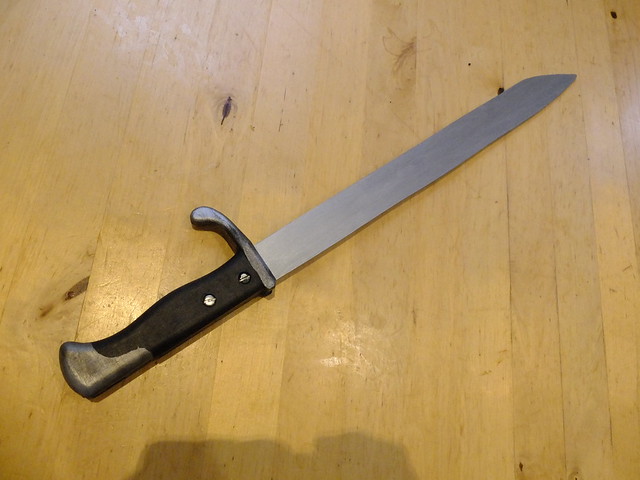
The bayonet will be a useful addition, especially when this is used as a musket for American Civil War airsoft. This is a new design I’ve not tried before and will be trialling it on this and the SMLE.

_DSF9753

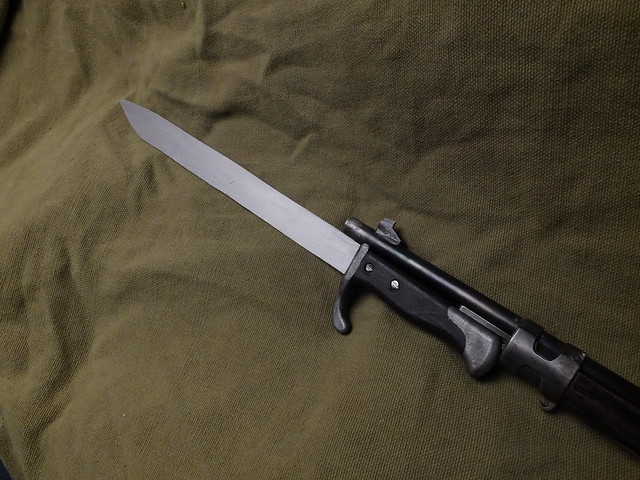
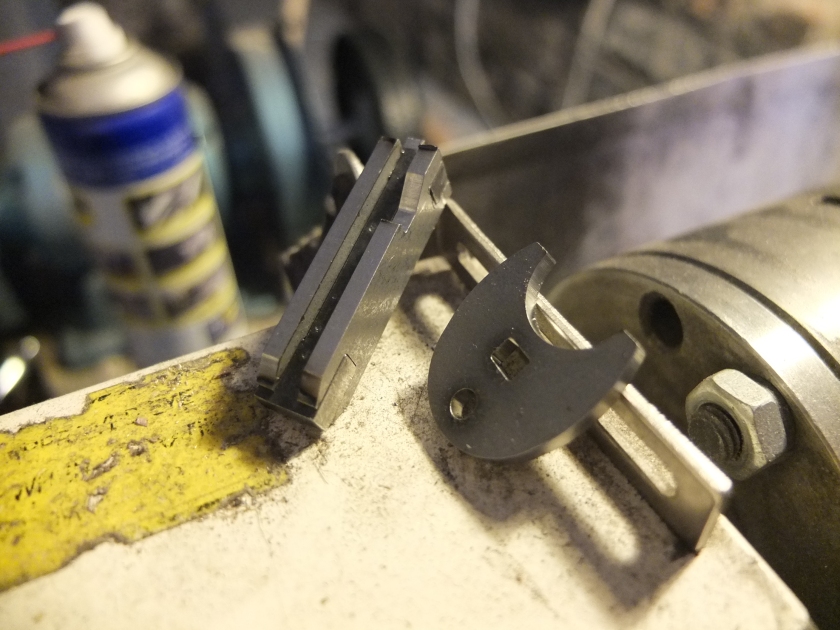
Making longer bayonets that are stiff enough to look the part and work safely for airsoft is quite tricky: rubber is too floppy, wire stiffening isn’t strong enough and most fibreglass stiffeners are too hard for guaranteed safe use.

_DSF9757

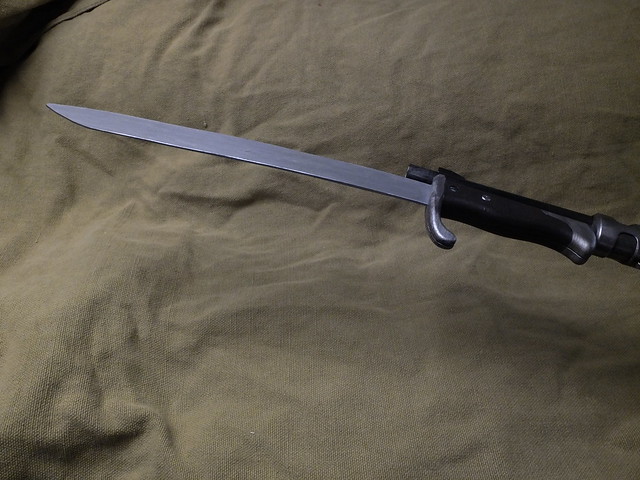
I feel this plastic blade has the balance of flexibility and stiffness just right. For this and the SMLE bayonets it’s about right, though for longer bayonets it may need a couple of layers of lamination to hold shape. That said, there are only so many bayonets that are longer than 17″ for the eras I cover!

_DSF9758


If you like this project or have an idea of your own, drop us a line on enquiries.vintageairsoft@gmail.com to discuss. ‘Like’ our Facebook page or follow the blog to get regular updates on projects and interesting videos and articles.

If you would like to see the little intro I wrote for the first G98 build you can see it here.

To see the build for this rifle, see here.

Don’t forget you can buy our complete products via Etsy. If you would like a build like this, please drop us a line on the above email.

G98 VSR: Part 2

Custom builds, G98, G98 VSR, Imperial Era, Inter-War (1918-1939), Rifles, Weapons, WWI

My first major improvement is the back-cap for the bolt. This one is in two parts, to allow friction to be between these two lubricated steel parts rather than on any soft aluminium bits.

_DSF9642

At the front end, I am replacing the biscuit that joined the front and main parts of the stock with a steel tube. Apart form being very strong, this will also allow me to stow a full-length ramrod in the rifle. Although this is far from necessary for use as a G98, I’ll be using this as a musket for American Civil War airsoft until my dedicated musket is finished.

_DSF9658

With enough material removed, I epoxied the steel tube in place.

_DSF9659

In place on the rifle, I leave it overnight to set.

_DSF9661

At the back end of the bolt, I’ve had a 3D printed cap made to replicate the rear of the Mauser bolt. This will go on the K98 builds as well.

_DSF9680

The bayonet is going to be very useful when the rifle is used as a musket, so it’s important to get it right. The grips are 3D printed (dimensions scaled from a photograph) and screwed together. The blade is replaceable and flexible, but not so much as to be floppy.

_DSF9684

When painted up it improves the look, at least from a slight distance. It would be ideal if I could get it to a mirror finish on it to get that threatening flash as it catches the light.

_DSF9697


And that is pretty much that. Just the pictures of the finished item to go!

If you would like to see the little intro I wrote for the first G98 build you can see it here.

If you like this project or have an idea of your own, drop us a line on enquiries.vintageairsoft@gmail.com to discuss. ‘Like’ our Facebook page or follow the blog to get regular updates on projects and interesting videos and articles.

Don’t forget you can buy our complete products via Etsy.

G98 VSR: Part 1

G98, G98 VSR, Imperial Era, Inter-War (1918-1939), Rifles, Weapons, WWI

The start point for this project is the G98 Dboys shell ejecting model. A VSR base for this rifle would make it much more practical and skirmish able.

_DSF8004

The first step is expanding the recess for the magazine This necessitated the removal of the front securing lug for the original magwell and trimming down the metal lining of said magwell to fit the new VSR parts. Rather pleasingly the trigger sits quite naturally in the trigger guard with minimal modification.

_DSF9133

The fore-end is unchanged. I’m using the same outer barrel and fittings.

_DSF9134

The bolt handle will be another custom piece.

_DSF9136

The bolt handle will screw in and be thread locked in place. If at a later date I decide to make a bent handle for use as a sniper rifle I can just swap it out.

_DSF9137

The bolt handle part-made. At this point I had to take it off and make some other parts and the lathe broke down, so I’ll have to come back to this later!

_DSF9138

The rear sight for this is 3D printed, the repro I used won’t fit over the larger receiver. Although it looks a little rough here, once painted up it’ll look the part. In the longer term I hope to cast these in aluminium.

_DSF9365

In place on the rifle, it is secured by two screws. The small hole in the middle is for hop adjustment (I fit a TDC hop mod to all VSR builds).

_DSF9372

Viewing down the rifle, that Vizier rear sight give a really distinctive sight picture!

_DSF9376

Next to its nephew, the K98k VSR build in the workshop.

_DSF9375

A bit of epoxy resin to smooth off the rougher surfaces. When sanded down and painted up it’ll really look the part.

_DSF9418

With the lathe FINALLY fixed I could finish off the bolt handle after looking at it half finished for about two months (truly torturous). Now I just need to finish the back cap and the rifle itself is done.

_DSF9638

Then there are a few optional extras which I’ll be fitting before finishing entirely. So far though, I am delighted with how this conversion is going.


If you would like to see the little intro I wrote for the first G98 build you can see it here.

If you like this project or have an idea of your own, drop us a line on enquiries.vintageairsoft@gmail.com to discuss. ‘Like’ our Facebook page or follow the blog to get regular updates on projects and interesting videos and articles.

Don’t forget you can buy our complete products via Etsy.

Gewehr ’98 Part 4

Custom builds, G98, Imperial Era, Rifles, Weapons, WWI

I used an epoxy putty to fit the buttplate due to the awkward shapes involved.

20160824_120737


20160824_120720

I also replaced the bolt handle, which had been secured with a small M3 screw which wasn’t solid enough to endure repeated use. Now it is secured with an 8mm plug and pinned in place. It is now also steel, so it shall wear better and keep its colour.

_dsf8141_dsf8317

I also replaced the front band/bayonet lug with an original, stainless steel one.

_dsf7903 _dsf7984

Pretty well finished now! Just got to put the band and top hand guard back together. Completed pictures to follow.


If you are interested in this project or have an idea of your own, drop us a line on enquiries.vintageairsoft@gmail.com to discuss. ‘Like’ our Facebook page or follow the blog to get regular updates on projects and interesting videos and articles.

You can also buy many of our finished products in our Etsy store.

Gewehr ’98: Part 3

Custom builds, G98, Rifles, Weapons, WWI, WWII

As this build seems to be coming to a close, it’s time to get the detailing right. In the fore-stock, there are two springs that keep the bands in position. These are laser cut to rough shape, then I used the grinder to mill in details such as the recesses the bands sit in. On the back of the piece is a smooth recess which combined with the correct tempering allows it to act like a spring.

_DSF7544

The front band viewed from the front. There is, annoyingly, a space between the barrel and the bayonet lug that needs fixing, but I am pleased with the difficult shape of the band itself.

_DSF7546

There are a few bits of etching on this gun, something I haven’t done before. I’m using a dremmel style tool with fine etching bits. To cut accurately I made templates in Qcad and glued them to the material with PVA. (This is a practice piece).

_DSF7523

Once dry, I could get to work removing the black areas.

_DSF7524

Then soak the part in warm water and detergent to remove the template.

_DSF7528

A bit of practice later and the templates are ready to be attached to the rifle itself.

_DSF7533_DSF7534

First pass with the dremmel has give a good outline! Hopefully a second pass will get it a little deeper.

_DSF7558

_DSF7560


Not too much more to do now! Looking forward to getting this one finished, it should be a very pretty rifle by the end of it!

Gewehr ’98: Part 2

Custom builds, G98, Rifles, WWI, WWII

The next trick is to attach the lengthened fore-end to the rest of the stock. To do this I inletted both parts down the centre and inserted a ‘biscuit’, a piece of wood that joins the two parts.

_DSF7345

Once the two parts were joined, I removed the top part of the biscuit so that the barrel could fit in the groove originally cut for it.

_DSF7369

In the meantime, I taped up the bolt to protect the working parts from dirt ingress. I could then remove the bolt handle with the angle grinder.
_DSF7351

In order to fit the rear sight, some modifications are needed to the chamber. First, removing the rear sight unit and chamber cover, I then could grind down this screw thread until flat.

_DSF7356

The chamber cover can then be replaced with a piece of steel tube.

_DSF7366

This is the correct diameter for the new Vizier rear sight. This is a reproduction one from the US.

To complete the work, I removed the top slide of the sight. To fit around the chamber I removed the bottom of the mounts. The built-in screw point holds it in position.
_DSF7368

There is a lug at the front of the sight which holds down the hand guard. This had to be modified slightly to fit around the tube being used to hold the rear sight.
_DSF7376

Next I filled in the cutaways for the bolt handle (on the K98k, the bolt handle is bent down so needs a cutaway, this is not needed on the straight-handled G98), the cut-through for the sling will be replaced by a standard sling swivel. When dry these blocks could be worked flat with the rest of the stock. I then lightly scored the surface in line with the grain of the stock so the stain would set more deeply and blend the two different timbers together better.

_DSF7380

Coats 1+2 of the stain, still some variation between the timbers. As I build up layer on layer the differences will become very subtle.

_DSF7388

While all this is drying, I could turn and attach the new bolt handle. The original plan was to use the cut-off bend bolt but this wasn’t going to be long enough to look right so I made a better one out of some brass bar I had to hand.

_DSF7379


The next post should see the stock finished, the bolt handle blacked and everything assembled.


If this build has inspired you to want a gun of your own, do drop us a line on enquiries.vintageairsoft@gmail.com to discuss or find us on Facebook!

Gewehr ’98: Part 1

Custom builds, G98, Rifles, Weapons, WWI, WWII

Another custom build, another load of laser cuttings! Part of the brief for this build is to replace as many of the pot metal parts with steel as possible, so I have a lot of cosmetic work to do on this.

_DSF7232

First up is the fore-end, incorporating the bayonet lug.

_DSF7235

Bending the fore-end sleeve into place, using a couple of steel tubes and as a wooden die. I then welded the three parts together.

_DSF7305

I could then remove the back of the butt stock where it fills the K98k buttstock.

_DSF7315

And fit the flat steel replacement butt plate.

_DSF7316

I then glued two pieces of straight-grained ash together and planed both to flat.

_DSF7322

I could then shape the bottom edge and run a rounded channel down the top for the barrel to sit in. This part will be the new fore-end, bringing the rifle up to the full length it is supposed to be.

_DSF7329

Inside the action, two buffers will suspend the inner barrel in the outer barrel.

_DSF7330

Next step is to bend the middle band, ends first.

_DSF7331

Then bending the rest of the shape around the woodwork.

_DSF7332 
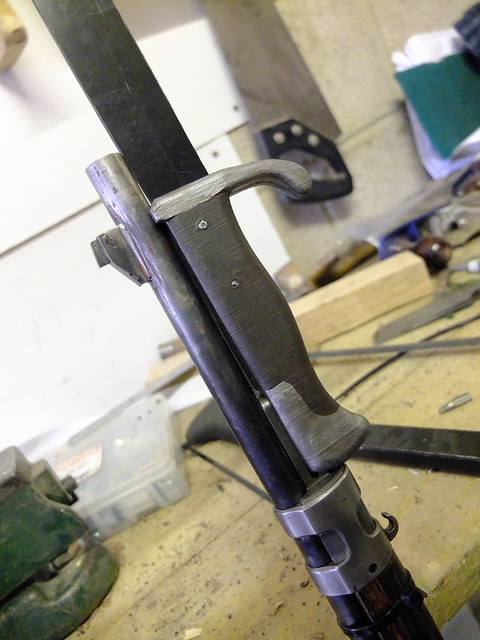
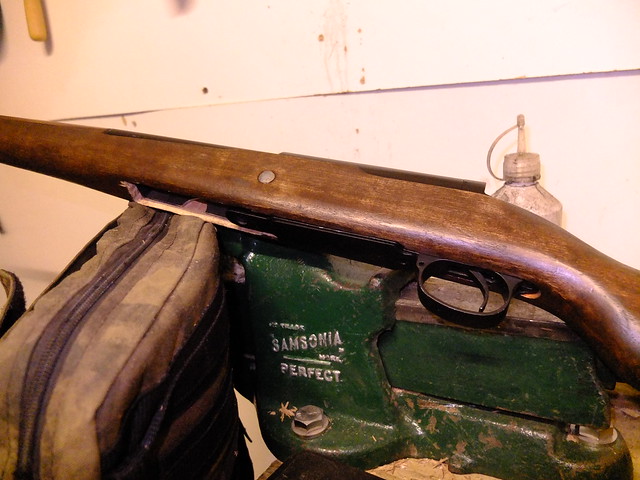
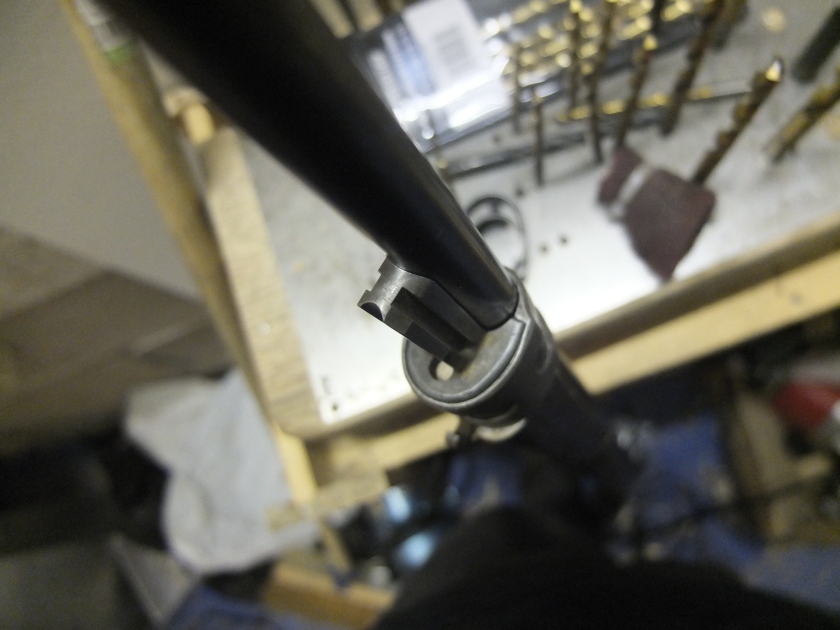
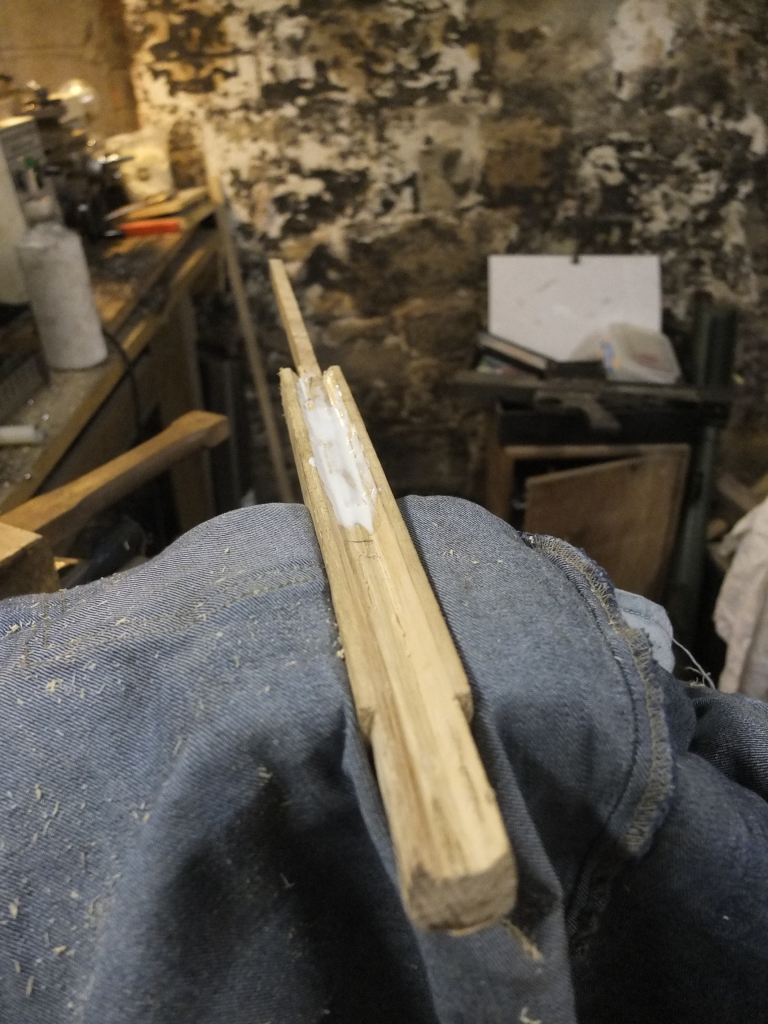
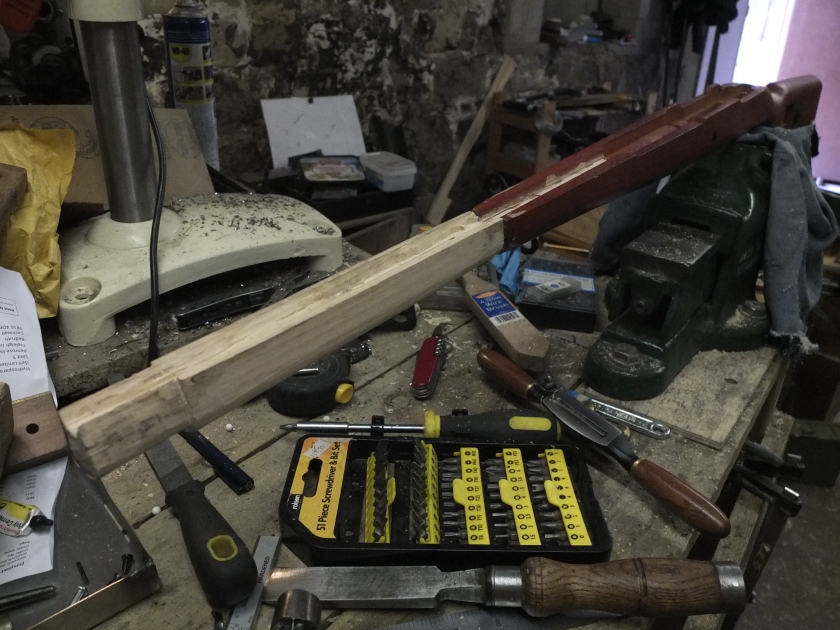
And the front band in position, minus the bayonet lug.
_DSF7337

So the next steps are: to attach the bayonet lug, fit the new full-length outer barrel, put a straight handle on the bolt, join the stock and fore-end and fill in the spaces on the stock.


If this build is of interest to you, please do get in touch at: enquiries.vintageairsoft@gmail.com or join us on our Facebook page. Don’t forget you can buy many of our complete products via Etsy.

Gewehr ’98: Introduction

Custom builds, G98, History, Rifles, Weapons, WWI

Where to start with the history of the G98… Well it’s a very long story of development and really starts in the 1880s, when the French scared the living heck out of pretty well everyone by introducing the Lebel 1886: the first repeating, smokeless cartridge, ‘small bore’ military issue rifle in the world.

Everyone had to catch up, the British quickly brought in the Lee-Metford, the Swiss Schmidt-Rubins, Mannlichers dominated Eastern Europe and Russia bravely (or foolishly) went their own way with the Mosin-Nagant. Germany however, had Mauser. To cover this topic thoroughly, I refer you to C&Rsenal: an awesome channel for those interested in firearms history. The first two videos are on the 1888 rifles, the third is on the G98 itself:

A quick breakdown though, the G98 served Germany through the Great War and into the interwar period until it was replaced by shorter service rifles such as the K98b and K98k. In WW2 is was apparently brought out from storage for Volksturm use.

So skipping on a bit a client has asked for a shell-ejecting G98 replica! A D-Boys K98k will be the donor gun. Modifications will be made to the stock, all the metal fittings that can be replaced will be replaced with steel and the massive and distinctive Vizier rear sight fitted. The bolt handle will be straight as per the original.

fd68c7d6f87fa46873b838d7fd01d1f6